67 Dart Build Triangulated 4 link & Mini Tub

-
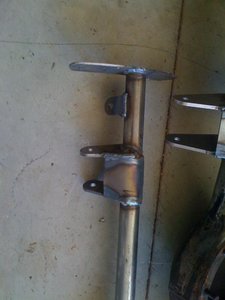
What I like about this set up is I just loosen the jamb nuts on the link bars and twist the rods, it is actually very easy to adjust Pinion and tracking, alot easier than I thought and I like the fact that you dont have to Take any of the bars off to do it.

it is nice that its easy to adjust like that. my rms set up does that also. but just keep an eye on them when you start driving it. if the jamb nuts happen to loosen for whatever reason it could be a disaster. not that mine have ever loosened but i do keep an eye on them. thats whats nice about the ones with only one side thats adjustable. you set it and forget it. it will never unscrew on ya even if the jamb nut is loose.
 
it is nice that its easy to adjust like that. my rms set up does that also. but just keep an eye on them when you start driving it. if the jamb nuts happen to loosen for whatever reason it could be a disaster. not that mine have ever loosened but i do keep an eye on them. thats whats nice about the ones with only one side thats adjustable. you set it and forget it. it will never unscrew on ya even if the jamb nut is loose.

Yes it would be a mess if something got loose and you did not notice it. I always pay close attention to my cars so hopefully it will not be an issue.

So do you have the Steel Hiem Joint Links or the ones like mine?
 
Maddart this project is really impressive! Big fan so far. I know you are busy with it but please dont forget what we talked about. I think you have me almost convinced on the 4 link stuff.
 
How thick are the rotor hats? It doesn't look like they leave much meat to center the rims or does it really matter? I know Ehrenberg preaches about Mopar wheels being "hubcentric". But then again uni-lug Cragar rims have been around forever and I never had a problem with those before.

Does anyone make a rear disc brake kit for those with the small pattern?


Wylde1.

349 stroker etc 009.jpg


349 stroker etc 015.jpg
 
For the guys who asked for a list of parts etc, I will
try and get it out tonight. I am stuck in California on fwy for
the last 5 hours cause an oil tanker crashed and burned on the
91 fwy. I only need to go 40 more miles. I pulled off fwy to take
a break and eat. Might go see a movie til it opens up. Said average was
20 miles in 4 hours to head my direction. Sucks!
 
How thick are the rotor hats? It doesn't look like they leave much meat to center the rims or does it really matter? I know Ehrenberg preaches about Mopar wheels being "hubcentric". But then again uni-lug Cragar rims have been around forever and I never had a problem with those before.

Does anyone make a rear disc brake kit for those with the small pattern?


Wylde1.

There is asolutley no fluid in the caliper so the pads are real loose. In that picture the rotor is NOT all the way against the axle flange. There is at least 1/4" to align the wheels.

Right stuff makes a kit for SBP I think
 
MD,
thanks for the parts list.
Who's brake kit is that and are you running tapered or green bearings?
Andrew
 
MD,
thanks for the parts list.
Who's brake kit is that and are you running tapered or green bearings?
Andrew


No problem...

The brake kit is from tsmmfg.com Didn't want to go bigger cause the steelies wouldn't fit. It is a very compact fit with the 15" wheels.

I have a new Nodular 489 case with sure grip and 3.91 gears. It has the button installed in it because I was going to use it on the 70 Dart I have but plans have changed. I will be removing the button and ordering Strange axles with green bearings unless they tell me different.
 
Progress update.

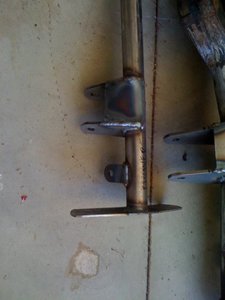
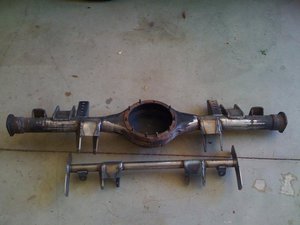
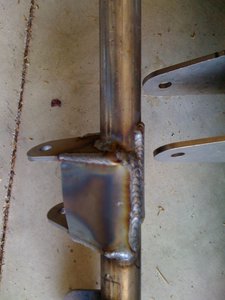
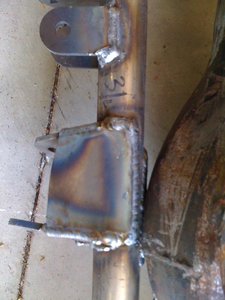
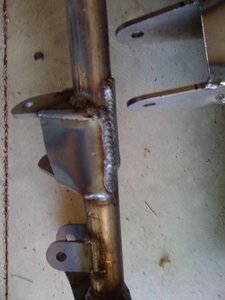
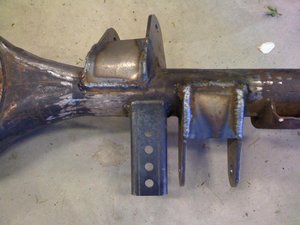
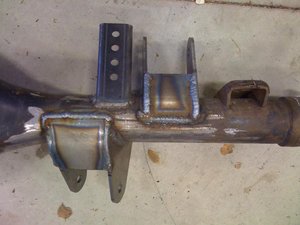
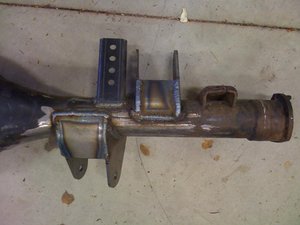
I pulled it all apart and started to finish it by adding 3 & 4 way boxes and gussets.

Not done with it yet but here is where I am at now.

349 stroker etc 003.jpg

349 stroker etc 004.jpg

349 stroker etc 006.jpg

349 stroker etc 003.jpg


349 stroker etc 004.jpg


349 stroker etc 006.jpg
 
Well that just looks absolutely badass....I want to do that to mine now...I hate you! :D
 
Well that just looks absolutely badass....I want to do that to mine now...I hate you! :D

Well James, you started it with your BADASS build. If I had NEVER seen what you did, I would have NEVER started on mine........I appreciate the inspiration from yours for sure!
 
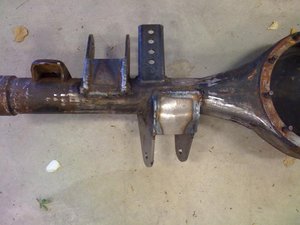
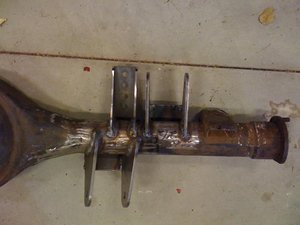
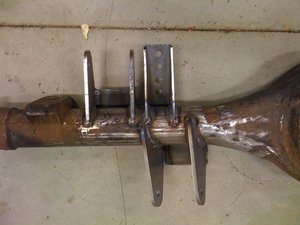
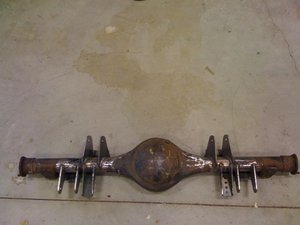
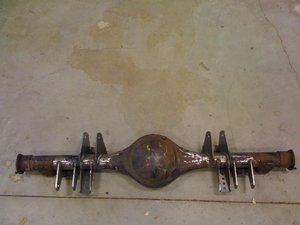
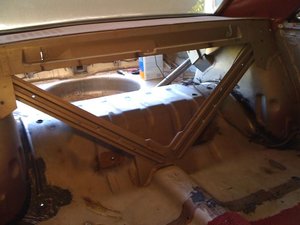
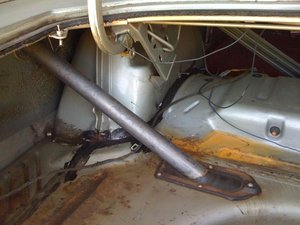
Ok it is welded off boxed, gussets and the shock tower is installed. The housing will go to be shortened this coming week and I will get the interior out of the car to start the mini tub while the housing is in the shop.

349 stroker etc 007.jpg

349 stroker etc 008.jpg

349 stroker etc 010.jpg

349 stroker etc 011.jpg

349 stroker etc 012.jpg

349 stroker etc 013.jpg

349 stroker etc 014.jpg

349 stroker etc 015.jpg

349 stroker etc 016.jpg

349 stroker etc 017.jpg

349 stroker etc 007.jpg


349 stroker etc 008.jpg


349 stroker etc 010.jpg


349 stroker etc 011.jpg


349 stroker etc 012.jpg


349 stroker etc 013.jpg


349 stroker etc 014.jpg


349 stroker etc 015.jpg


349 stroker etc 016.jpg


349 stroker etc 017.jpg
 
MadSkills MadDart!Looking forward to your minitub pics.How much are you narrowing the rear?Mine is 46 5/8 end to end,3 inches off each side of A-body length.But I used a C-body donor housing.Didn,t have it in me to chop the A housing.8)
 
MadSkills MadDart!Looking forward to your minitub pics.How much are you narrowing the rear?Mine is 46 5/8 end to end,3 inches off each side of A-body length.But I used a C-body donor housing.Didn't have it in me to chop the A housing.8)

I picked up a B BODY housing from a guy down the street from me for $50.00 with the axles the same week I picked up the car. I was going to do a DANA even after I bought it but could never find time to pick it up.

It is getting shortened 3 3/4" on each side. BS on the wheels is at 5 1/2". 15x10's this puts the tire dead on center after the mini tub.
 
Awesome! I just found this.and it looks great!
Add me to the list for the parts list and the powerpoint please!

How did you locate all your mounting points and stuff? What is the geometry like? What percent antisquat are you looking at?
 
Awesome! I just found this.and it looks great!
Add me to the list for the parts list and the powerpoint please!

How did you locate all your mounting points and stuff? What is the geometry like? What percent antisquat are you looking at?

This was an as built project. I cycled the suspension and the geometry is perfect. No binding etc and it will go REAL LOW, Low Rider Low, anybody got a block of magnesium so I can throw some rainbow sparks?? haaaaaa:-D

I have not calculated the Anti Squat. Reason being this in not a full tube chassis car and the links are alot shorter. On a regular link set up you have SEVERAL holes for adjustment that would help the DRAG RACER fine tune the system. This set up here is more of a Weekend Street/Strip set up. Not a FULL RACE DEAL.

I had the pinion set at 0 during mock up and when I cycled the suspension 5" each way up or down it holds the pinion angle dead on 0. So after the drive train is installed I will get the correct pinion angle per the output shaft of the trans and set it from there. It should stay dead on where ever I set it at through all of the suspension travel.
 
Non the less it looks to be very strong! So with dimensions you are doing a power point presentation?

For some reason my Power point program has never worked. I guess I should try a reinstall..
 
Non the less it looks to be very strong! So with dimensions you are doing a power point presentation?

For some reason my Power point program has never worked. I guess I should try a reinstall..

Someone put those words in my mouth! I have a PP presentation for the MINI TUB that someone sent me. I guess I could do that........buttttttttttt it will be after I am rolling down the road. I really need to get this thing done!

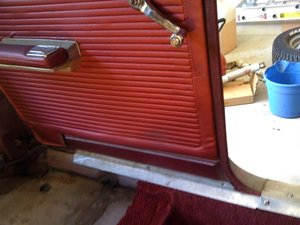
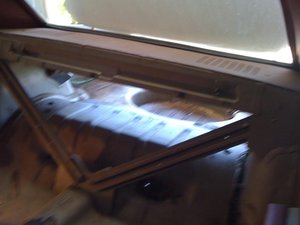
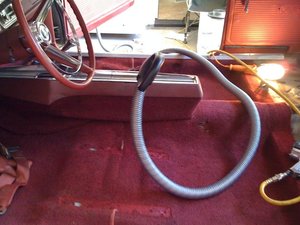
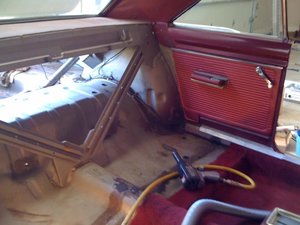
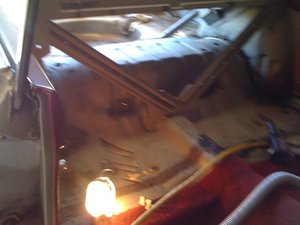
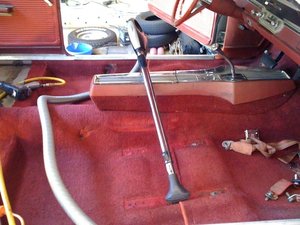
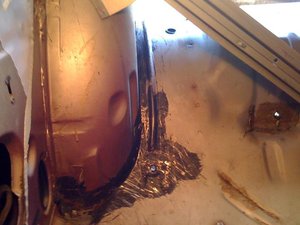
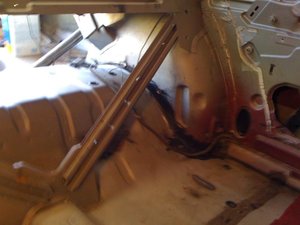
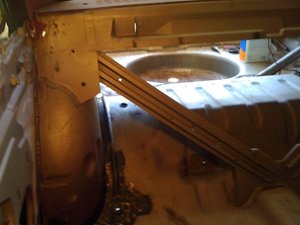
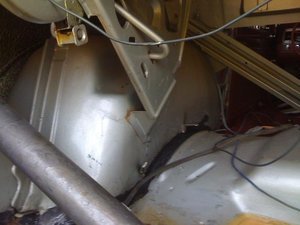
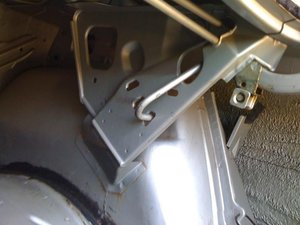
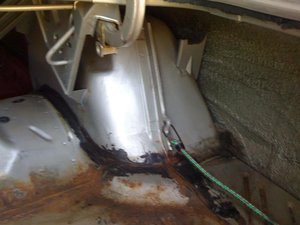
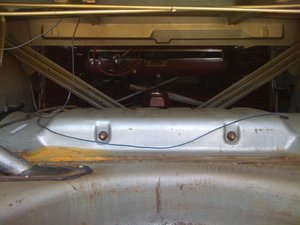
I started on the Mini Tub today took out the seats and rear side panels and scraped all the SEAM SEALER in the trunk and under the seat area. I DID NOT use ANY heat today at all. I am gonna pick up a bigger propane torch head that hooks to a 5 gal propane tank to heat up the under coating in the wheel wells and frame area and scrape it off. What I did today was with a putty knife and screw driver.

349 stroker etc 001.jpg

349 stroker etc 003.jpg

349 stroker etc 004.jpg

349 stroker etc 005.jpg

349 stroker etc 006.jpg

349 stroker etc 007.jpg

349 stroker etc 008.jpg

349 stroker etc 009.jpg

349 stroker etc 010.jpg

349 stroker etc 011.jpg

349 stroker etc 001.jpg


349 stroker etc 003.jpg


349 stroker etc 004.jpg


349 stroker etc 005.jpg


349 stroker etc 006.jpg


349 stroker etc 007.jpg


349 stroker etc 008.jpg


349 stroker etc 009.jpg


349 stroker etc 010.jpg


349 stroker etc 011.jpg
 
Hey Mad Dart don't know me since I'm a lurker of many threads, but could I also have a list for the parts list and the powerpoint please!
Brad

and man may I say this is an Awesome thread to be subscribed too
 
-
Back
Top