Biohazard

-
Here we have one of the chrome trim strips that run along the cargo area side panels getting cleaned. A papre towel, wetted with an anti-microbial, is stuffed into the channel on the backside to thoroughly scrub out any nasty little allergens no matter where they may be hiding. At this rate, I anticipate project completion in about as much time as the Boston Tunnel Project.

IMG_0959_zpscf4cf16e.jpg


A few other bits from the cabin, cleaned and stored.

IMG_0958_zps79b17757.jpg


Removing the old trunk seal. No part of it came off in any form other than crumble. The Ultra Lube was sprayed on and allowed to soak in to help loosen the seal, er...uh..crud.

IMG_0960_zps5388782e.jpg
 
Rear seat disassembly. It is what it is, enjoy the pics:

IMG_0961_zps0a6e3b84.jpg


Took this pic to remind myself how thin the material is that goes between the back plate and the carpet...and to remember that there is some material between the back plate and carpet.

IMG_0962_zps44fcfc0a.jpg


The steel teeth that secure the vinyl top cover. My biggest worry - the teeth can be bent up and down only so many times.

IMG_0965_zpsa61f873f.jpg


IMG_0966_zps3ee064f9.jpg
 
My laptop seems to lock up whenever I have FABO and Photobucket open in 2 simultaneous tabs. Kinda makes updating the thread a bit not fun. But, as it is no less fun than disinfecting each and every screw in the 'cuda, I guess I can deal with it.

Here's all the hard parts from the rear seatback waiting to be cleaned and put away.

IMG_0967_zpsf631ca73.jpg
 
Detailed pics taken so I can be sure of how to reclip all the new soft goods.

 
Thought this was neat. Of course, I'm only assuming that this is the original vinyl but it does seem like it. Anyone familiar with this stamp as being original or reproduction?

IMG_0974_zps9b8b7b40.jpg
 
Thanks, Pauly! Can't wait to see heads turn when I roll this relic down the highway. People who don't look don't matter. :D

Okay, here's the vinyl, foam, cotton batting, and jute strips from the rear seat. I'm holding onto it for now in case I need to reference it while installing the new upholstery but it all went into a large super heavy duty contractor bag, sealed up so it won't get rained on and won't contaminate my back lot.

IMG_0976_zps72b8af2f.jpg
 
Dan,

Does not look like that rear seat back has ever been apart. I would not worry about the teeth breaking off. Mine had been recovered before and had no issue. It takes some extra hands ti compress the springs when installing the new cover. No need to pry the teeth up much either, just enough to un hook the cover.
 
Thanks, Gerald. Good info about pushing the springs down. That will be very helpful when I start putting it all back together.
 
No pictures and no real work this weekend. Did tape off all the holes in the floor pan to seal up the car and set a bowl with an activated sodium chlorite solution inside. Trying to give my little mold colony a kick in the nuts so that further work up under the dash will be a bit safer for the guy doing the work.
 
Are there any part #"s on the cruise control unit? The part # on the rear speaker you took out is a later # in the 80's range (I think). Nice ride
 
So I clocked-in this morning around 9am with my pump sprayer and 3 jugs of clear ammonia. With the arse of the car jacked up a little and a full compliment of disposable clothing, I proceeded to saturate the entire underside of the car. We're talking floor pan, transmission, wheel wells, rear axle assembly, brake assemblies, and I even went thru the engine compartment even though I thought I had it pretty well under control (I hadn't). This stuff made my car smell worse than a neglected catbox, but I pressed forward. I pulled the rear wheels off and sprayed those, too, then made it a point to soak the fins in the radiator and air conditioning condenser.

As I was spraying on the ammonia I noticed that, as it dripped-off, it was carrying away some dirt and grime. Oh yeah, ammonia is a cleaner, isn't it? So, instead of rinsing it off with just a hose, I busted out the pressure washer to capitalize on the cleaning potential. A whole lot of crud came out from under her. Just from the perspective of trying to clean the car, this stuff was a win.

Bottom line: After it dried, I stuck my head up under one of the wheel arches and HO - LEE - COW...the moldy stank is gone! This stuff is just what the doctor ordered.

So, today, I went back to the store and got 4 more jugs of cat pee so I can do a repeat on the belly of the beast and also spray down into all of the hard to reach spots inside the car but that will have to wait until I finish pulling everything out from under the dash.

today was a good day
 
Mixed up a tub of ammonia/water and soaked the car cover. Worked famously.

Been dipping parts in the same tub to ensure cleanliness. With this technique, I may even be able to keep the defroster ducts whereas before, I was sure they were gonna get tossed and replaced.

Just can not wait to do the inside.
 
Thread is getting boring due to lack of pictures (yes I know). Unless you wanna see my tub of cat whiz, there'd be little point to me posting any of this weekend's work. So here's the only photo I already have in photobucket of my first fish. Just for kicks, that is.

157_zps7cb411bd.jpg
 
Getting behind on the posting.

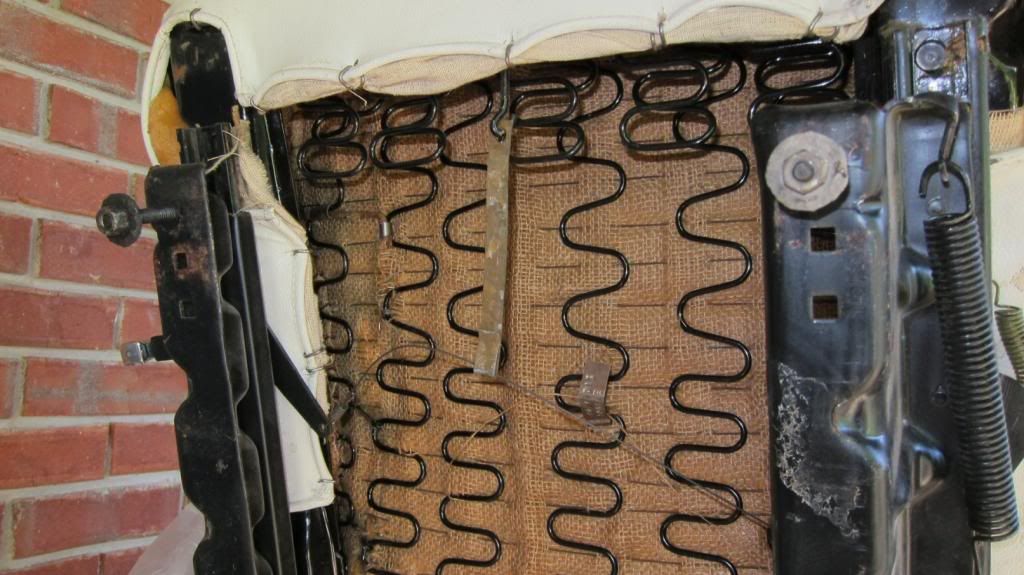
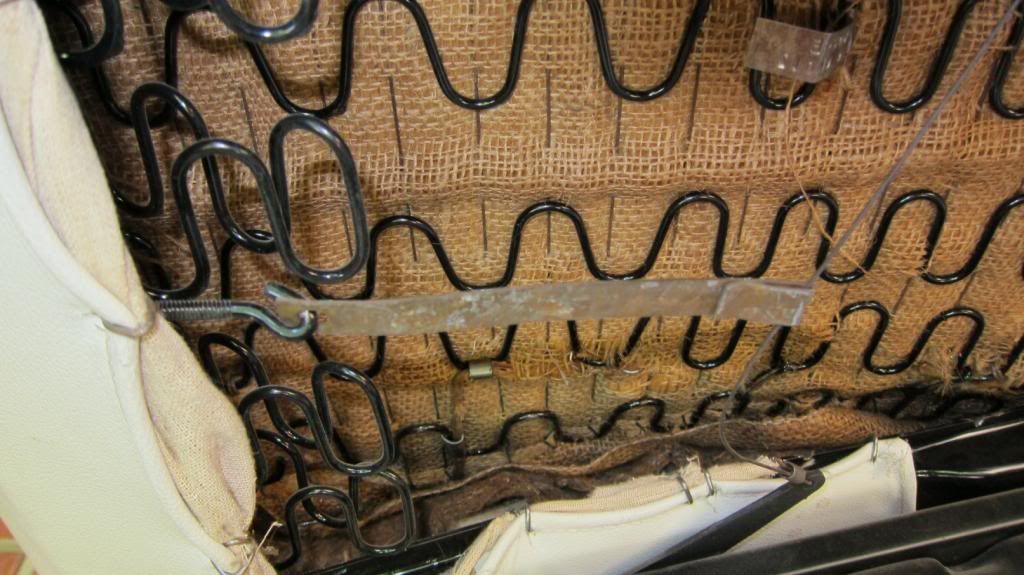
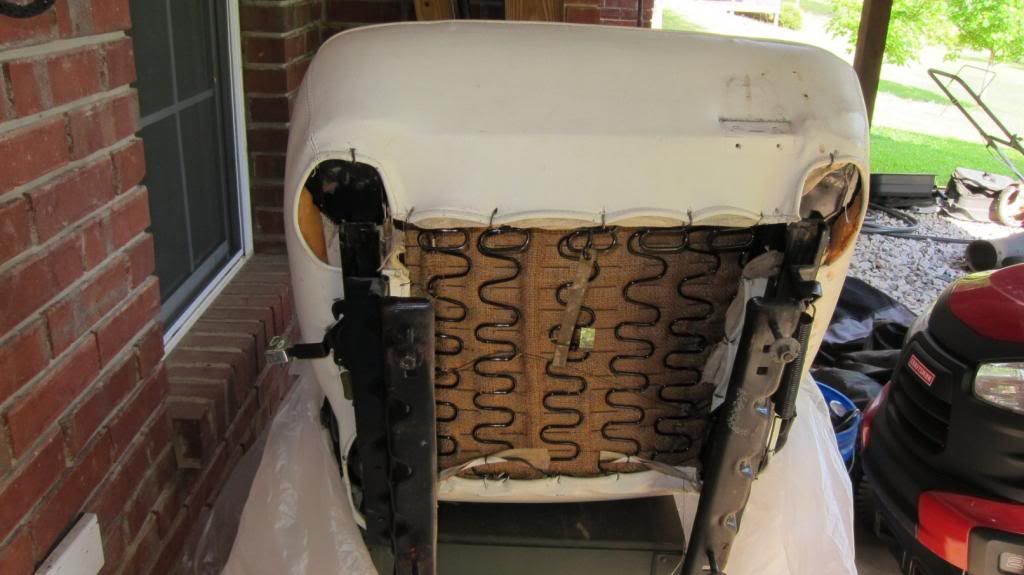
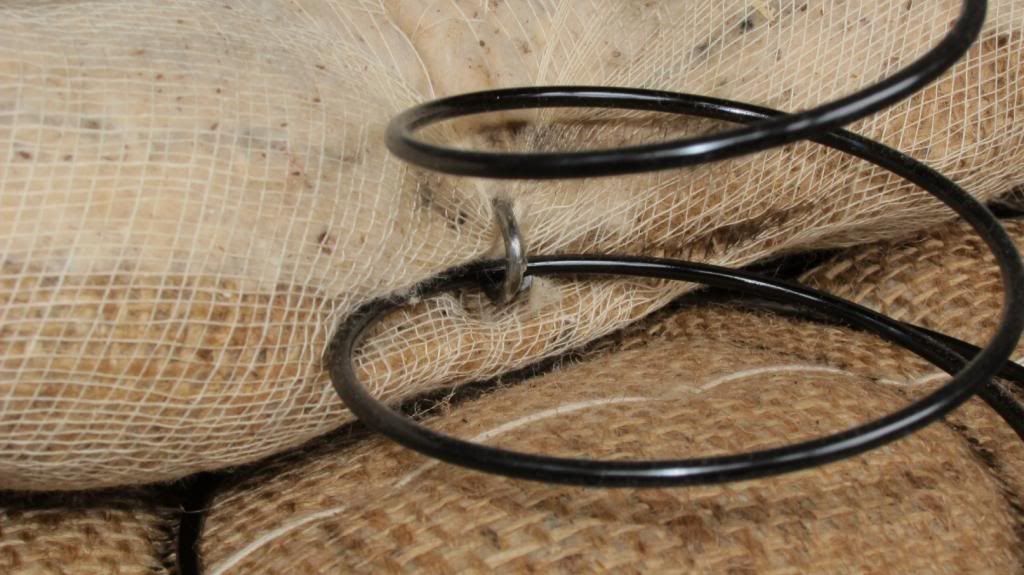
I really didn't do anything with the bucket seats yet. The backs and bottoms have been separated and each piece sealed up in some very large and uber heavy-duty bags.

IMG_0977_zps57c94eb5.jpg


IMG_0978_zps56b63da9.jpg


IMG_0979_zps84911d70.jpg


The vinyl was not in horrible condition but not great, either. Still, its not something that can be sanitized so...gone.
 
So it was time to get serious about the painful, but necessary, dash area disassembly. As the instrument cluster and sub components were taken out, I took many photos for a reassembly reference. Like this one...

IMG_0980_zpsef18eebb.jpg


...and this one...

IMG_0981_zps336f47c8.jpg


...Pulling out the HVAC control unit:

IMG_0983_zps92724f2d.jpg


...which needs a good cleaning like everything else.

69pb1_zps3d1d4e2b.jpg


The front speaker is toast, lol.

69pb2_zpsdb1384cd.jpg


69pb3_zpsf8b295dc.jpg
 
More photos from the dash destruction.

The glove box. Sagging like they all do but, being paper, not cleanable. Ripped it out, saved the little plastic lens for the glovebox light, and tossed it.

In memorium:

69pb10_zps8b7d6023.jpg


69pb11_zps140c794a.jpg
 
Here's some of the cool stuff found in the glove box.

First up, the original owner's manual:

69pb5_zps4c4efc25.jpg


Then there was this vintage map of Tucson. Fitting, since that's where the car is from. I plan to save it, and the owner's manual, but they will have to remain in the ziploc bags.

69pb6_zps4ed8b518.jpg


**Looked this up: The Valley National Bank of Arizona (the source for the above map) operated as a bank under that name from 1935 to 1992.

While we're on the subject of Arizona...

69pb7_zps630c758d.jpg


Yeah...that's staying there. :D
 
All the independant units now removed from the dash, I have access to the vent-ac-heater box and the last of the firewall insulation.

*Just to reiterate: the mold spore count inside this car is insane. Getting rid of where the spores live is paramount. Seeing the few remaining insulation panels and being this close to eliminating them is very exciting for me. Its the light at the end of the proverbial tunnel.

69pb9_zps682e1ad6.jpg


And the stinky stuff up close:

69pb12_zpse3598b7f.jpg


I really want the dash frame out. I have a buddy at the local glass shop I'll have to enlist his aid to remove the windshield so I can have access to the dash frame hardware under the windshield gasket.
 
I got the heater box out without removing the dash frame. This reinforced the notion that...I really want to remove the dash frame, lol. The cleaning process will be easier and more effective and the reassembly will be immensely more pleasant.

Draining the coolant. Hah! I thought the antifreeze was in good shape because it seemed like one of those simple things that the grandson might have done when he put in the new plugs, wires, and filter and the color of the coolant looked really fresh when viewed at the radiator cap. Well, dumping the coolant into a bucket was very revealing as a pantload of sediment drained out with it and quickly settled to the bottom. Boy am I glad I did that! I'll be doing a very thorough flushing of the whole system and refilling with fresh stuff.

The heater box itself had some stuck-on insulation which I soaked with Windex (I had an econo jug of it and it's ammonia-based) to loosen. Sprayed the heater core and A/C evaporator with it, too, and then hosed everything off. Ran inside to check on the availability of replacement seals, gaskets and such but it hardly matters since it all has to go anyway. It's just nice to know that all that stuff is readily replaceable. Sprayed everything with the Windex, let it sit, then rinsed. Ultimately, it will all get re-treated with pure ammonia.

The heater core belched rusty water and more sediment when fresh water was pushed through it at the inlet and outlet. Ran it through in both directions till clean water consistently poured back out.

Just needed to give this whole assembly a cursory cleaning off to reduce its hazardousness while sitting in the driveway.
 
Getting behind on the posting.

I really didn't do anything with the bucket seats yet. The backs and bottoms have been separated and each piece sealed up in some very large and uber heavy-duty bags.


The vinyl was not in horrible condition but not great, either. Still, its not something that can be sanitized so...gone.
Man, that is too bad. Those seats and padding look like they are in perfect shape! Im currently doing the front buckets in my 70 project and the foam and burlap is just gone from dry rot. I have put a ton of work and cash into the front seats over the last 6 weeks. As far as the dash frame goes, you can pull the steering column and heater box and get to all the insulation easily. pulling the frame takes on a whole new project.
 
-
Back
Top