can anyone share some quarter panel install photos ?

-

fez440

Well-Known Member
Joined
Jun 19, 2006
Messages
809
Reaction score
110
Location
bc canada
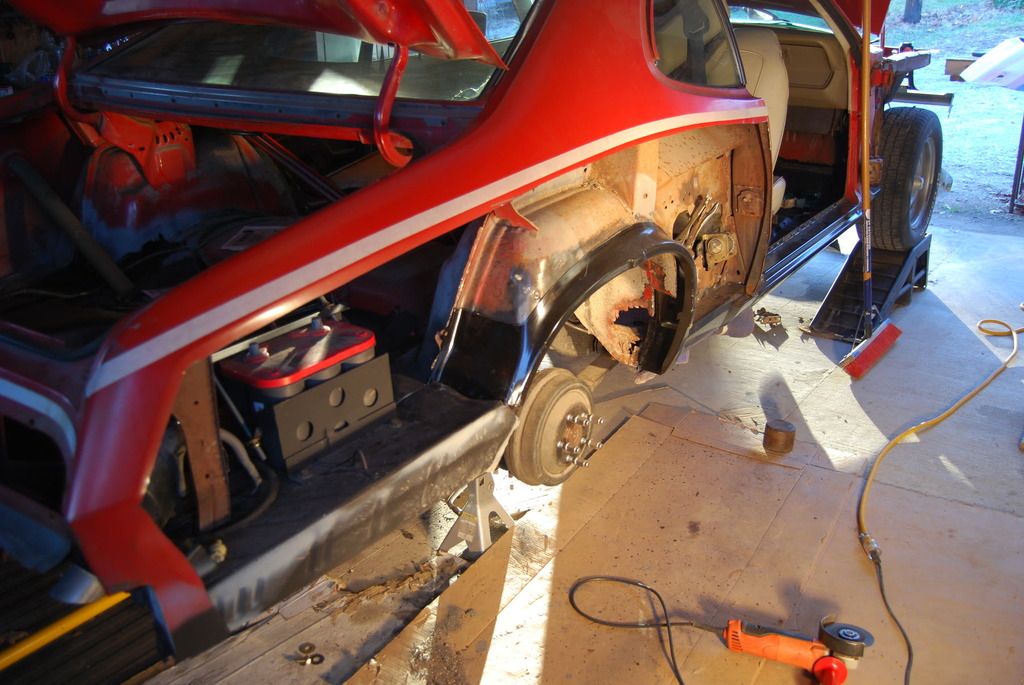
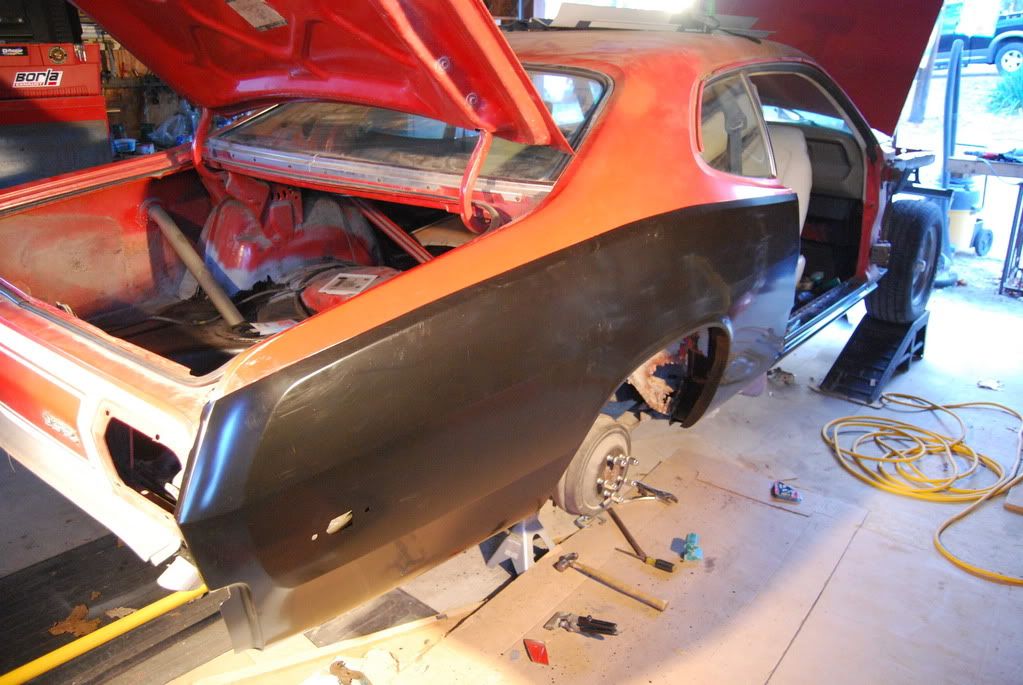
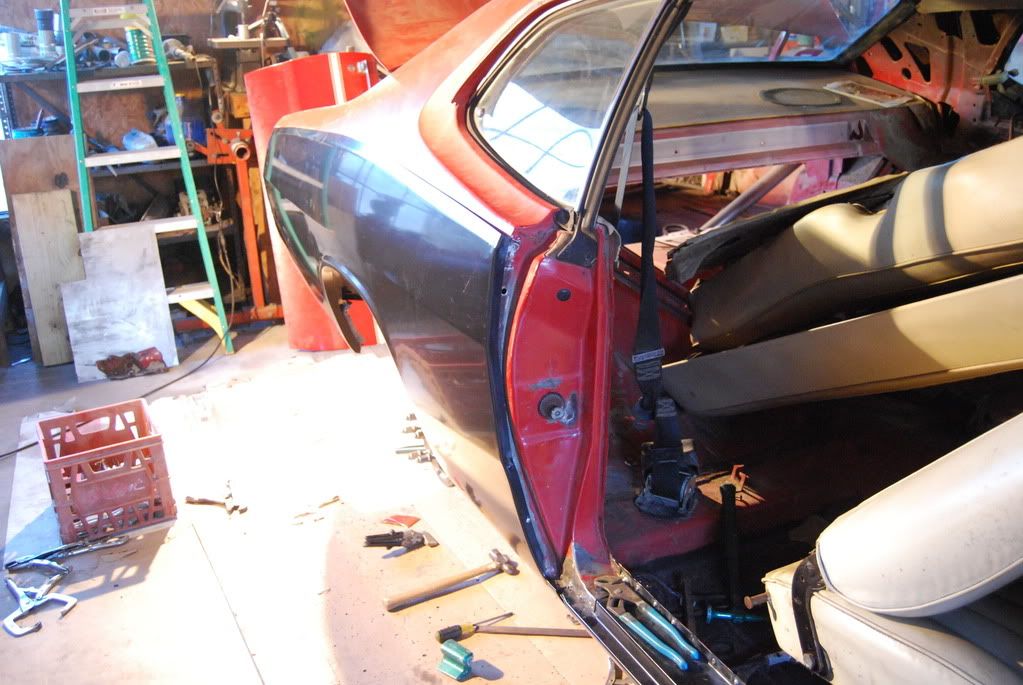
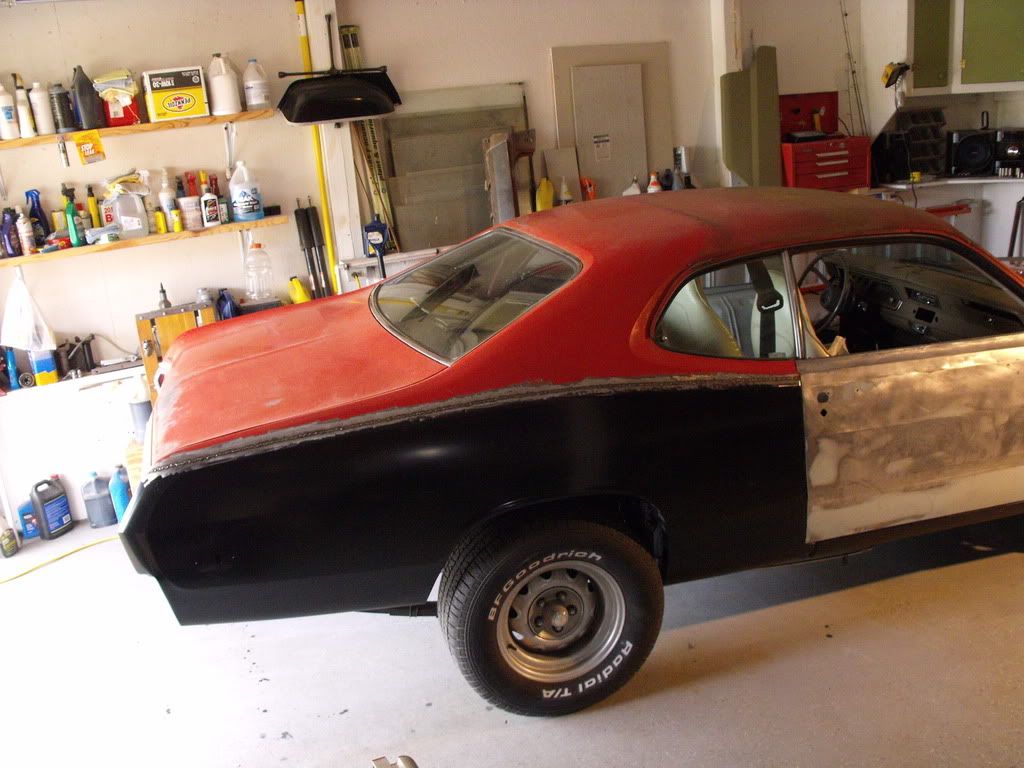
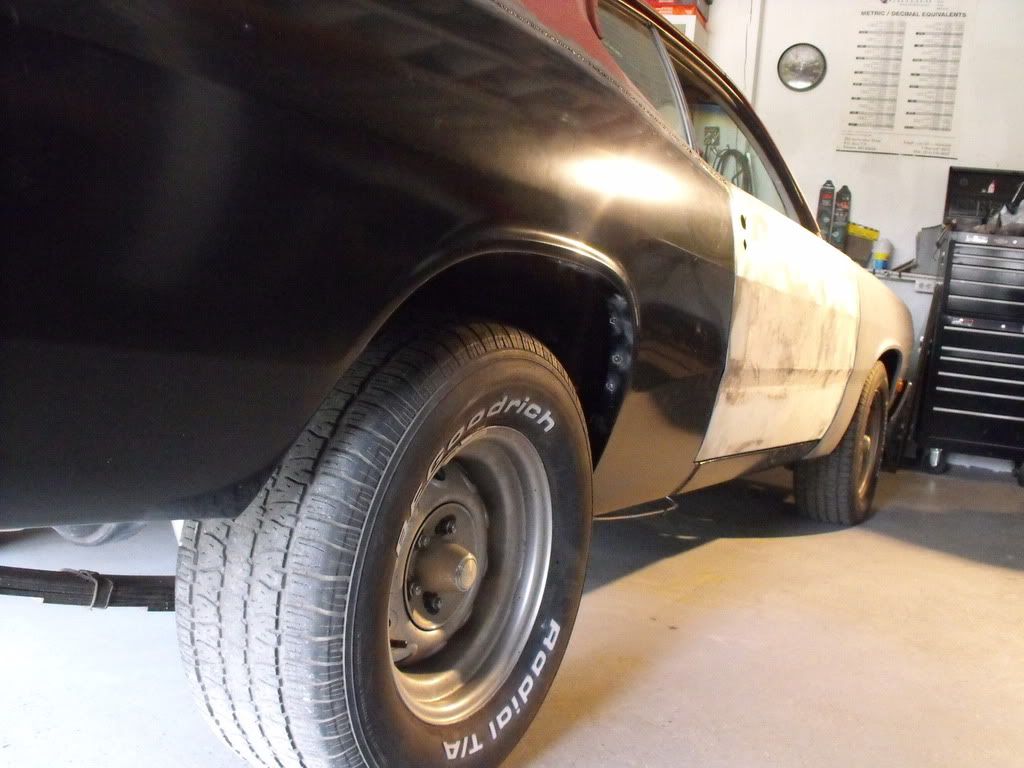
hi everyone, i am trying to get some knowledge on how people install quarter panels on a Demon/Duster. not the full quarter but the ones that are butt welded into place. any photos of how its done would be awesome. id really like to see how they are install to the tail panel as the quarters dont have the groove to fit in behide it. any thing you can show me to help would be really apperciated. i am trying to learn from photos for now before i go out and maybe tackle it on my dads car :)
 
Send a PM to Dusterdude72,he just replaced his on his Duster.You can also hit the SEARCH option at the top of the page,punch in Dusterdude72 and Members Restorations.Maybe you can find his thread and checkout his recent pics.Good luck.
 
Sure, my project started out as repairing my passenger side rocker panel... one thing led to another and I ended up cutting the side of the car off... Hopefully my pics will help! I highly recomend AMD Sheet metal!

DSC_4268.jpg


In this one the rocker panel is cut off and I am working on the cutting the quarter off. I used the new quarter as a templete. The tape is there to keep me from cutting too much off.

DSC_4343.jpg


I found that my outer wheel house was pretty ate up with rust. Also the dill-hole who had the car before me did a nice hack job to the rear seat belt mount... have to fix that too.

DSC_4360.jpg


The new AMD Rocker panel

DSC_4389.jpg


Fixing the wheel house

DSC_4415.jpg


New wheel house sectioned on to the old one

DSC_4419.jpg


Here is the new quarter panel, double checking the wheel house before it is welded in place.

DSC_4447.jpg


DSC_4445.jpg


Here it is, pretty much as it sits now. I am finishing the work on the driver side door. The new quarter panel is not going to take very much work (hopefully) to smooth out and hide the weld.

0417111458.jpg


DSCF0075.jpg


DSCF0076.jpg


I am not very good at body work, it takes me a very long time (or I am very slow at it)... Either way, I hope this helps!
 
Here is a slightly different approach. This is an old Goodmark skin and it didn't fit very well at the door jamb and at the back so we spliced it in differently than the previous poster. We also went below the bodyline.
We also replaced the trunk extension and the complete outer wheel house. The extension took some massaging as it was an older one (can't remember where I got it) but the outer wheelhouse was an AMD unit and a very nice part.
Dallas
 

Attachments

  • IMG_6302 (Small).JPG
    63.1 KB · Views: 1,315
  • IMG_6304 (Small).JPG
    54.7 KB · Views: 1,278
I went over the welds with a coat of Duraglass, knocked that down with a grinder, then gave it a skim coat or 2 of regular filler, which I sanded with 80 grit and finished up with 220.
 

Attachments

  • IMG_6325 (Small).JPG
    56.3 KB · Views: 1,297
Not going bad for a quickie...... here it is the next day after a couple of coats of high build primer.
 

Attachments

  • IMG_6327 (Small).JPG
    53.7 KB · Views: 1,260
While the primer was drying I seam sealed all the trunk seams. It doesn't show up much in this pic but I also textured the inside of the quarter like the original. After that dried overnight we epoxy primed the trunk early in the morning, and painted it about noon.
After lunch, while inside the trunk was drying, we wet sanded the quarter with a block and 400 grit, blew it off, did a bit more masking and shot it with some single stage enamel later in the day. I think it turned out pretty good for a 'quickie'.
Dallas
 

Attachments

  • IMG_6332 (Small).JPG
    61 KB · Views: 1,301
  • IMG_6336 (Small).JPG
    63.7 KB · Views: 1,301
Thanks for the mention Scott!

the link to my build thread is located below in my signature.

I did half quarter patch installs with AMD panels so the majority of the panel's except on the bottom (wheel well's and trunk extention's) I ended up butt welding into place.

if you need any tips or advice feel free to send me a PM and I will try to answer your questions.

I have not got mine painted yet but I have got the metal work on my duster pretty much done.

and a good tip that was previously mentioned which I also did on mine was after grinding down your weld to use duraglass ....the fiberglass strands will help add a bit more strength at your weld seam. then grind it down and come back over it with a skim coat of filler.

there is alot of tricks to know when installing panels and without knowing you might find your self in a bit of a situation.
 
Here you go, hope these help with what you were wanting to know if you need anything else let me know...good luck. I tried to show all the attaching points, notice I had to cut and reweld down low by the passenger rocker panel for it to get a nice fit but the drivers side fit great, make sure you get good penetration at the quarter seam !!! Once I ground the inside seam down it should be impossible to tell it was re-skinned...I hope.
 

Attachments

  • duster 002.jpg
    45.5 KB · Views: 1,256
  • duster 016.jpg
    65.1 KB · Views: 1,206
  • duster 015.jpg
    41.2 KB · Views: 1,212
  • duster 014.jpg
    55.3 KB · Views: 1,241
  • duster 013.jpg
    53.9 KB · Views: 1,241
  • duster 012.jpg
    54.5 KB · Views: 1,229
  • duster 010.jpg
    56.8 KB · Views: 1,228
  • duster 003.jpg
    66.9 KB · Views: 1,254
  • duster 008.jpg
    57.4 KB · Views: 1,267
  • duster 009.jpg
    54.4 KB · Views: 1,269
yeh those photos make sence to me, thing is i dont have any quarter panel behind the tail panel, as you can see from the pic.. so i am thinking i have to somehow make the groove in the quarter. sorry im a noob :p hehe
 

Attachments

  • CIMG1764.jpg
    62.1 KB · Views: 1,157
While the primer was drying I seam sealed all the trunk seams. It doesn't show up much in this pic but I also textured the inside of the quarter like the original. After that dried overnight we epoxy primed the trunk early in the morning, and painted it about noon.
After lunch, while inside the trunk was drying, we wet sanded the quarter with a block and 400 grit, blew it off, did a bit more masking and shot it with some single stage enamel later in the day. I think it turned out pretty good for a 'quickie'.
Dallas


MOBodyman,
What product did you use to texture the inside of the quarter panels in the trunk area? Thanks. L8r

Jim
 
im wondering when installing the OE quarter panels what do you do to hide the joint at the roof line? do you have to re lead it? can you put a patch in and butt weld it? and how do you take apart the dip rail to get at the quarter? is there lead there also?
 
MOBodyman,
What product did you use to texture the inside of the quarter panels in the trunk area? Thanks. L8r

Jim

I never realized until this thread popped back up that I didn't answer this question. Somehow I missed it at the time. Anyway, I actually didn't have the 'proper' materials to replicate it (body schutz, as breakstuff mentioned above), and the customer really didn't care if it had anything on it. But I used a few coats of spray can bedliner material to build the area up a little, then used paintable undercoating over that to somewhat duplicate the original texture. It actually looked pretty good.
Dallas
 
im wondering when installing the OE quarter panels what do you do to hide the joint at the roof line? do you have to re lead it? can you put a patch in and butt weld it? and how do you take apart the dip rail to get at the quarter? is there lead there also?

At the quarter/roof joint, the factory used lead on vehicles with painted tops, and some type of 'bondo' on cars that were to get vinyl tops. I use a fiberglass reinforced waterproof filler such as 'Duraglas', then finish with conventional filler.

IIRC the drip rail has a lip on it that is spot welded in the window opening. The gap at the roof skin has seam sealer in it.
Dallas

thank you for the info, helps a lot : )
 
Thanks everyone for posting these pics and descriptions, you are helping a lot of people here.
I have some pics in my build thread of a rear quickie partial quarter replacement i did to my car to get me by until i can afford to do a full quarter replacement......
AMD panels fit pretty good.
 
-
Back
Top