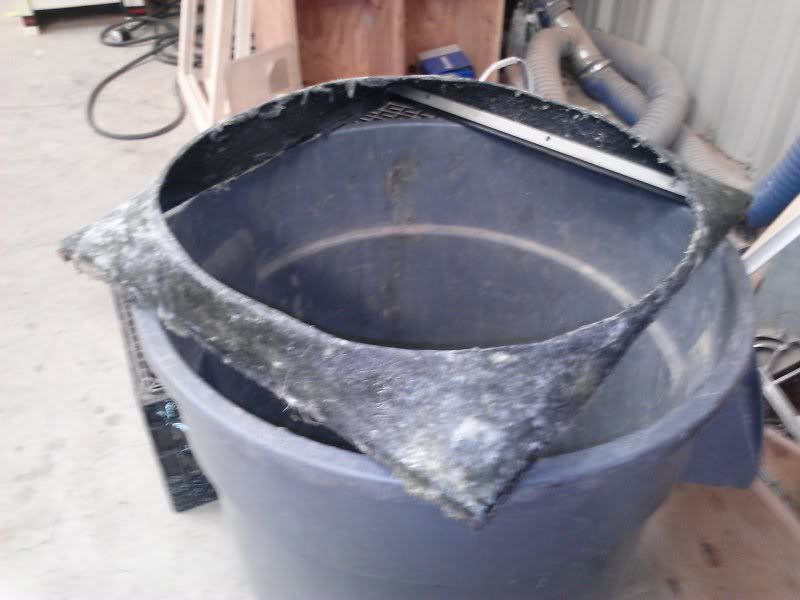
DIY small radiator Shroud

-

Serj22

Well-Known Member
Joined
Feb 14, 2013
Messages
1,231
Reaction score
60
Location
Benicia, CA East Bay
So, tomorrow morning I'm starting a project and figured I'd take some in depth shots and instructions in case anyone wanted to follow suit. I'll be making a fiberglass radiator shroud for my small radiator. The usable surface area is 18 1/2" wide, and 17 1/2" tall without making any special cuts for hoses or the transmission cooler lines. It will come back on the sides 3/4" and I'll be using carbon fiber to make the corners a bit tougher where it wraps the radiator. I have some left over and wanted to incorporate it somewhere.

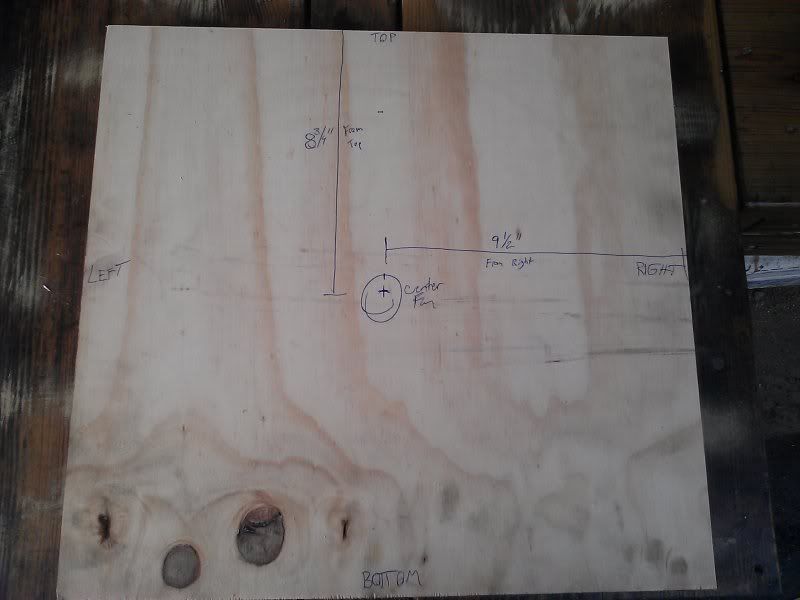
I personally have a 16" diameter mechanical plastic fan with no clutch, and it almost sits center at 8 3/4" down from the top and 9 1/2" from the right side if you are in the engine bay looking at the radiator. I am allowing 1" of clearance around the entire fan, in case the engine rocks a bit - I do not want the fan to explode on the shroud, or the shroud to explode, or both, since both are plastic. SO the diameter of the opening in the shroud will be 18" diameter. Maybe I can shrink that dimension, but I'd rather have 1/4" of wasted space than a broken fan if you know what I mean.

My particular fan expands forward towards the radiator when it is in higher speeds, so my shroud only needs to extend out 1 1/2" from the radiator bracket. This will encase half the fan in the shroud, and half out at about 1200RPM and higher. At lower speeds, like idle, the fan will only be just barely outside the shroud.

Your design may be different buy maybe someone else can use these exact notes to make a copy.

Tomorrow I'll start a plywood buildup of the mold, and maybe have time to wrap it in fabric.
I usually search for this kind of stuff online, and sometimes its difficult to find, but since I know how to do it, I'll post it in case someone else needs help - just reserving the thread space and explaining the project. This will be pic heavy.
 
Good!
I made one for myself last spring, made notes and took a bunch of pics. It just didn't make it to the site. If I can find my notes I will let you know of anything I might have done different.
If you have done this type of thing before you shouldn't have any problems.
If you haven't, just remember that with the measurement for the fan center you are taking the shroud out from that point. Kinda hard to explain right now, but if you get it backwards you will be building the mirror image which places the center point in a different spot.
C
 
clhyer. I made very sure to always make note of my orientation since it is off to one side by about 3/4 of an inch.
Valiant 1966 - yeah - pretty similar. Didn't see that though. This one will have way more pictures when done likely, and be on the ultra cheap.

For this project I made my orientation based on if I was the fan, looking at the radiator, and kept that formula throughout. I used blue pen to show up better in pictures, and this is as basic as it gets, assuming someone reading this has few or no power tools. That part will make sense as it progresses.

With that, let's get started.
I used basic power tools, just so that anyone could pretty much make this. I specifically did not use my router on a compass or anything like that, just so people without, would still be able to make this.
You will need a table saw for this. If you don't have one, use a skil saw. If you don't have one, have Home Depot cut you your two pieces, and then you'll have to go to Harbor freight for a $20 Chicago Jigsaw to make your Circle.

Materials - 1 yard of fleece-like fabric, or an old T-shirt.
- 1 yard of fiberglass chop-mat (trust me it's plenty)
- 1 can of resin, depending on your size shroud, 1qt should be more than enough
- 3 or 4 throw away 2" brushes.
- 1 piece of 3/4" ply larger than the surface area of radiator fins
- 1 piece of 1/2" ply same size.
- Duct tape
- 3 nails

First, get the center point of the fan and where it points at the radiator. Measure all 4 directions just to be sure, then measure again. Mess this part up and you may as well scrap the project. If the fan is perfectly center - then easier on you. But in this case it's not.

Second, I got some 1/2" plywood, and some 3/4" plywood. It does not matter which kind, just go get something cheap or left over.

For this particular radiator (slant 6) it has a 17 1/2" tall section, that is 18 1/2" wide.

The fan is 16" in diameter, and I made a hole about 18" in diameter. This allows 1" all the way around in case the engine moves a bit.

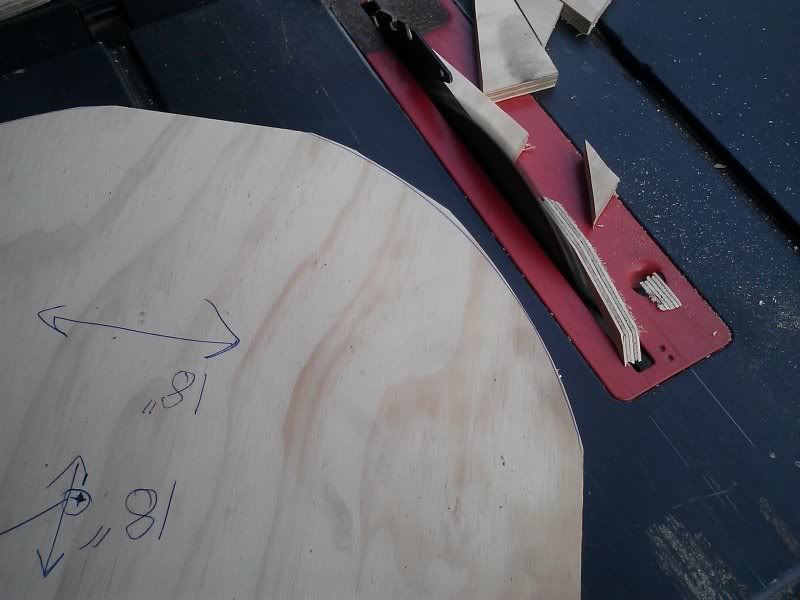
SO cut that 3/4" piece to the shape of the rad surface:


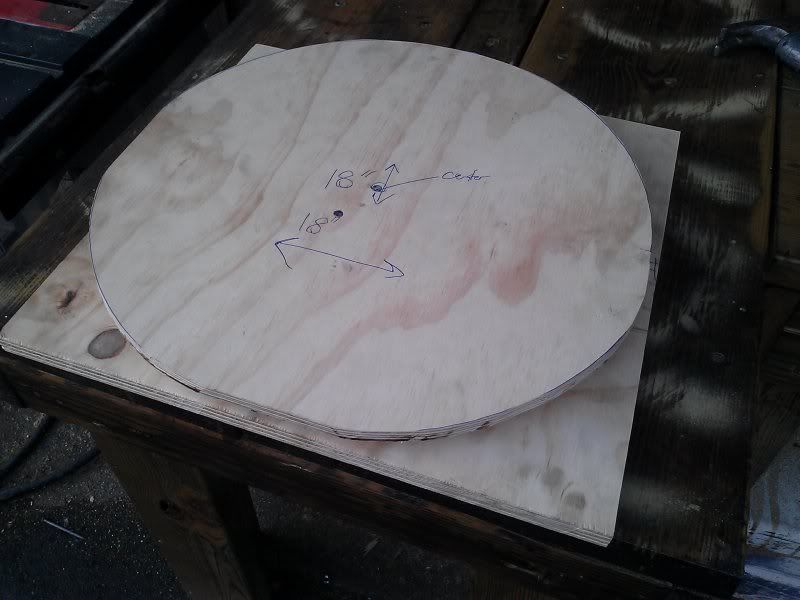
Then. Mark your center point of the fan with a cross, and circle it. This fan centers at 9.5" from the right. And it is 8 3/4" from the top.

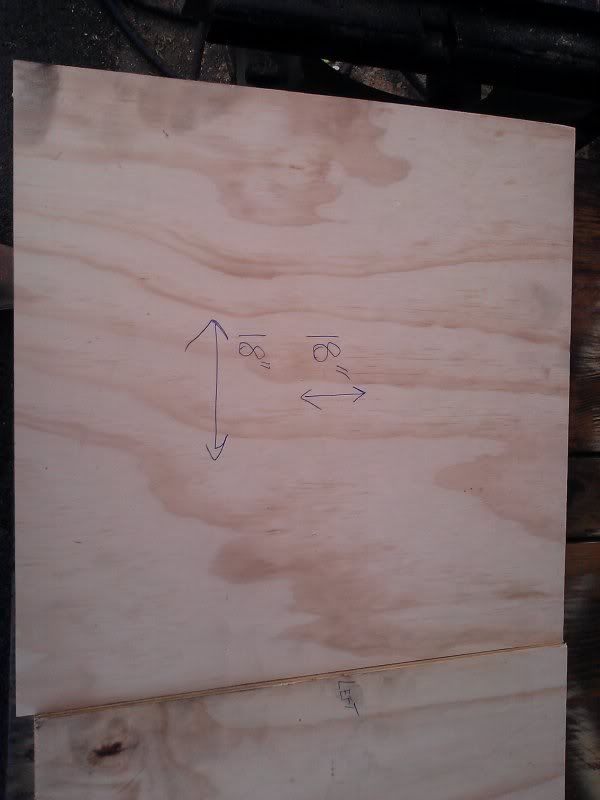
Once you have the piece cut, and the center marked, then it's time to get out your 1/2" piece. For ease of use, cut this piece square to the diameter of the opening, so in this case, it's 18" x 18".


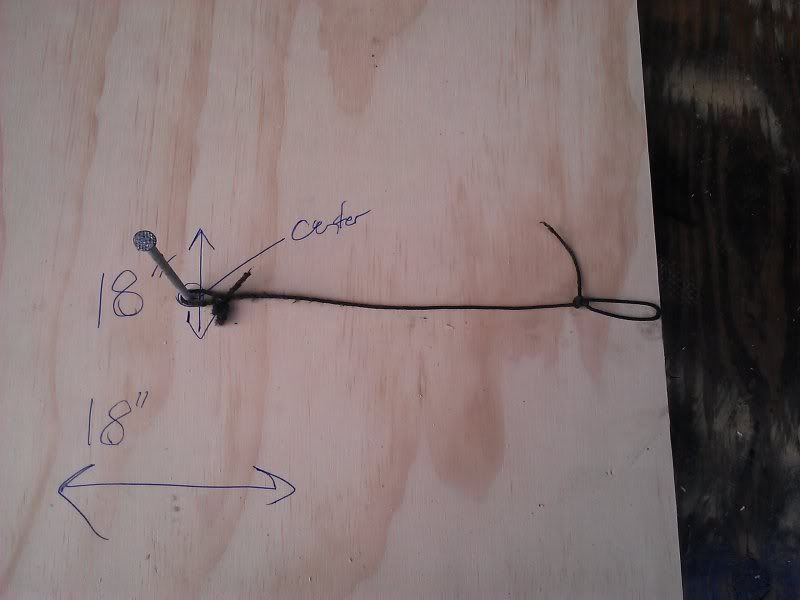
Mark your center, and be sure it's 9" from all sides, or whatever your opening radius is.

After you mark it, hammer a nail into it slightly right on center. (you can use a compass for this part, but right now we're assuming you don't have one. Take a piece of string and tie a small loop in the end, then slip it over the nail. Take the other end and tie a loop so the end of the loop is just over the edge of the board.


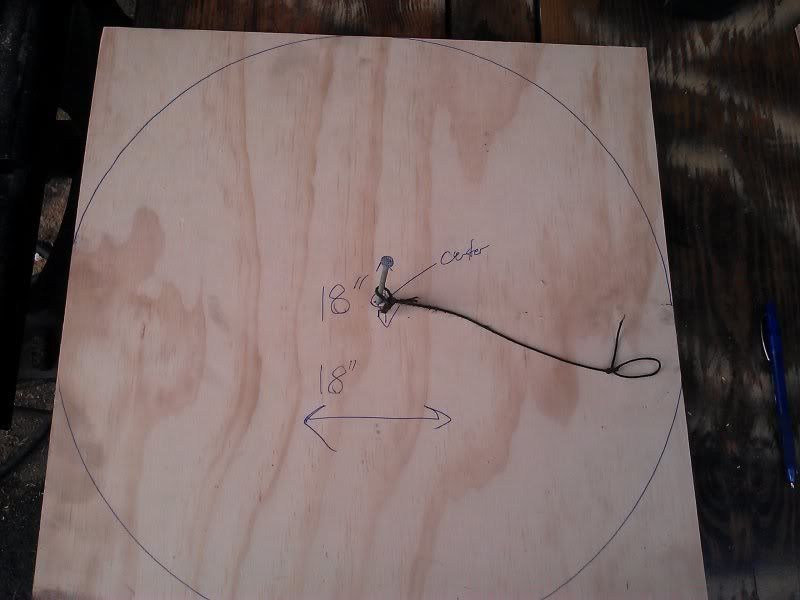
IS this an exact way to make a circle? No. But it is simple. Take a pen or pencil and slip the end of the loop over it, then stretch away from the nail hard, and strike your arc 4 times.


You should now have what looks like a circle. Remove the nail.

If you have that $20 jigsaw (or a good one) cut that circle. If you have a table saw, there's hope for you yet. Move the guard away and work safely with the blade down about 1" above the table surface. Cut several straight lines close to the circles edge, then when you have removed most of the excess material, use one hand as an axle, and move the plywood through the saw in a circular motion. With the excess gone, the table saw will have no problem cutting the circle.


Sand the edge if you must, but only if it's completely awful. Small inconsistencies will not matter in the end.

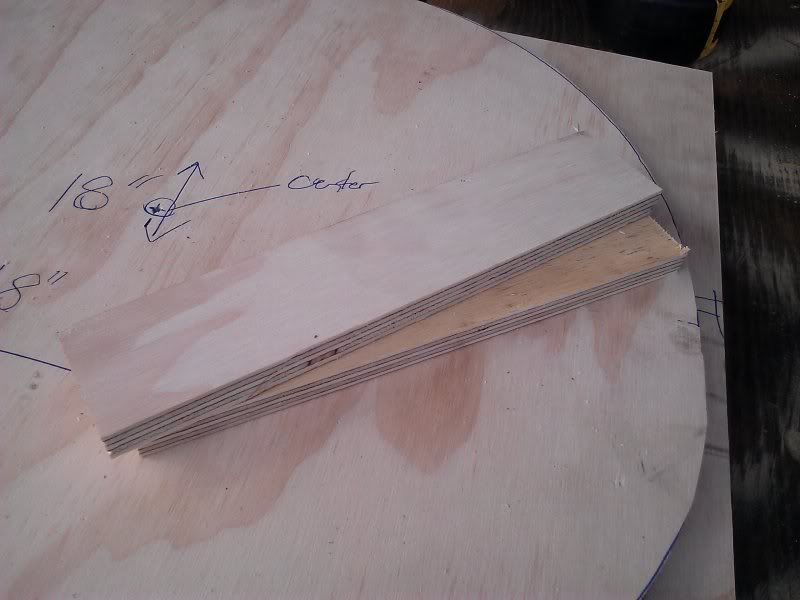
Take some of the excess 1/2" ply from the first cut you made (to get it down to fan diameter)
and take two pieces of it - so that when they're stacked together it will be 1" tall.


The reason for this is the shroud I'm making needs to sit 1 1/2" away from the surface of the radiator. With 1" spacer below the 1/2" ply, you will have your proper height.

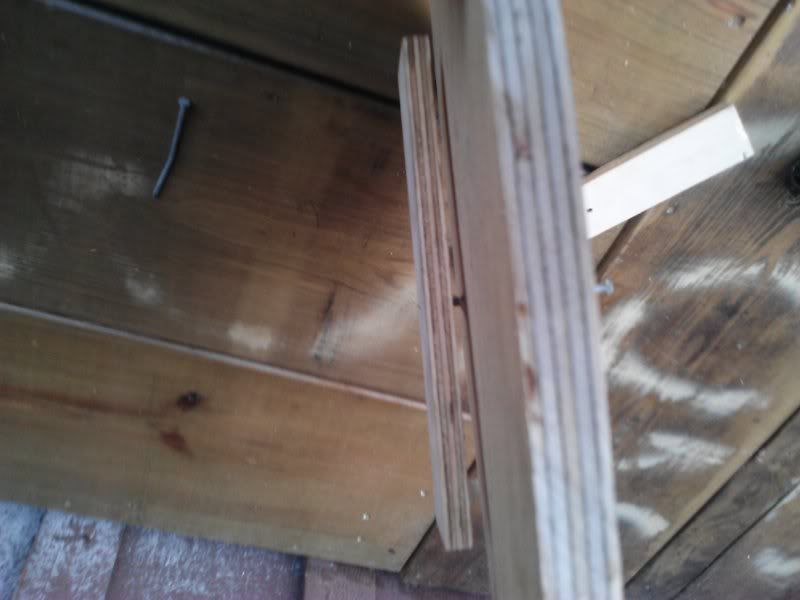
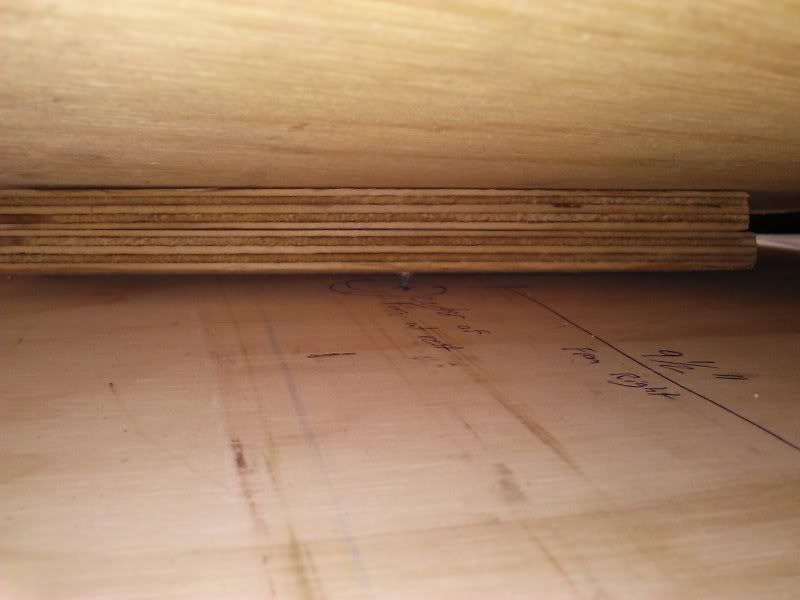
Remember how we needed 3 nails? One is a sacrificial nail. The same one you used to make your circle earlier. Hammer that through the two pieces of scrap so they are nailed together. Then pry them apart. (do not drive the nail all the way through, it will be harder to pull apart).

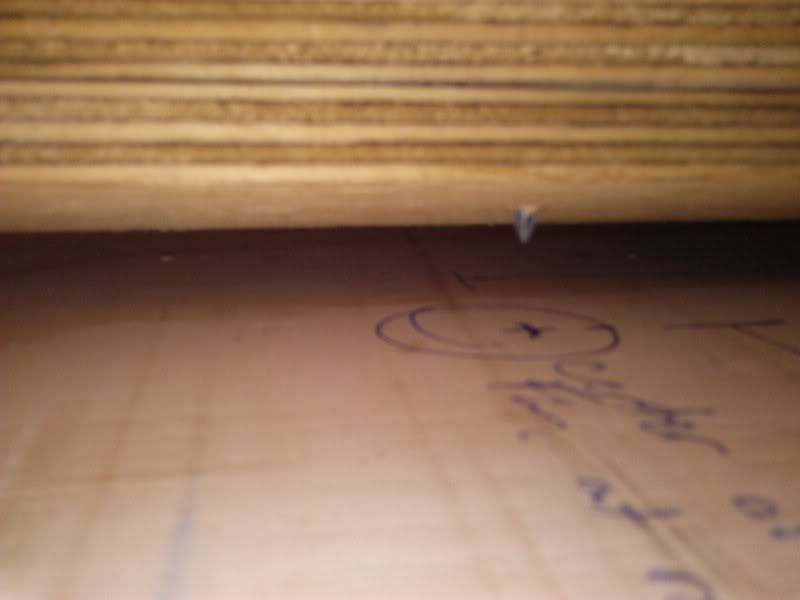
Take your circle, and insert a new, straight nail into the spot you used to make the circle (center). Drive it all the way through the 1/2" ply, until it just barely sticks into your workbench, or a piece of scrap below it. This means the tip is just barely through. Flip the piece sideways and Push one of your previously nailed scraps on, then hammer more.


Then place the other on as well, set the assembly on your bench and nail till it sticks again.
Pull it out of the bench, and then set the circle on top of your radiator main surface area piece of 3/4" wood. Look between the two to mate the tip of the nail to the center of your fan center mark (that was made in the very beginning.) IF you circled it, it will be easier to find when looking through 1" of space.


Once you have it where you are confident it is on center, set the piece straight, and hammer them together. This will ensure the center of the circle is at the center of your fan point on the radiator surface area.

Send another nail through all 4 pieces somewhere else. Just make sure it hits all 4. That way the circle will not spin.


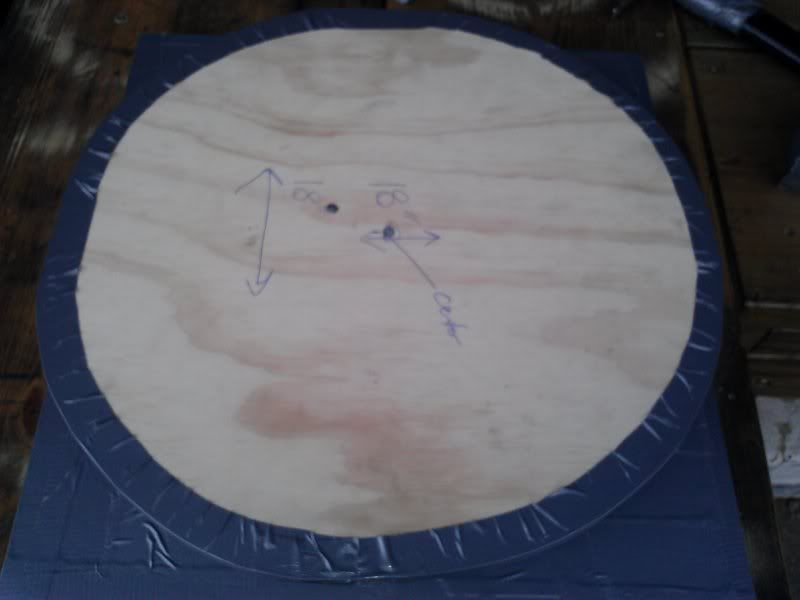
NExt comes the duct tape.

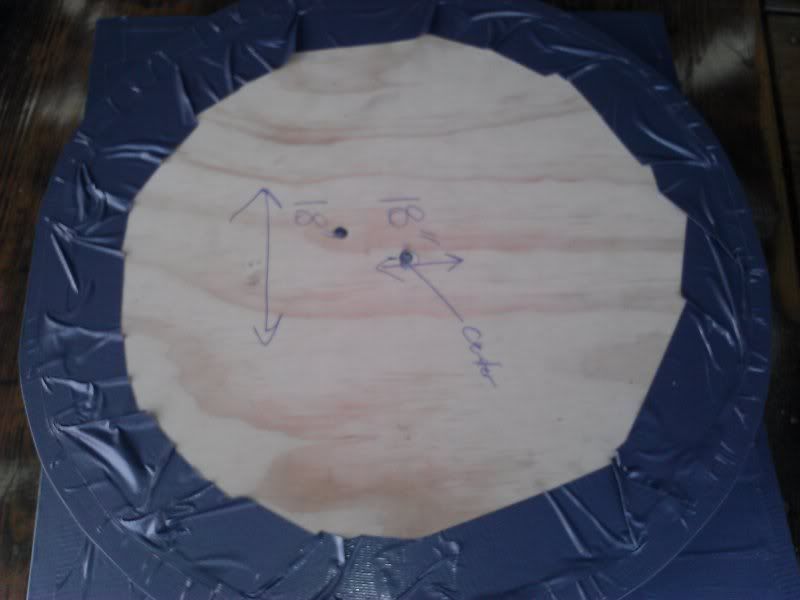
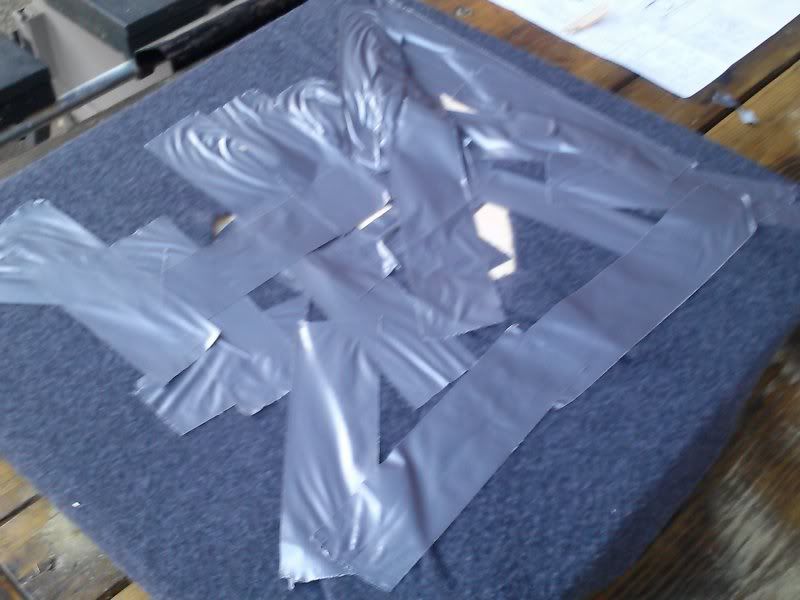
Wrap the EDGES of the 1/2" circle, and the EDGES of the 3/4" piece. This is where a lot of the contact will take place on the fiberglass section. Make sure it's nice duct tape with a pretty glossy surface. This will keep the resin from sticking to the wood.


Then cover up the sections you can see of the 3/4" ply, and then make another wrap on top to be safe.


Flip your form over, and either grind off the nails if there is excess, or bend them over with your hammer. If there is no excess, skip this step.

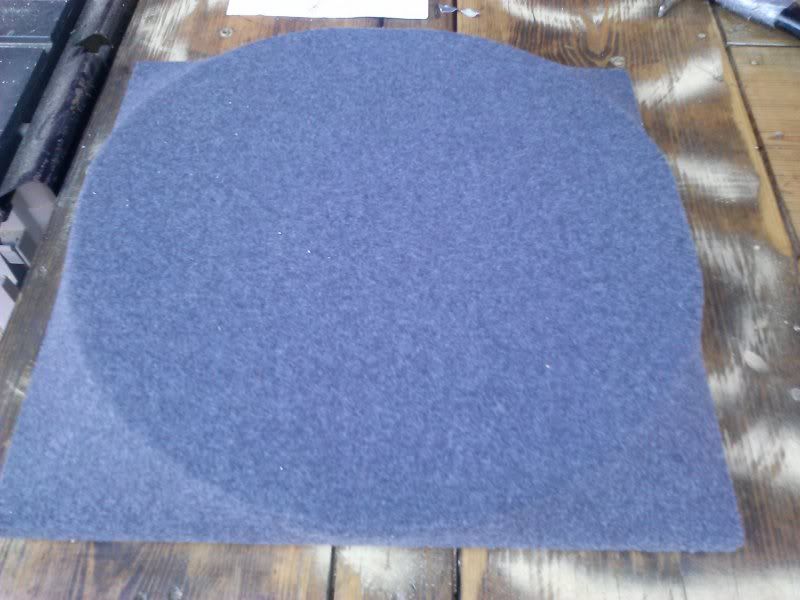
I took the lining out of an old jacket and stretched it over the form. I then duct taped it to the back. You typically use staples for this, but we're going overly simplified here.

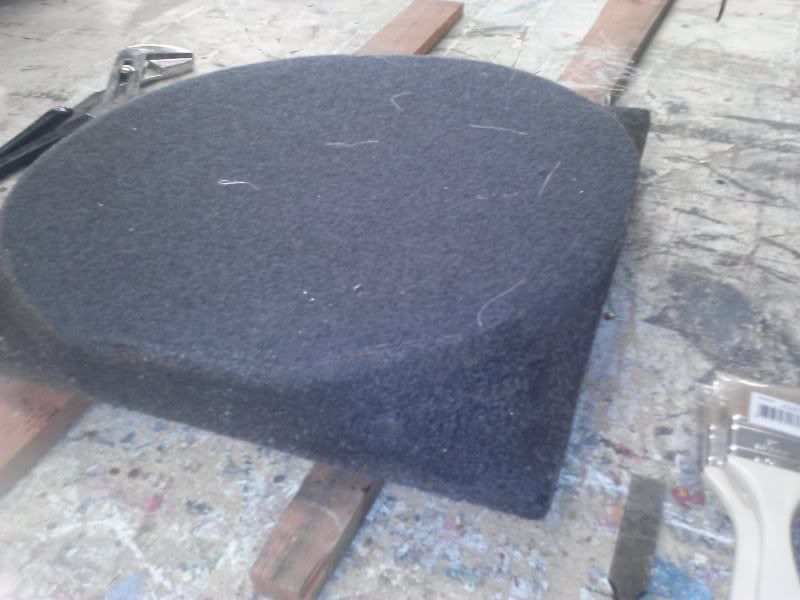
Make sure you stretch it out in all directions as far as you can, flip it over, and you have this:


Now your work looks like what you're going for...

NExt post is glassing:
 
I did have time to glass it today, so here's the next bit.

First, ensure you have a face mask, a towel, a shirt collar stretched over your mouth and nose, or something because chop mat likes to fly everywhere. Get goggles or glasses too if you can, and wear latex gloves or something to keep the sticky shards of death off you.

Ensure your fabric is secure, use more tape or make sure the staples are still holding


Set your mold on two pieces of scrap something, or elevate it above your table somehow. You do not want to accidentally glass the piece to the table.


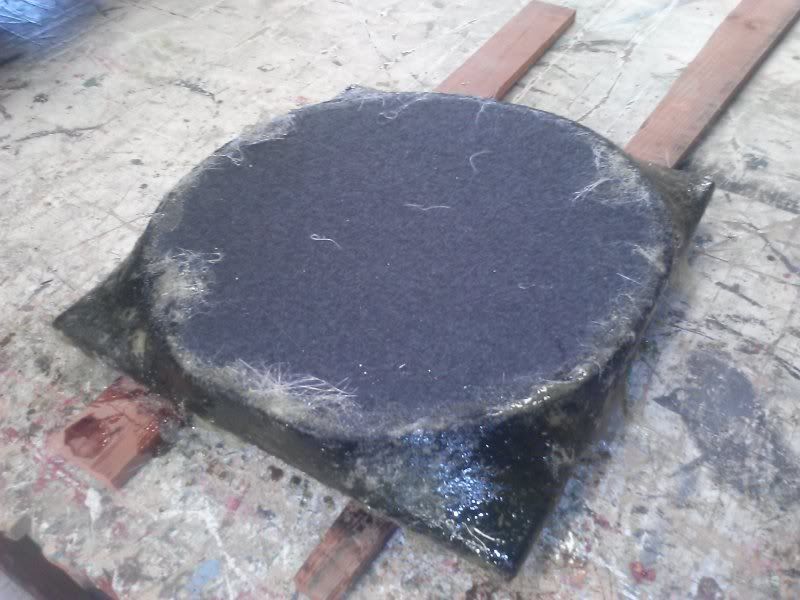
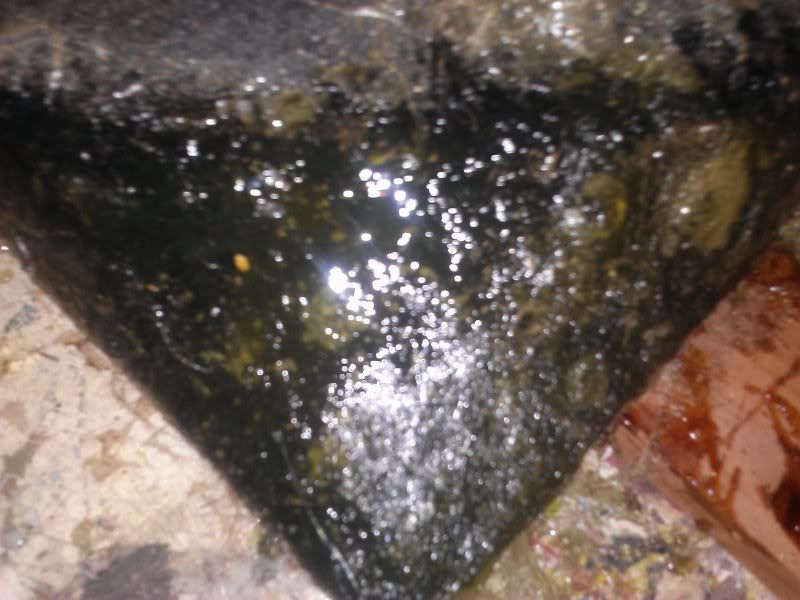
Mix some resin according to the instructions per the can, or mix it a little "hot" if you're impatient. Use a brush to coat the outer edge of your form with resin. DO NOT go resining all over the top of the circle, just a little bit over the top edge. This is hard to see, but the darker area has been coated in resin.


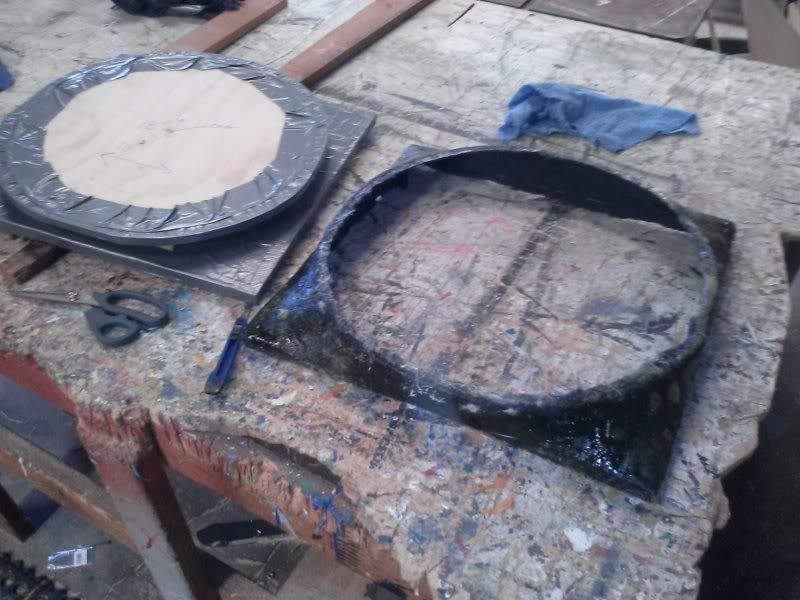
Tear off small pieces of your chop mat and tap them onto the wet resin, then using your brush, dab the top of the pieces with more resin, and then push the brush down hard so the pieces of chop mat look almost invisible. The less you can see the mat, the better you are doing at pushing it down. Go all the way around with it one time. Then layer more mat on as you need to. If you start to see the glass lifting off the piece with your brush, the mixture is too hot. Let the layer dry, and then start more layers later.


See how i just barely overlap the top of the circle? That's the idea here. Cover the sides completely at the base, as they are necessary for mounting later, and help hold the shape.

I got a couple raises in the glass, but that can be fixed at the finishing stage if you are going for a completely finished look (which I am)


See where the glass looks yellow? That means you can see airspace underneath it. If it was all the way down, it would just look grey like the fabric, but have a tint of yellow to it (if that makes sense).

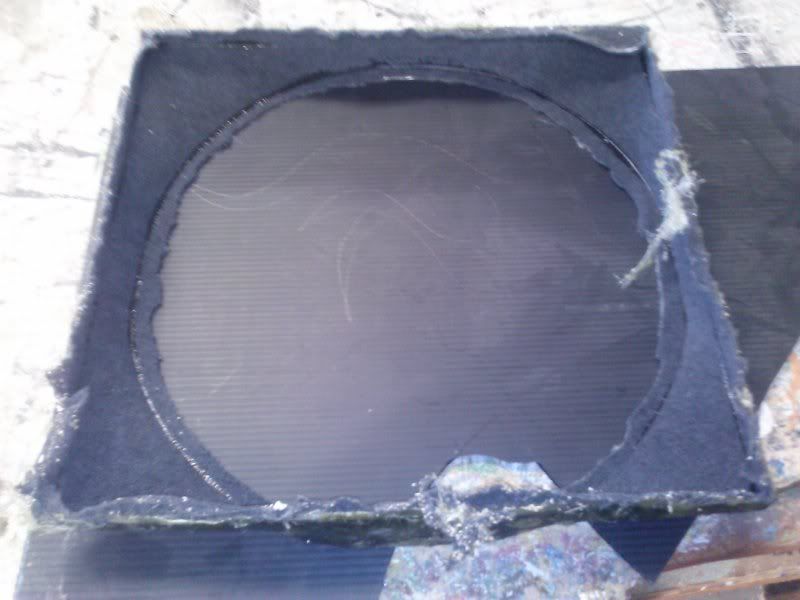
Give it about 2 hours if you mixed it hot, a day if you did not - and then cut off all the fabric from the front and back that does not have fiberglass on it. Don't worry if you miss some - we'll get it later. We're just trying to release the mold here. Once it's all cut, fgrab the back sides of the mold and pull upwards. Do this in multiple locations, you will feel the part lift off the mold. Eventually it will pop free, leaving your mold looking virtually untouched.


IF it's dry enough, take a pair sharp scissors, or tin snips and get rid of the sharp points hanging off of the piece everywhere. These will stab you, and I am not kidding about that - get rid of them.

You're not at the home stretch yet. If you layered the fiberglass enough your part will feel tough and sturdy in your hands, but have a little bit of play to it. That's alright - we're not done yet. Flip it over, and you'll see the problem - the fabric is not saturated all the way through (usually).


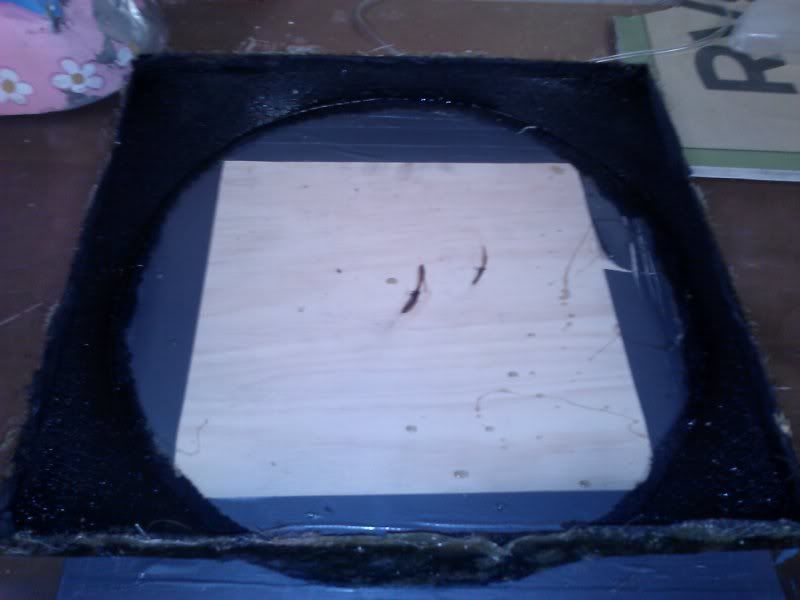
Go ahead and cover it with resin; do not add fiberglass to this side as it is an exact measurment, and adding more thickness will shrink your dimensions. If the part is not as sturdy as you'd like - add layers to the front, but always coat the back with resin.


Ensure at that step you have it sitting on something it won't stick to - like the bottom of your mold.

Once your part's dry, you can sand off more of the excess material, and start shaping it as your mounting needs demand.


And this is where I stop for today. Stay tuned tomorrow. Questions and comments welcomed.
 
This is neat. I never played with fiberglass. Gives me some ideas for other parts. Is there any reason to use the glass shards over the mats or just a personal choice? Thanks. dennis
 
Very cool so far. Hope you get some good positive feedback.
C
 
This is neat. I never played with fiberglass. Gives me some ideas for other parts. Is there any reason to use the glass shards over the mats or just a personal choice? Thanks. dennis

Well Dennis, honestly the "chop mat" is an easy way to build up thickness quickly and it's cheap cheap cheap - but requires body work at the end, unless you mat over it with a woven mat for the finale. Also, even with a woven mat on a complex small shape, you'd want to cut it into small pieces to use and overlap them. Fiberglass is weird stuff, especially for a carpenter like me, but I've used it to make engine boxes for boat restorations when the wood boat called for them. It's pliable stuff, and like you see here - it can use fabric to make a shape. Pretty simple stuff - but messy, and gross. Use the woven material if you can, but if you want it thick and dirty (kinda) use the chop. I've seen a lot of audio places use chop mat simply because it's faster to get the desired thickness, and costs less - then brush over a whole bunch of body filler.
 
Sorry I didn't get back to this already. I had a massive motherboard failure, and had to convert my computer to a much newer Am3 and DDR3 system. So I had to wait for the parts to get here, but I'm back online, and hopefully tomorrow can restart work on the fan shroud.

Sorry for the delay.
 
Man, you're quite the fabricator. Mine would wad up in a mangled mess while I was throwin stuff across the shop.
 
that is looking GREAT! The woven glass cloth is much stronger than the chop mat BUT, as you said, it does not conform near as well to compound angles and curves. The mat us much easier to work with and as you saturate it with resin and work it with the brush, you can actually get it to "stretch" around those compound shapes pretty well. I bought a "roll end" from a local shop a long time ago and it has lasted forever. It was about 12-14" wide and the roll was probably 12" thick.. no idea how many linear feet were on it, it is still pretty big!
 
Man, you're quite the fabricator. Mine would wad up in a mangled mess while I was throwin stuff across the shop.


I usually do that with vinyl stickers. Once it gets air bubbles and doesnt stick right, I peel the whole thing off, crumple it up, and throw it. I'm no fan of fiberglass, but it just does what you need it to. I'll write more to my write-up later today.
 
Hey Serj,
How is the project progressing?I have not heard of the chop mat that you speak of. When I did mine, I used the cloth and placed it on the inside of the form.
C
 
-
Back
Top