Project Plain Jane

-
Time for an update! Just a couple pics of clean parts to get things rolling again. Weather has gotten cold again (snow is back!) and pain went back up,but I have been putting around which is waaaay more than I used to do.


So non original made in Mexico wheel bearings. They are in great shape!

IMG_1606.jpg


IMG_1602.jpg


IMG_1601.jpg


IMG_1600.jpg


IMG_1603.jpg


IMG_1604.jpg
 
My pain is well managed for the time eing! And Lola seems determined to get my *** out the door for a walk 2x a day.Overall feeling better but endurance wise Im still pretty quick to tire out.


So I dont waste time!!

Heres the masters bore. It needs to be honed out.

IMG_1616.jpg


I left the stock brass inserts in place as the rabestos kit instructions tell you to leave them in if the new ones are not the same orifice size. Plus thier a major pain to remove..

IMG_1618.jpg


I also got some blasting done! Man I love that blasting cabinet.Of all the tools I posess I think I appreciate this simple home built unit the most. Sure dont mind no sand in the hair,eyes etc.

IMG_1622.jpg


The hub will get painted tonight but Im going to have to buck up for new grease caps. This one is mighty abused! The power brake spacer I blasted just to clean it up,but I wont use it.
 
I also blued some more bolts etc but im going to use blackened bolts now. A lot more economical! Eastwood has a blackening kit but I think I can find it local for less than that.

In fact Hey Chris if you have this info it will help. I want to use black oxide on the rest of my bolts and just wondering if you know of a kit Lordco sells...
 
looking good!

the cabinet looks like its working well. i look at the guys doing restos on here and the poor devils removing paint and rust by hand. I will never do that again. i think you feel the same way
 
Blah blah blah, ***** ***** *****, moan moan moan, whine whine whine. More work and less TALK, dammit. LOL
 
Smartass! Lol...I am working! Got the rotor/hub assembly primed today and discovered my master cylinder is pooched. Deep pitting in the bore means its now a paper weight. Oh well, thems the brakes,harhar.

Pics coming soon.
 
So I have completed one side of the brakes/spindle! Some assembly still required..:toothy10:

IMG_1626.jpg


IMG_1627.jpg


IMG_1628.jpg


This last pic I threw in just because it has all the fasterners in thier magnetic dish waiting..

This is a huge milestone for me. It markes the completion of my first sub assemby. I think I'll be picking the pace up soon as the stupid winter is gone away.Seems to me the more the weather eases up,the better I can move and the less pain I get!!:cheers:

I have to buy some wheel bearing grease and would like to get something synthetic. Any suggestions? Or problems?

I also will take the rebuild kit back tommorrow and trade it in on a new one.Sigh....plus I need to get new grease caps. Mine look like they were pounded in more than 10 times..

Oops just saw that I need to blue the wheel studs...
 
Are you through playin yet?
 
one small step..........

Paul. i switched over to brown aluminum oxide (50lbs 80 grit and 50lbs 100 grit) in my cabinet. i am impressed, much nicer profile than glass. did a customer job on saturday and it works nice. hardly any dust and with your set up might work better? 4x the cost of glass though, but it lasts longer so probably about even in the end.
 
Define playing....Lol!


check out what me and my boy Nic were up to tonight.

IMG_1629.jpg


IMG_1630.jpg


IMG_1631.jpg
 
Hey Chris! Im pretty happy with my blasting setup,allthough I would love to build my pressurised blaster right now! I need to work through about 3 more bags of glass before trying alumoxide.

On to the other side!
 
:cheers::cheers::cheers:

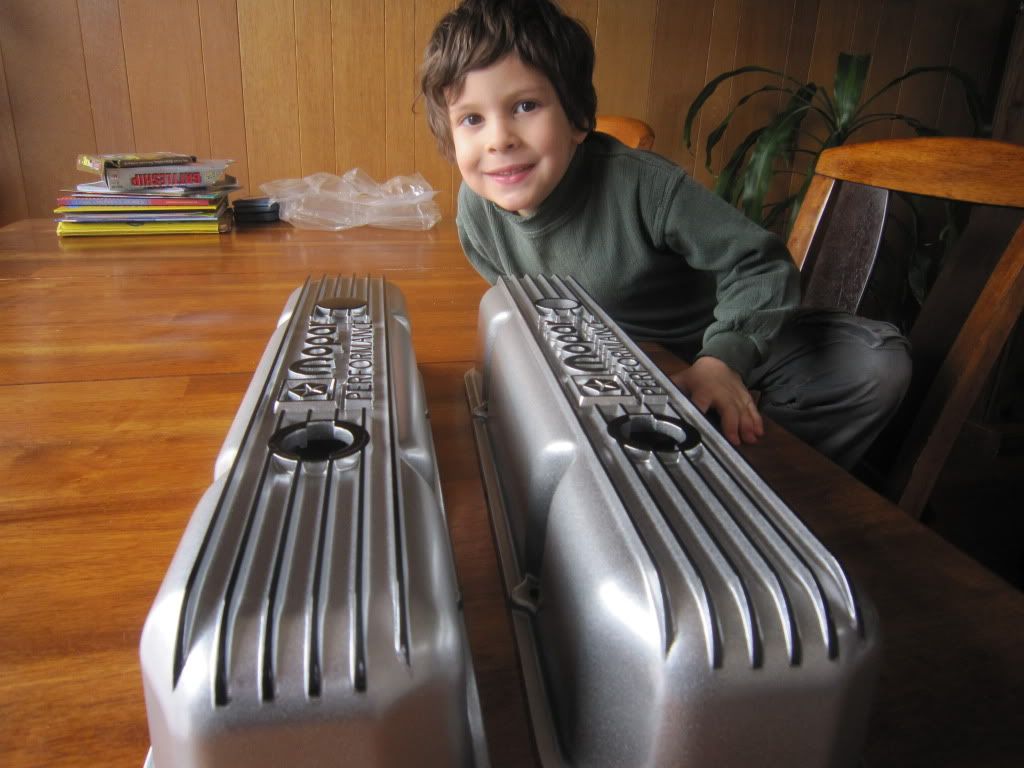
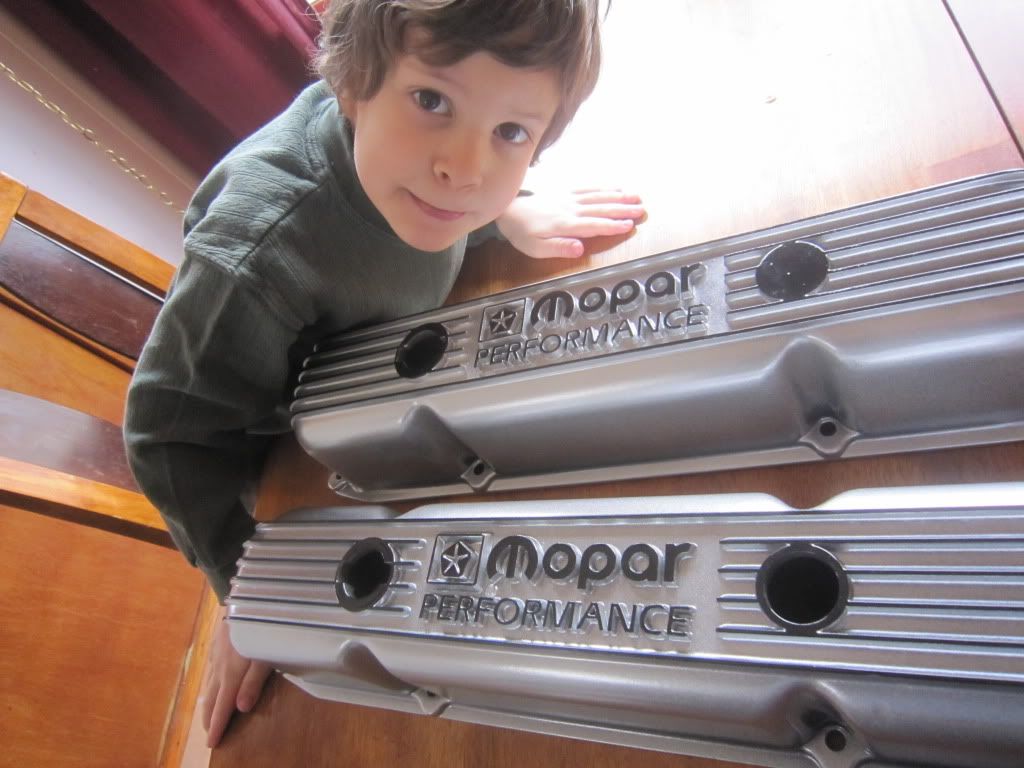
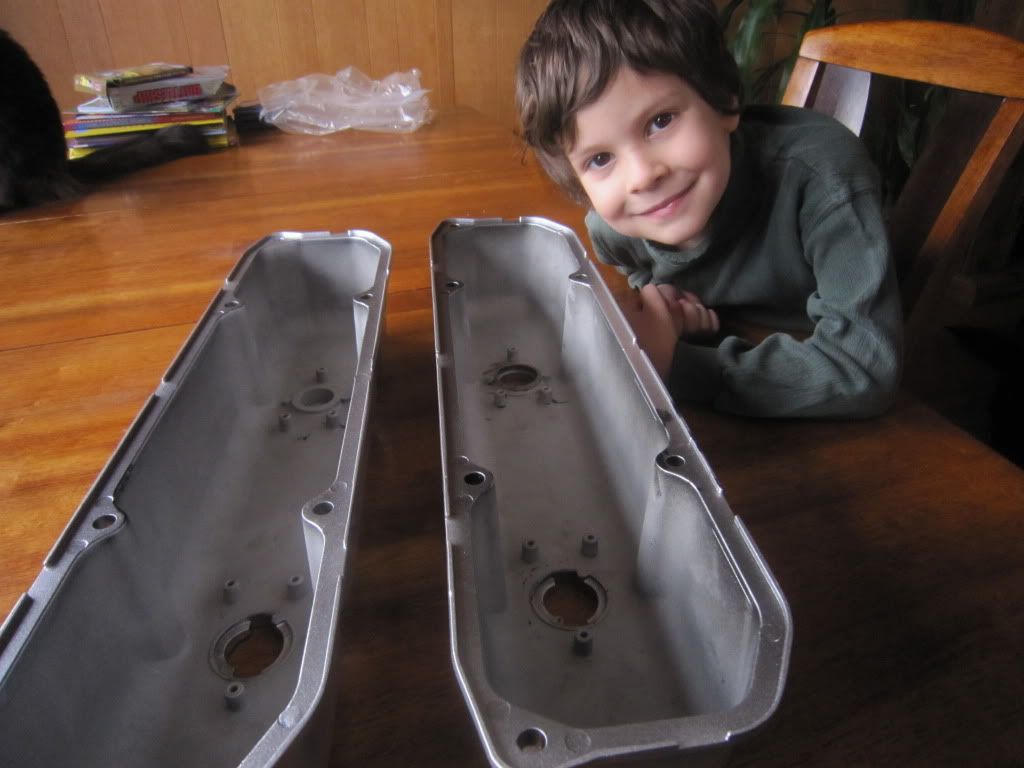
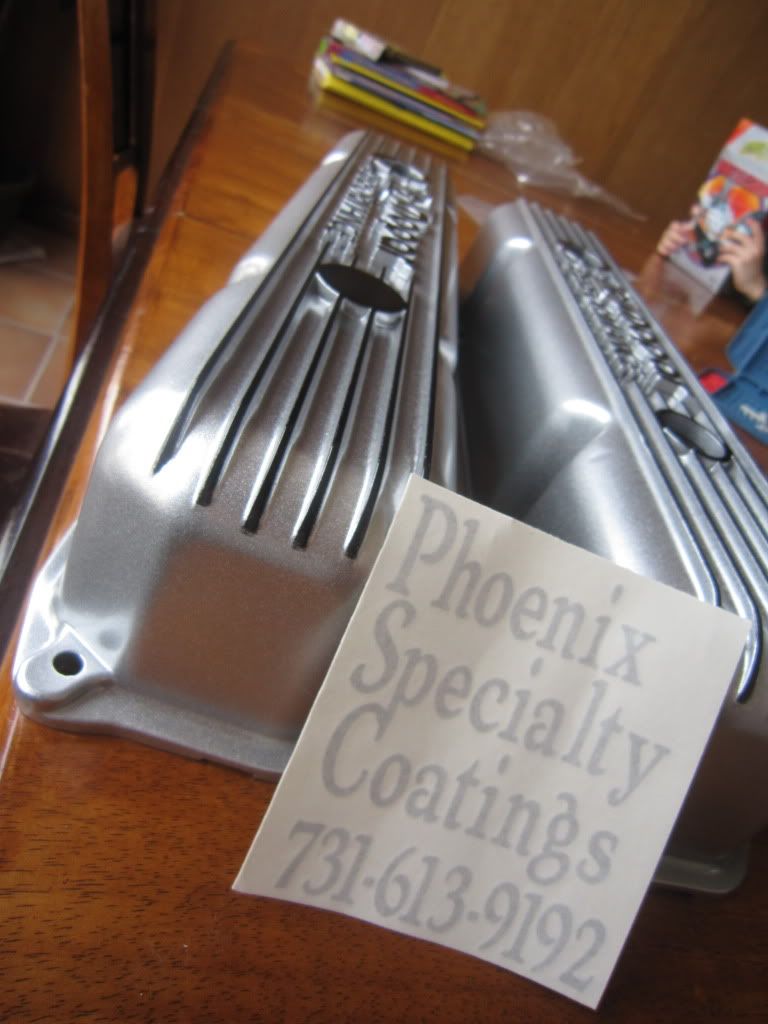
I am the proud owner of Made in USA by pheonix powder coatings,one pair of beautiful bbm valve covers!!

These things are frikkin nice and Im sure they will draw EVERY EYE!

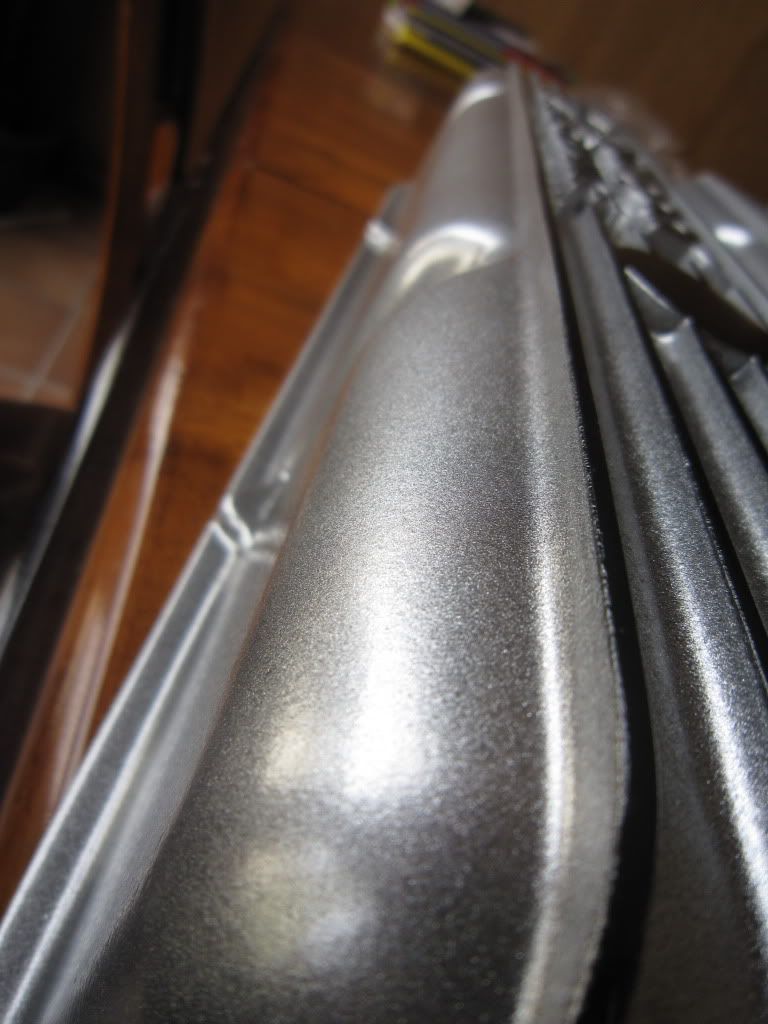
I did my best to capture the alien silver metal flake which has me continually marvelling at the miriad reflections it contains. VERY HYPNOTISING!!

Bob and Leanna;thanks for teaming together to get these to me. They re very inspirational to look at.

Im sure I will need to leave them accesible as the build progresses in order to draw more inspiration and get the work done.

I was in the doc's office yesterday. It appears my oxy pain meds are loosing thier effectiveness and unfortunately there is nothing my doc can do. Chronic pain is VERY tough to treat. He literally said the medical proffesion sucks at treating it,as there are not a ton of drugs available

I was taking something called Gabapentin at one time. It was effective at relief of all the minor stuff but very expensive and I found the cost vs relief ratio not very effective as the oxy was much better. Not anymore...

Sorry for driving off on a tangent but I feel I need to explain why there hasnt been anything done as of late...it seems every day is tougher to move about..

IMG_1688.jpg


IMG_1687.jpg


IMG_1689.jpg


IMG_1699.jpg


IMG_1698.jpg


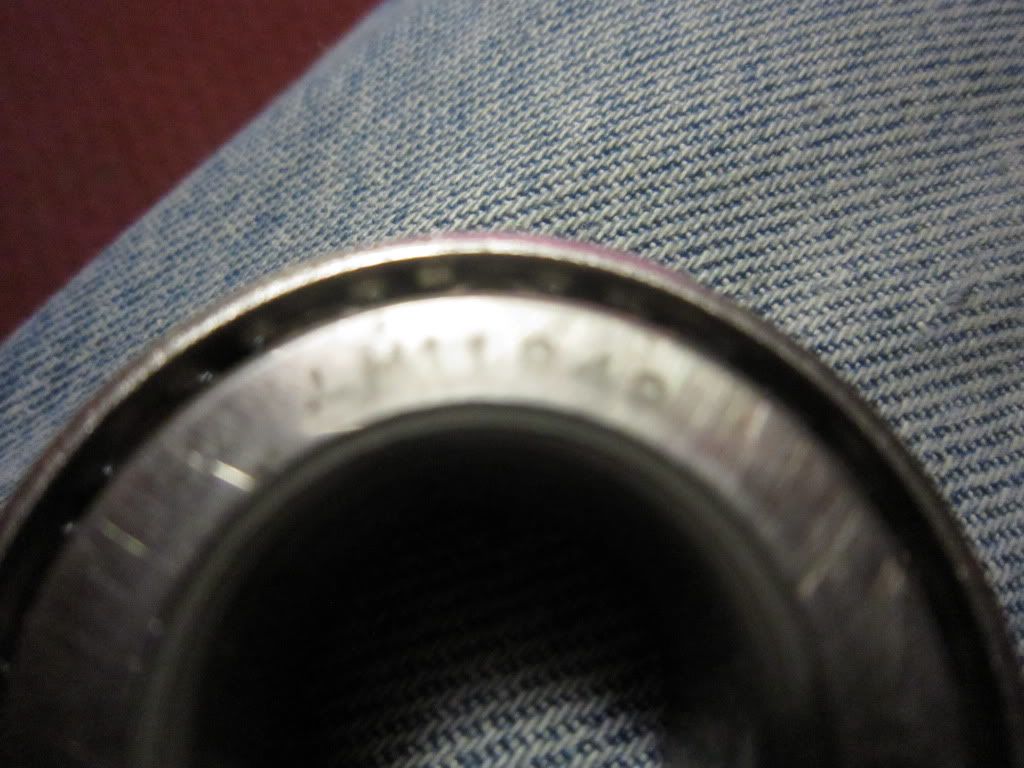
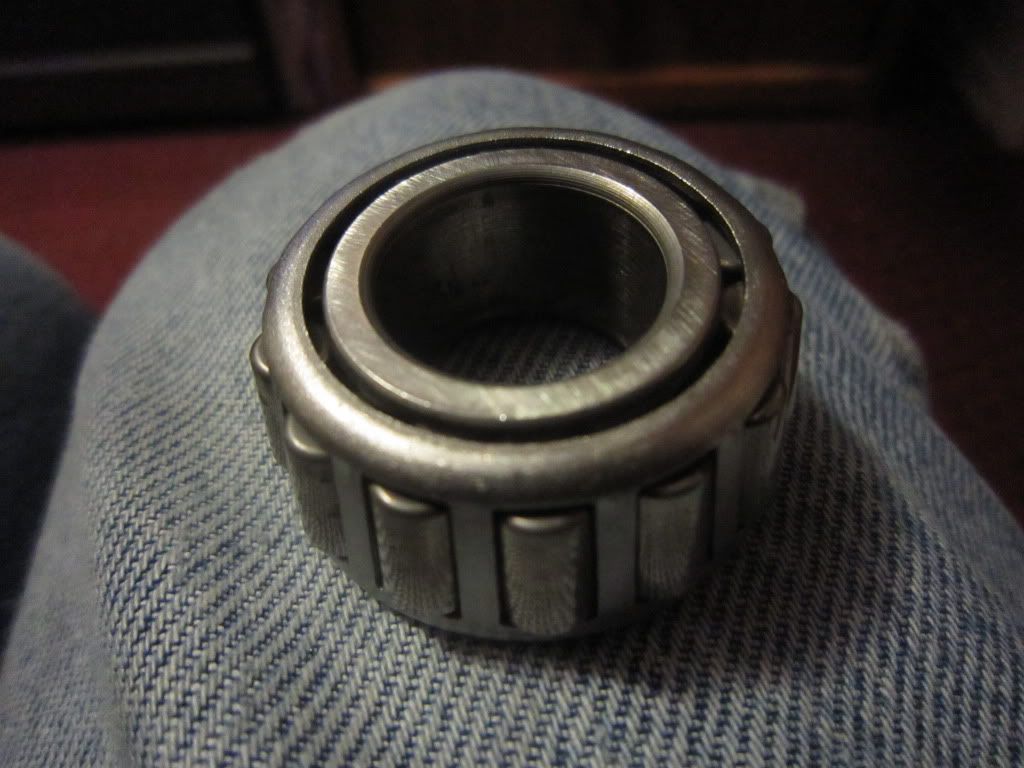
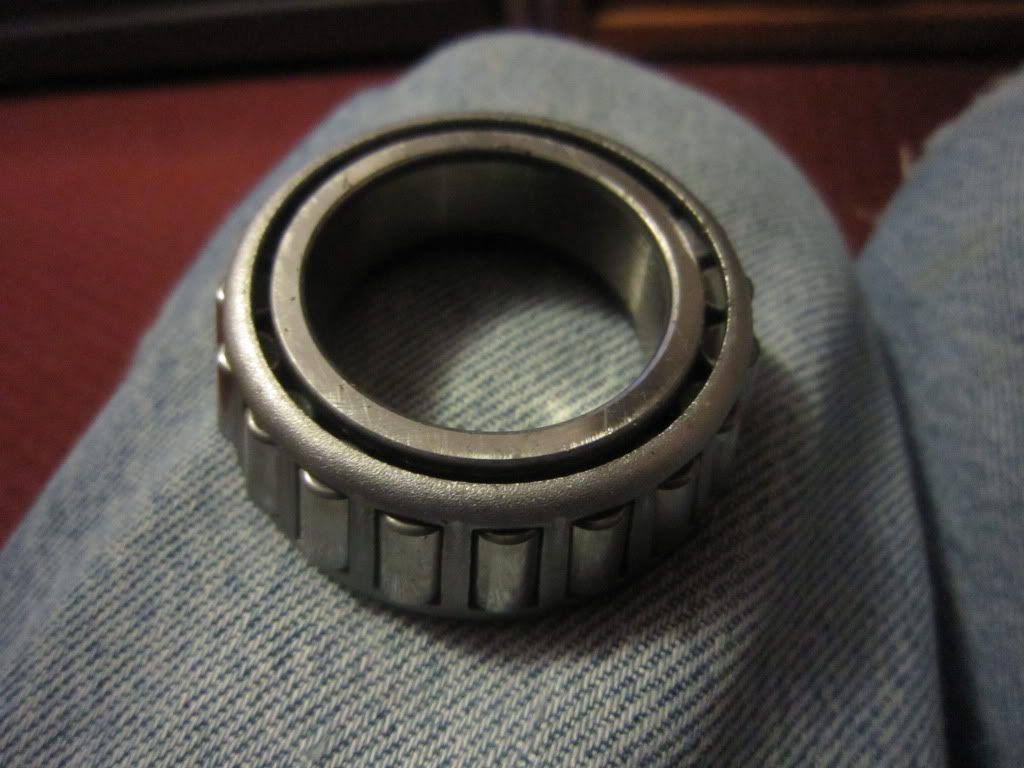
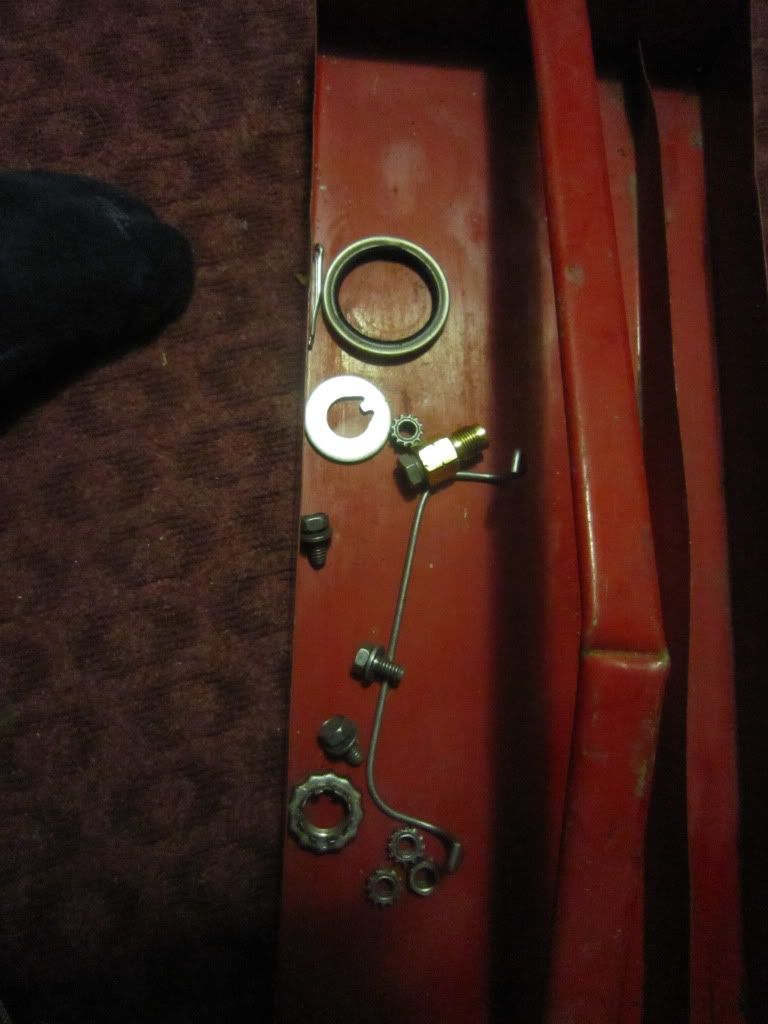
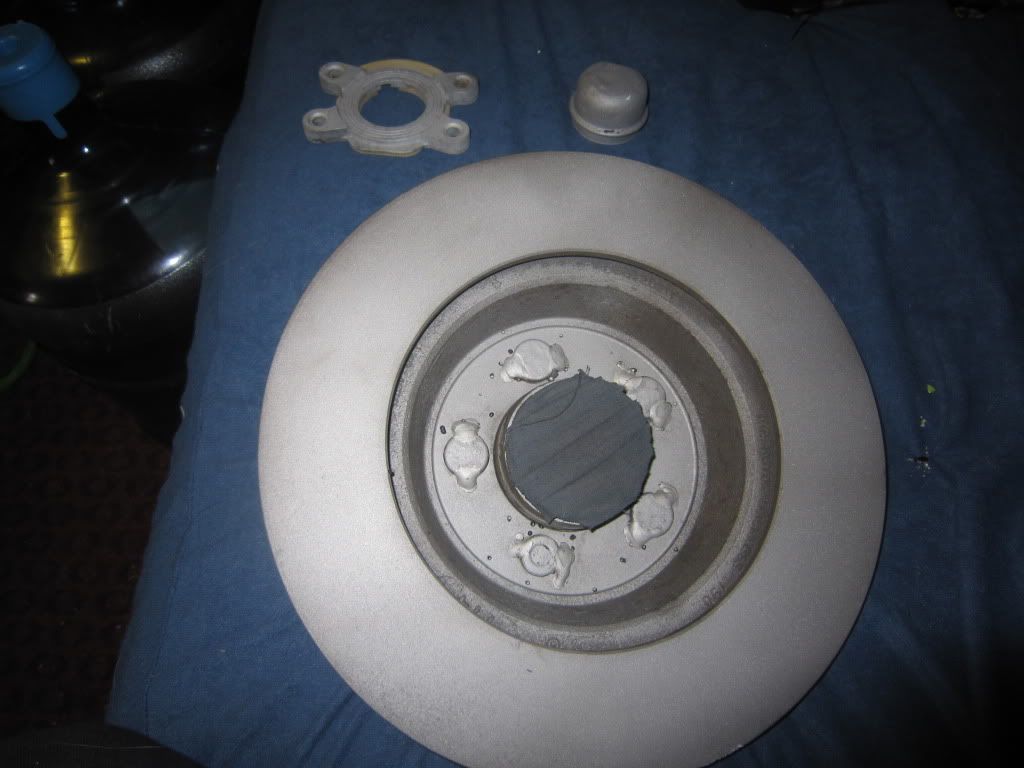
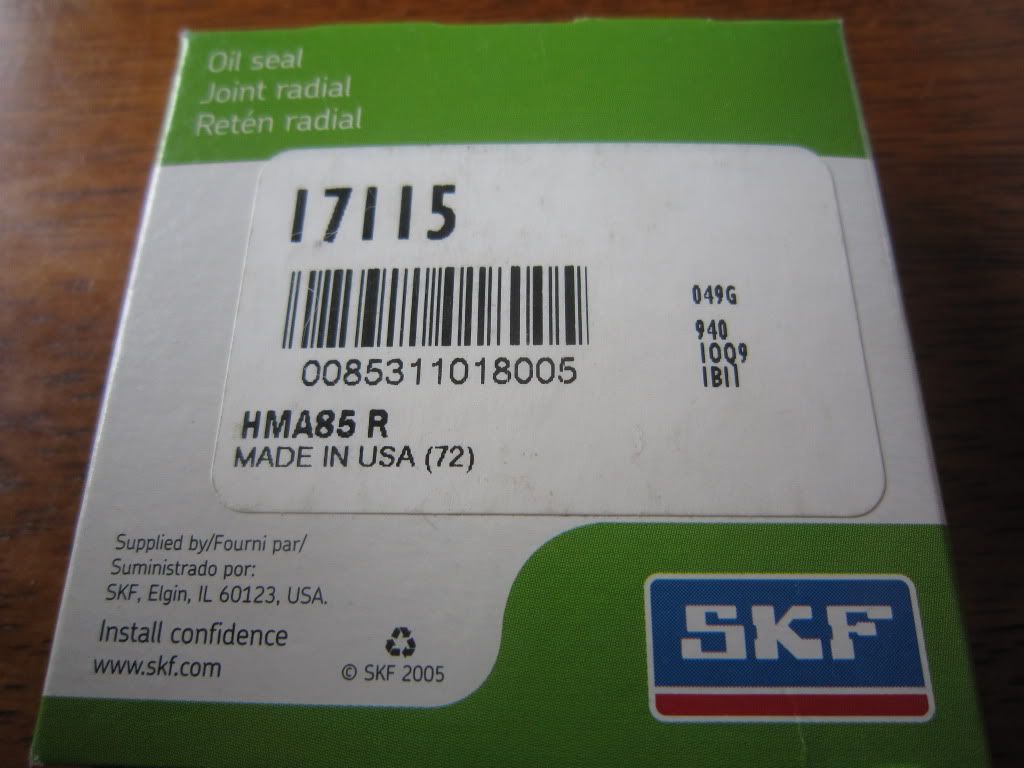
I also bought some new grease seals from the local jobber for my KH brake system.

They are SKF and made here!!!

IMG_1691.jpg


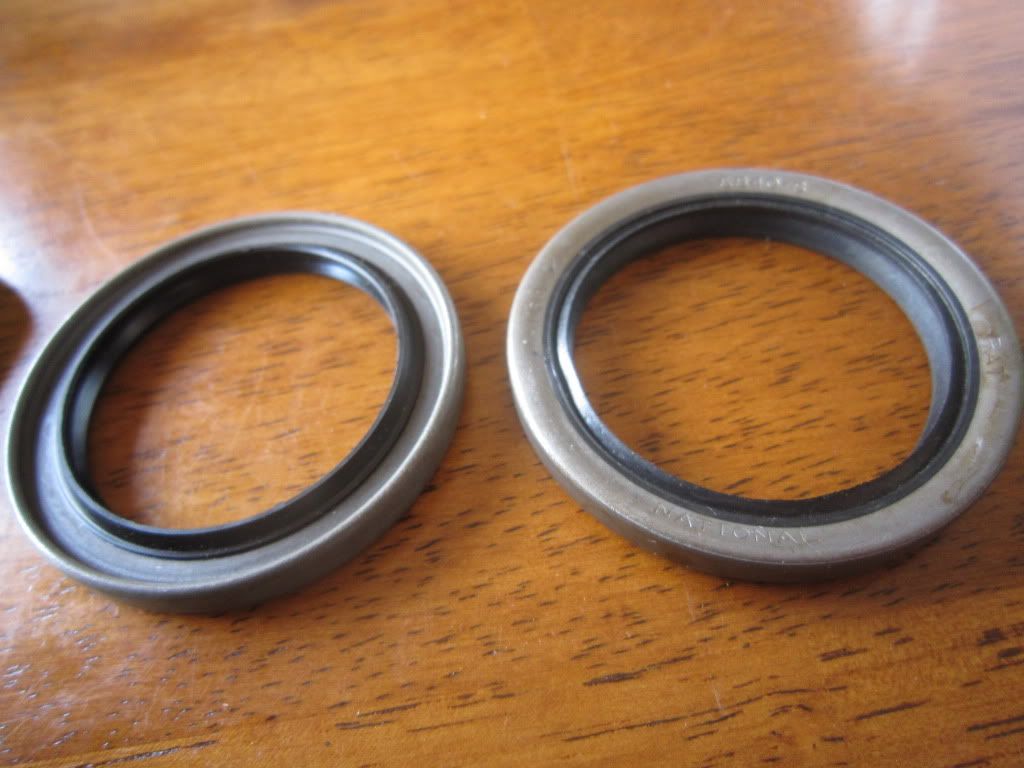
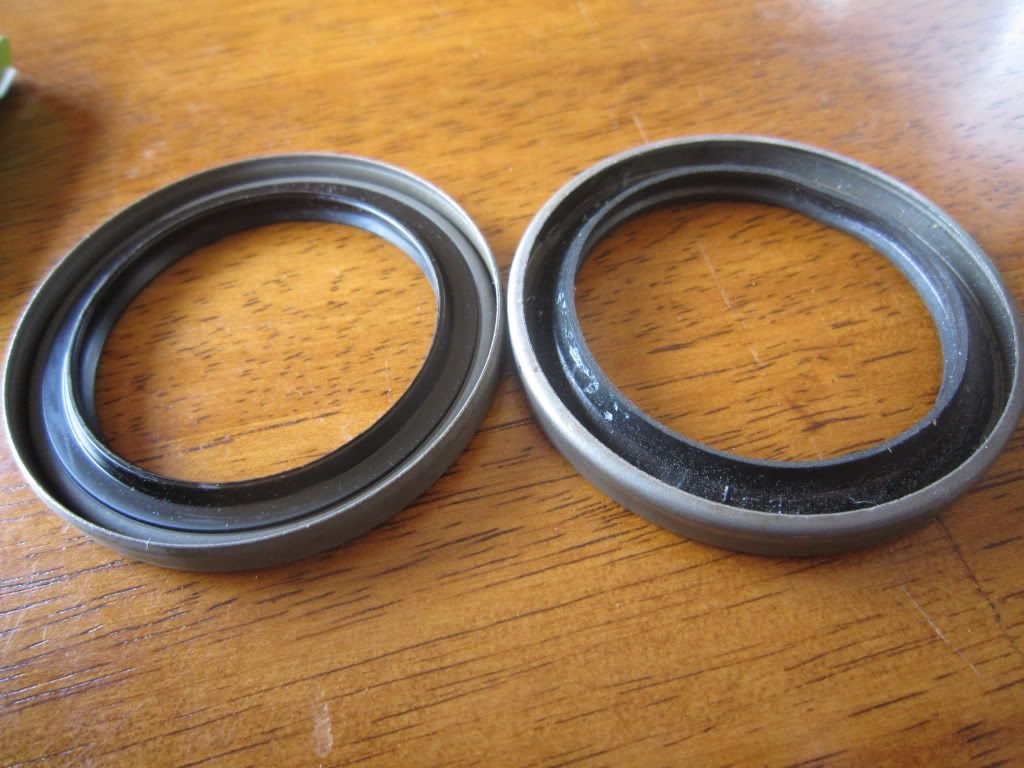
They differ in construction from the national seal I pulled out,but in a good way. So solid looking I bet I could remove them without tweaking.

National on the right,SKF on the left.

IMG_1694.jpg


IMG_1695.jpg


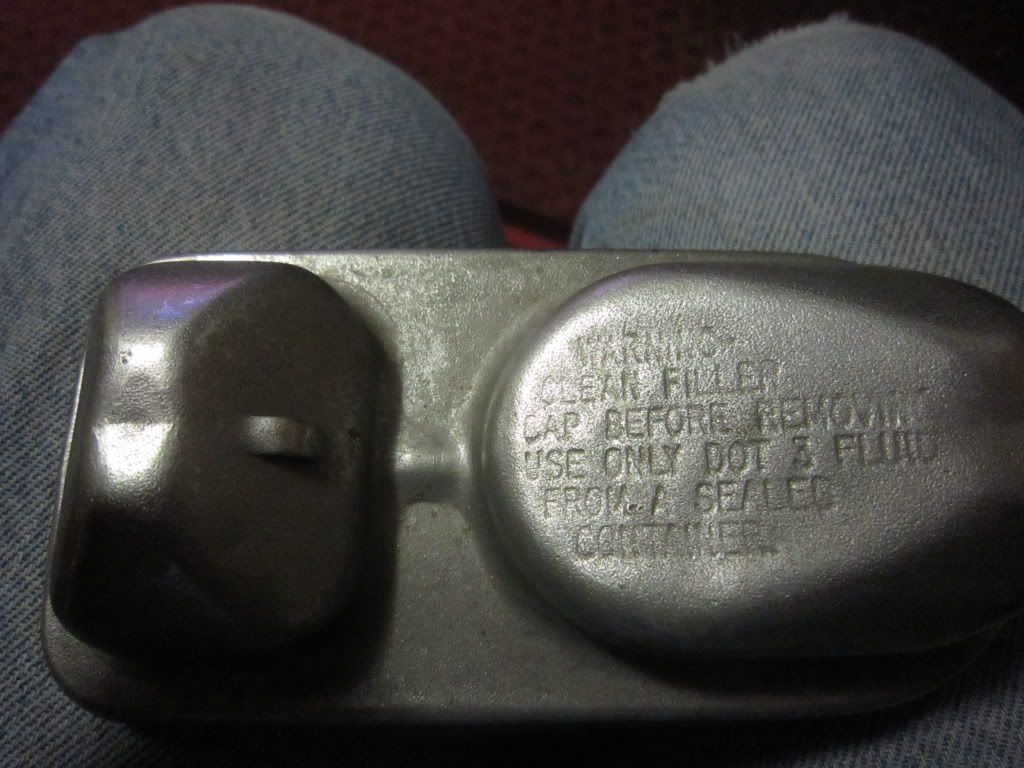
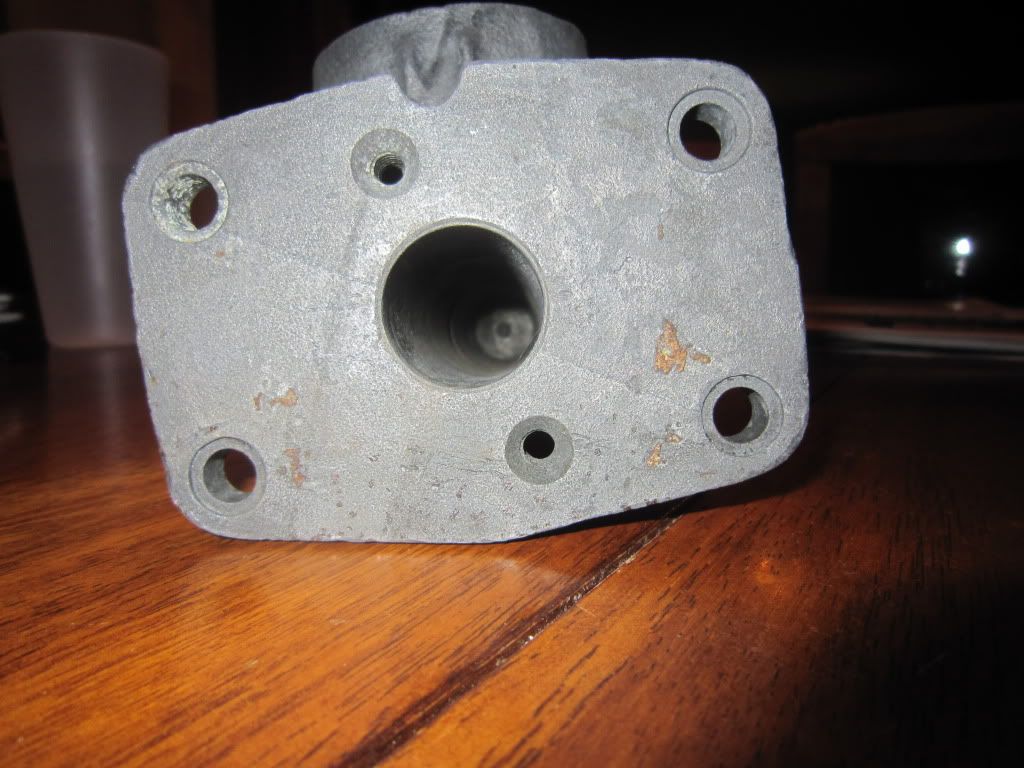
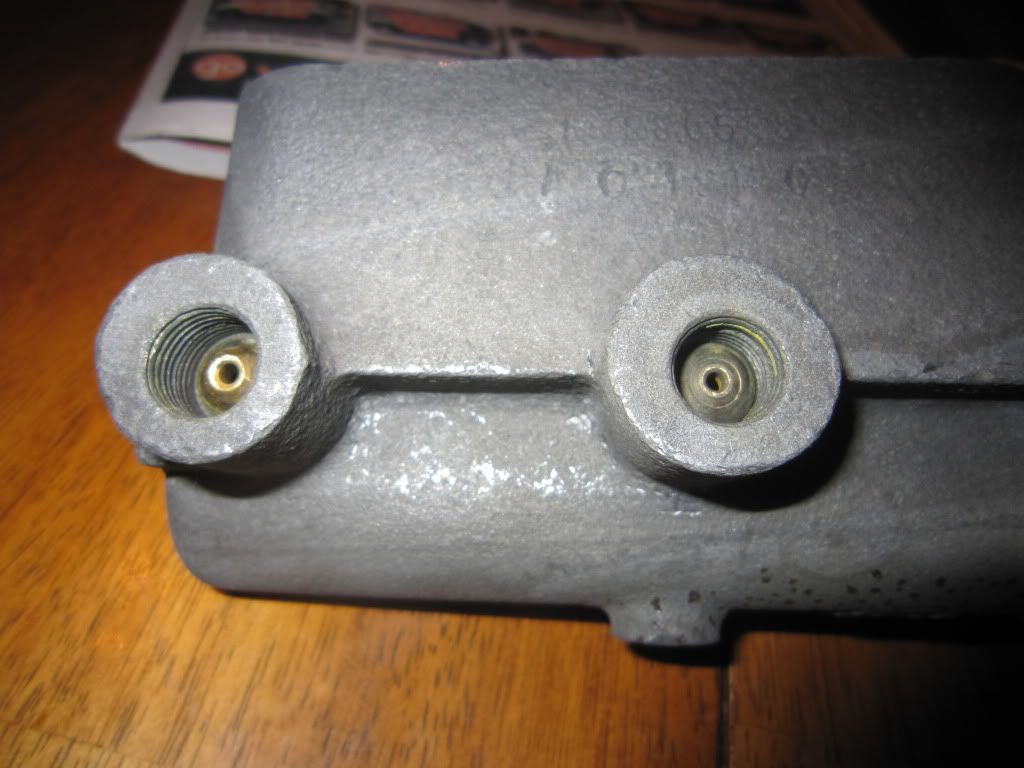
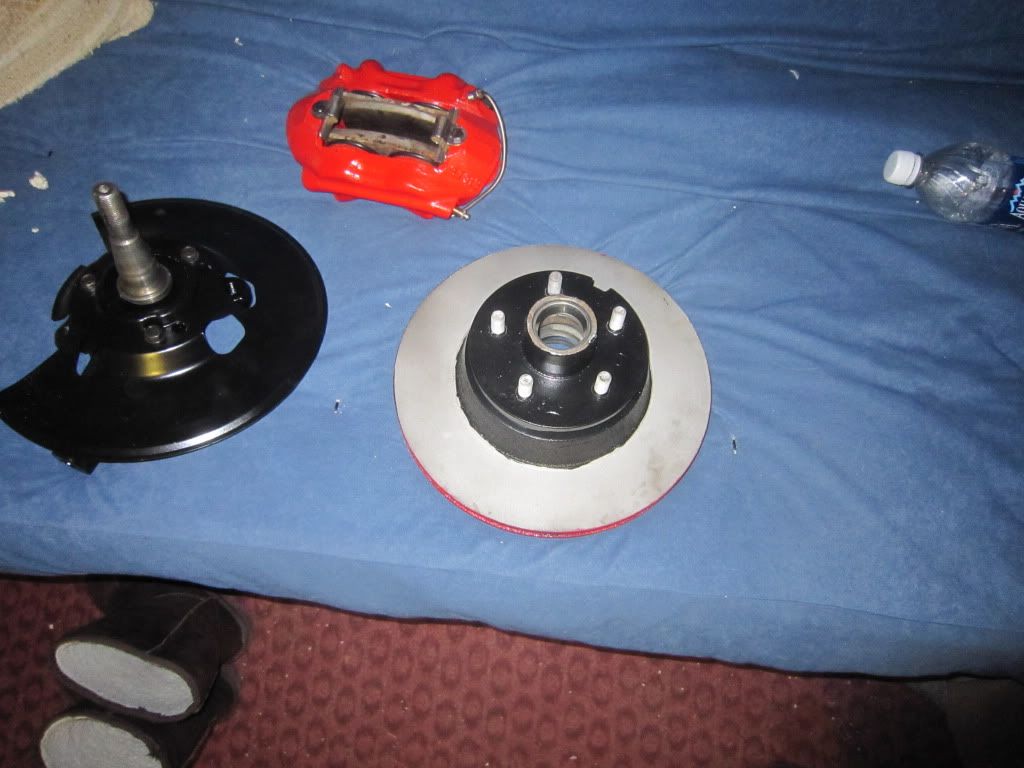
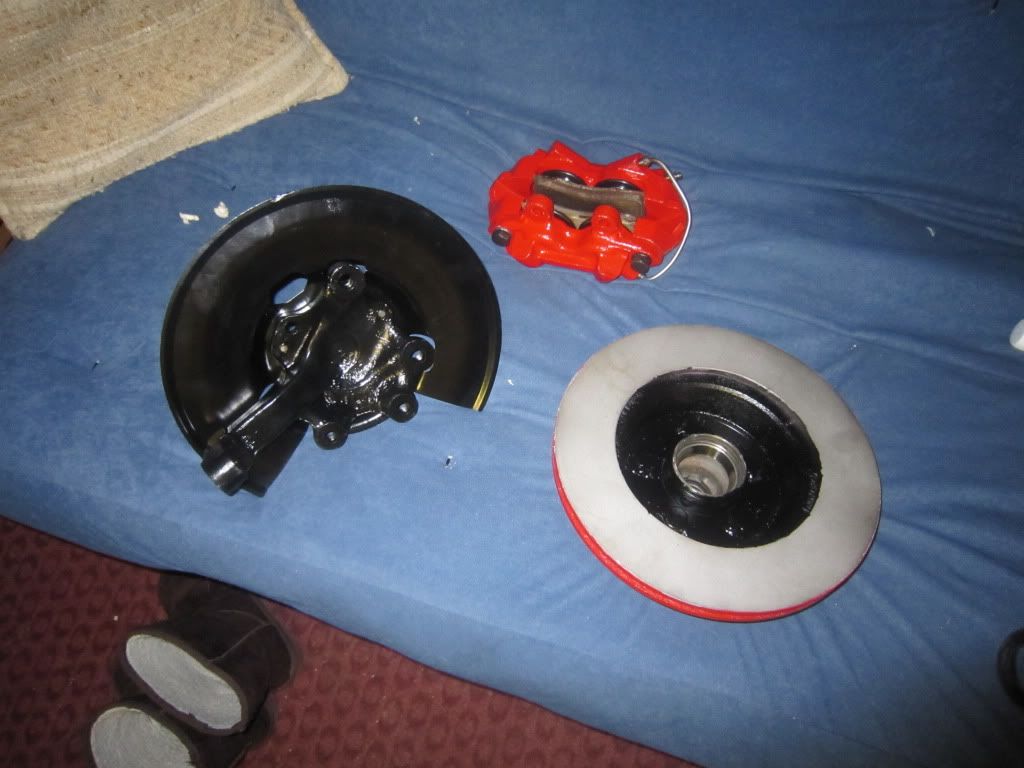
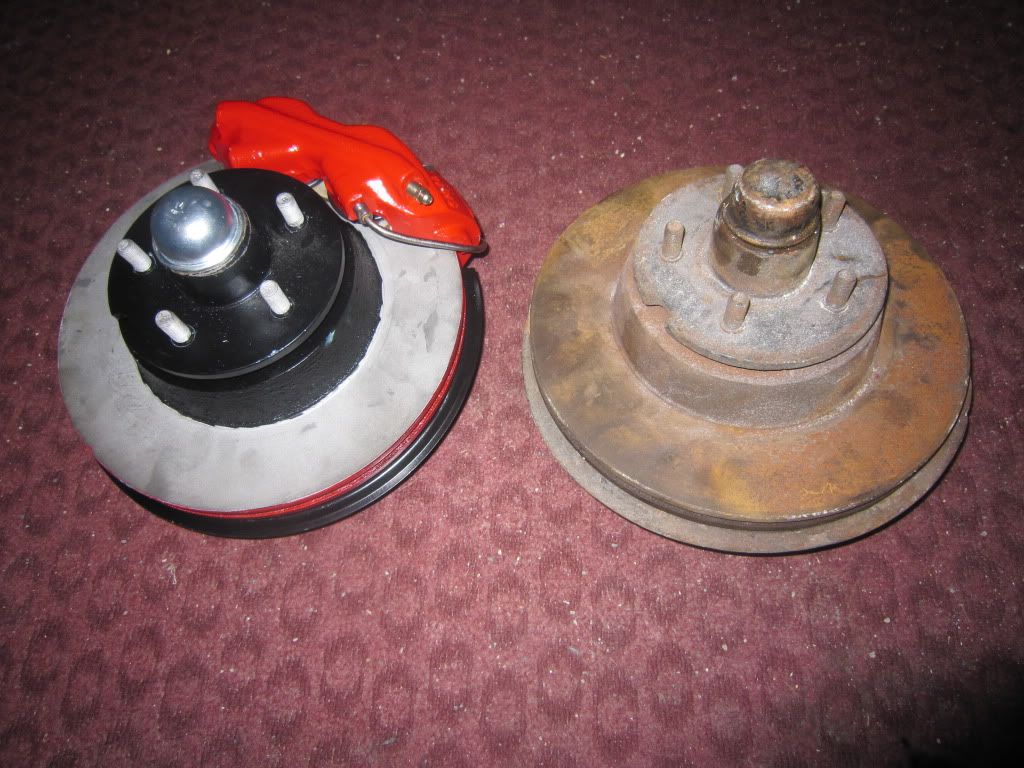
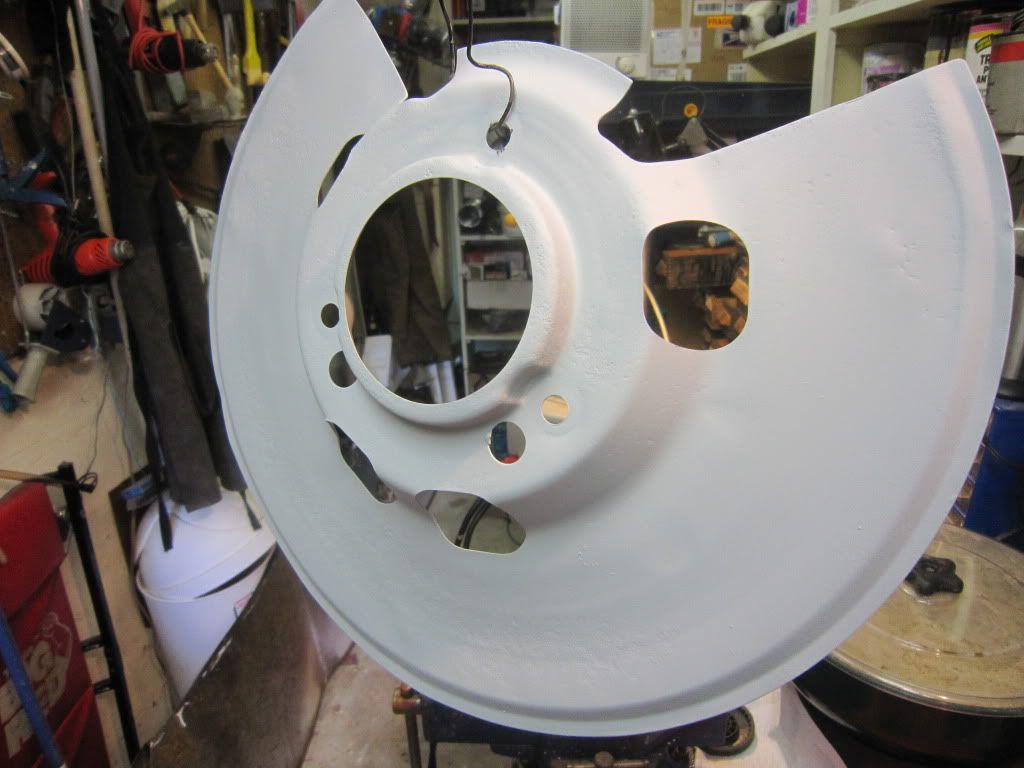
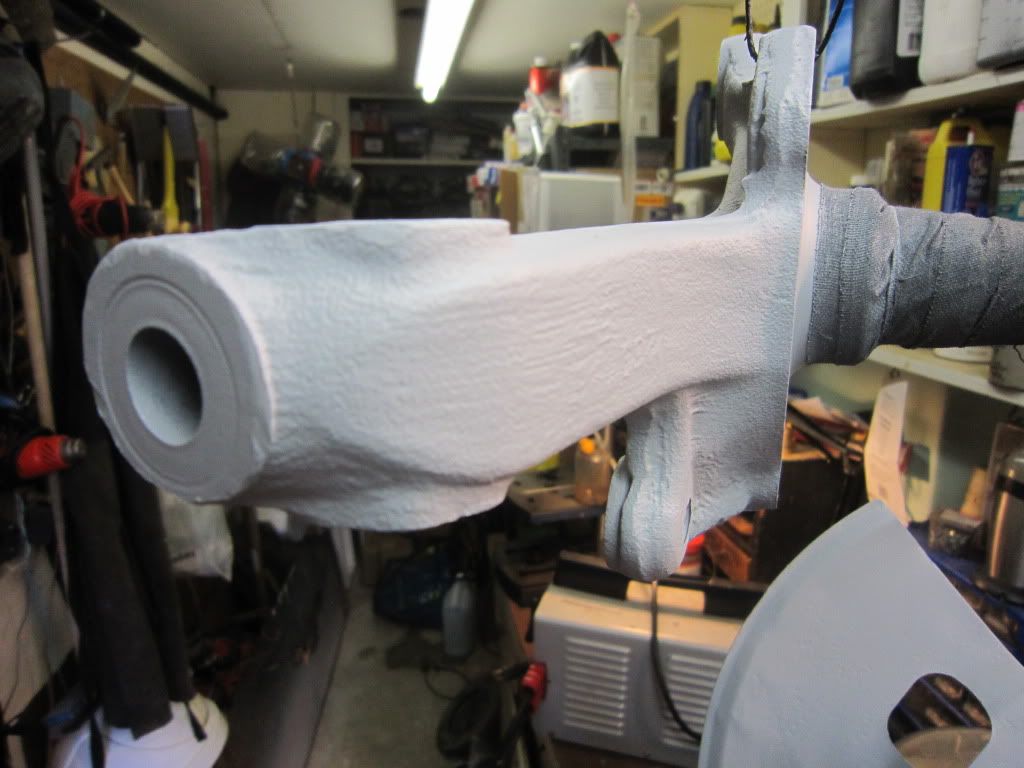
Havent made any progress with the master,but all the other brake parts are blasted and waiting.

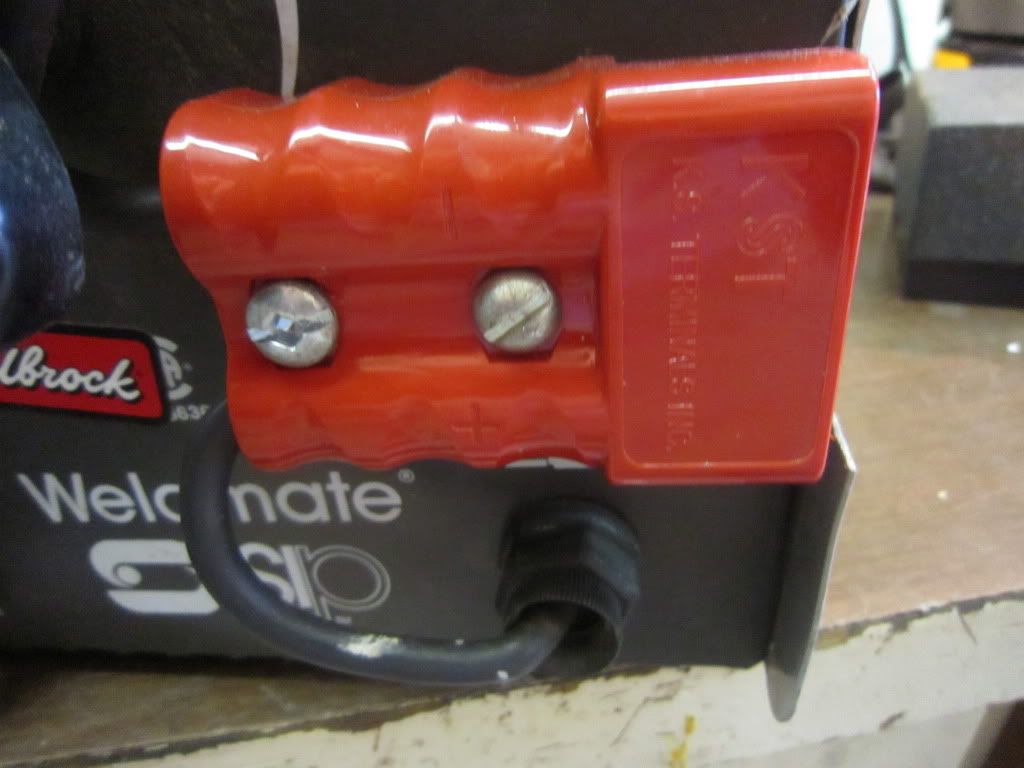
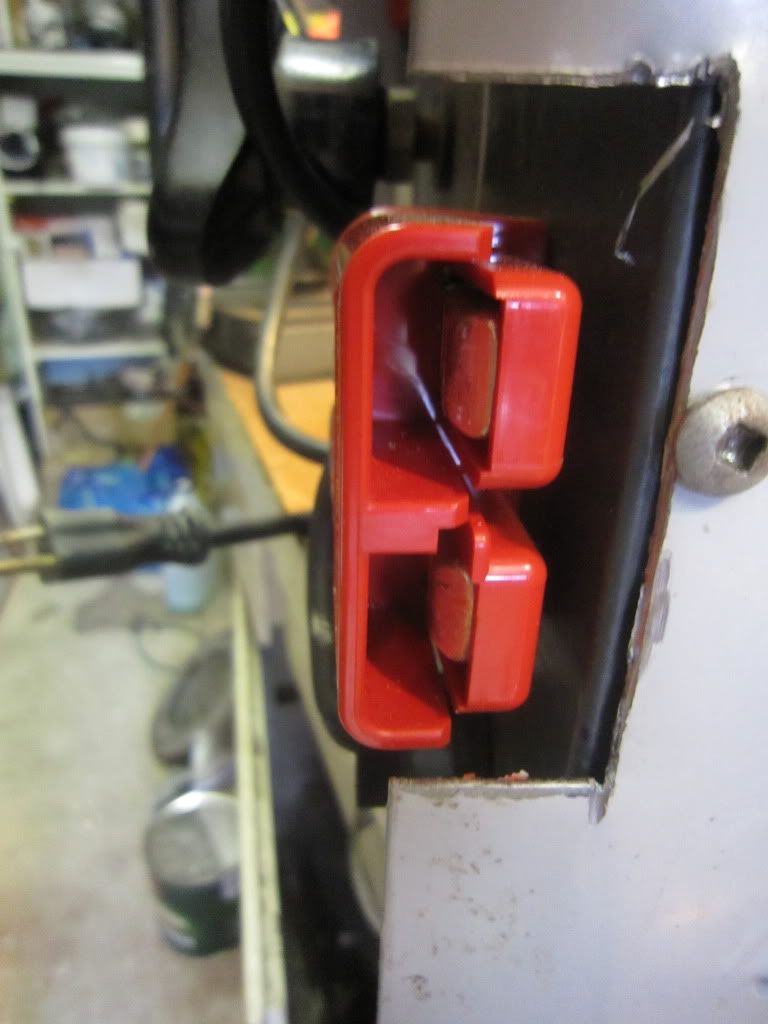
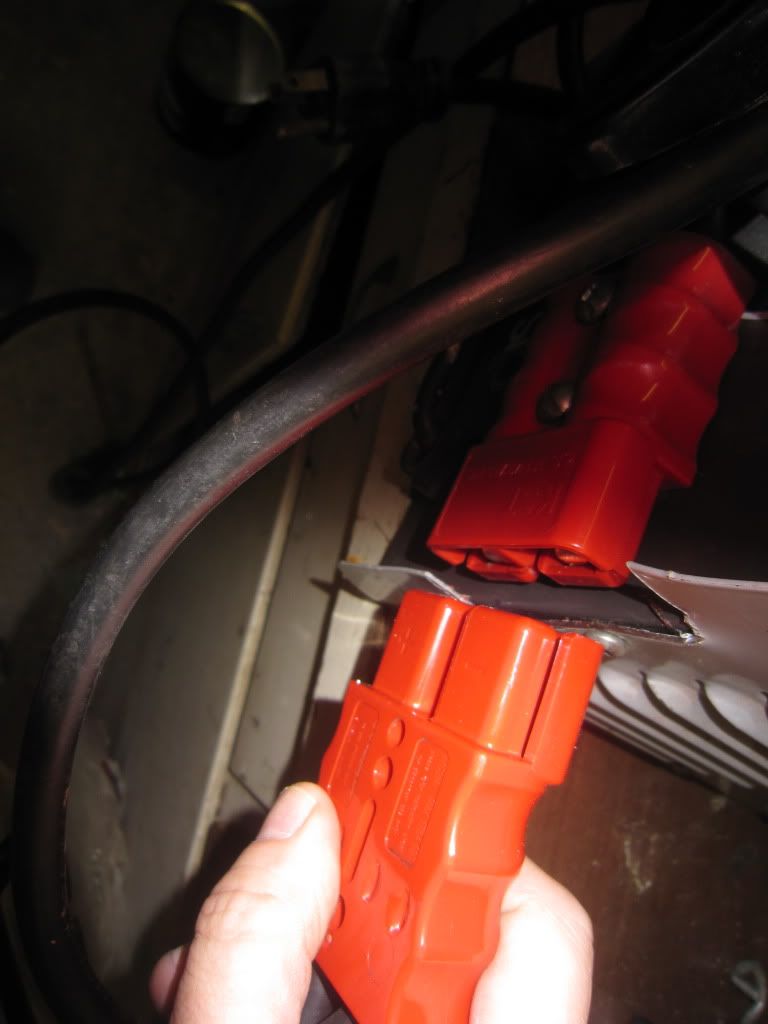
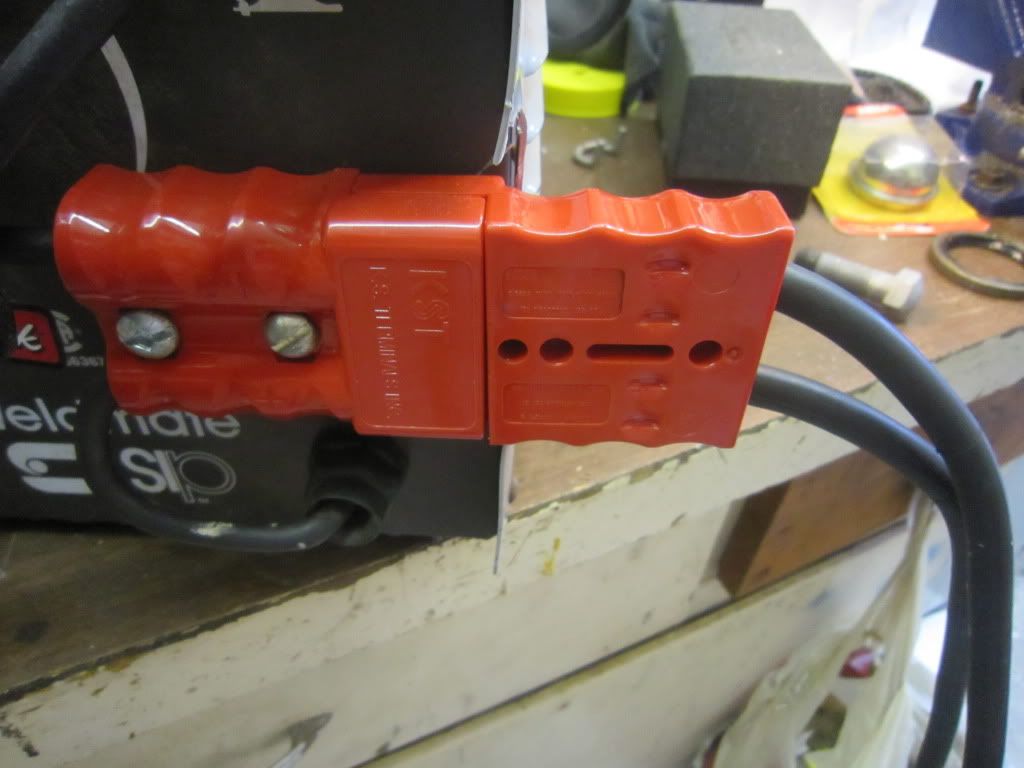
I did have to mod my little 110 arc welder to safely use my carbon arc torch. I was simply clamping cables together with vice grips!! Pertty sparks...

I'll get a few pics up of the connecter mod later.
 
soory to head the meds arent working Paul, hopefully they can find something for you that doesnt turn you into a zombie.

on another note, covers look awesome!! very nice work.
 
Thanks Chris. I may try the Gabapentin one more time,but I have a feeling there is nothing more to be done as far as chronic pain go's short of a hottub outside my back door!
 
Some pics of the welder mod. The welder itself is a csuper crappy sp rate to 75 amps. It was purchased a long time ago,before I knew anything about welders,otherwise I woulda never bought it. It is barely capable of runing the carbon arc torch. The poor thing has a 2% duty cycle! I modded it with the addition of a bathroom fan at the end to draw air through and keep things cool. Seems to work ok,but I do trip the breaker in the house! The entire breaker panel is 15 amp breakers. So again I need to make a mod and replace at least one 15 amp breaker with a 20 amp.

I like this coupler system! It's a you build it system. I bought 3 connectors and 6 lugs,soldered all the leads and put it all together in about an hour.

The feature I like best is the connector size itself,being large and chunky means no fiddling about.Easy to plug in and take out! The leads/lugs can be removed in case you feel like reversing polarites without too much trouble.

IMG_1700.jpg

One connector must be mounted to the welder or a solid point.

IMG_1701.jpg

You can see the solid lugs. Under the silver plate they are solid copper.


IMG_1703.jpg

Easy to plug together!

IMG_1704.jpg


Solid!
 
This backing plate needed about 1/2 hour of hammer and dolly work to be uncrumpled and useable.

IMG_1705.jpg


This is the other spindle. It shows signs of heat in the past but is not too bad.

IMG_1706.jpg


I also greased the bearings with my KB easysqueeze! I like this tool,as it sure beats the heck outta doing it by hand and it is a manual tool I can simply place on the floor and use my foot to grease the bearing!
 
Rats! Stupid welder keeps popping the breaker so I get to weld for a minute,go reset the breaker and try to put heat back in it. So far no luck I cant get the damn caliper hot enough!

Im going to give up on it for now. Gonna switch gears and start ripping the Dart apart.

Stupid breaker...
 
when do you want to blast? may long weekend? its still going to roll or are you stripping it right down? how many times has that car been painted?

i have to order some more walnut after i get back from the spring fling, it usually takes 2 weeks to get it as it comes right from the manufacturer in CA.

its no rush on my end so whenever your ready just give me a bit of notice and we will have it looking like new again.
 
Hi Chris; I'll have it rolling but on temp dollies.Should be able to load and unload with a plywood ramp.I am guessing the car has original paint as I dont recall ever seeing signs of a repaint.I will strip everything from it. Soon. Couple buddies to help me and we will have it done in no time.I might leave the trunk lid on so you can blast it too. It's the original one but has some rust in the seams,so will por15 it or something.

I guess I'll have to go buy a 20 amp D square breaker,lol. The one I keep popping is a 15. BUT All the others are 15 as well...sigh..
 
Sorry guys it's been a while for any updates. Im busy right now with replacing plugged galvanised water lines in the house with copper. Fun stuff! Sometimes house projects get in the way of what we really want to do.
 
-
Back
Top