Project Plain Jane

-
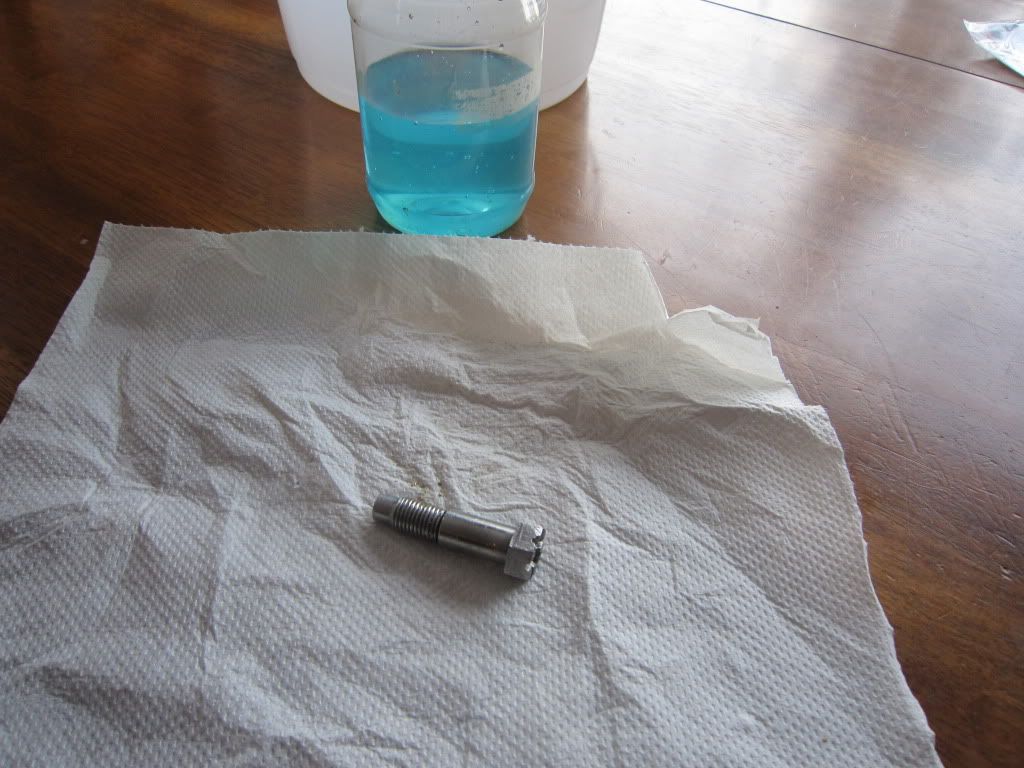
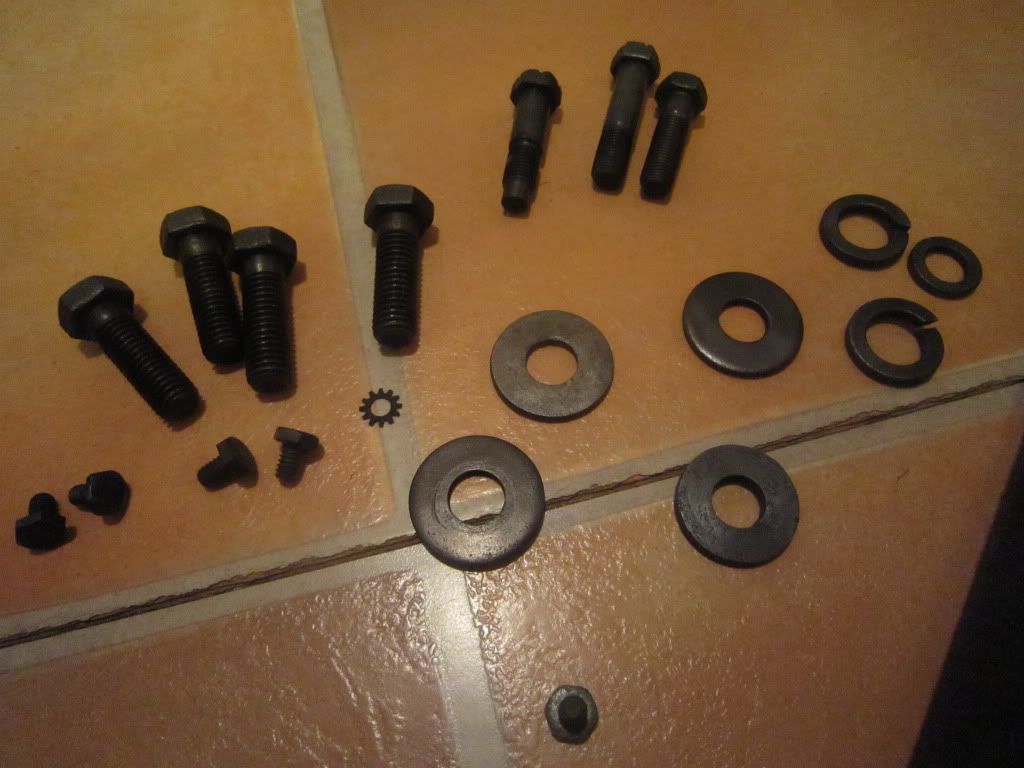
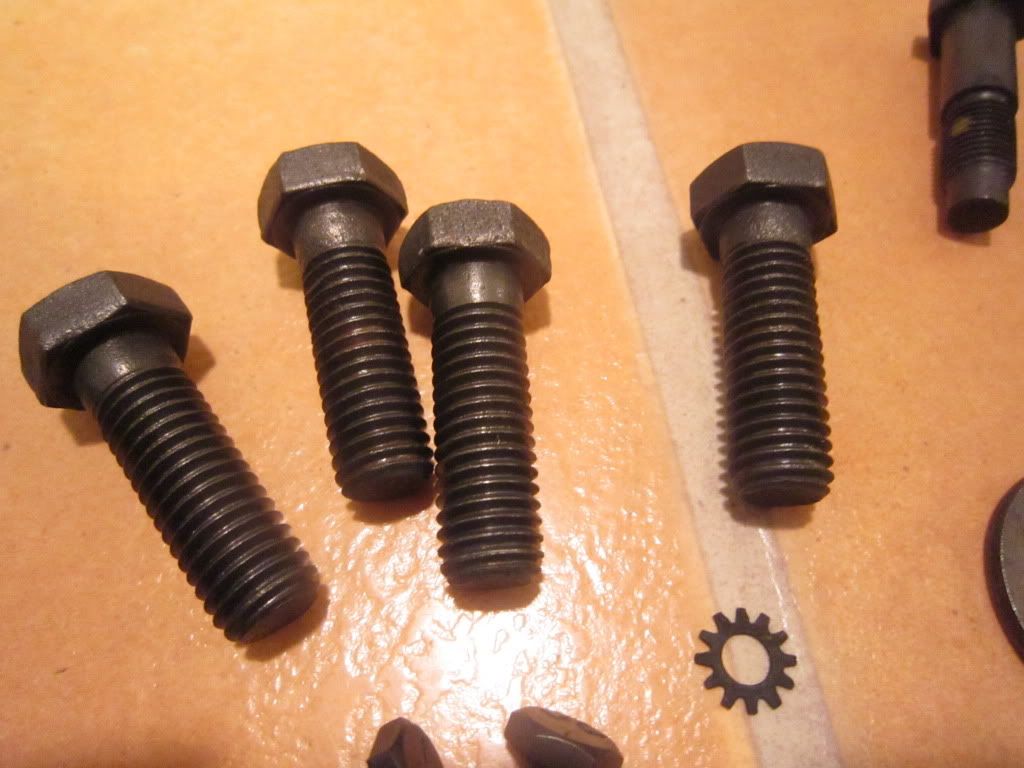
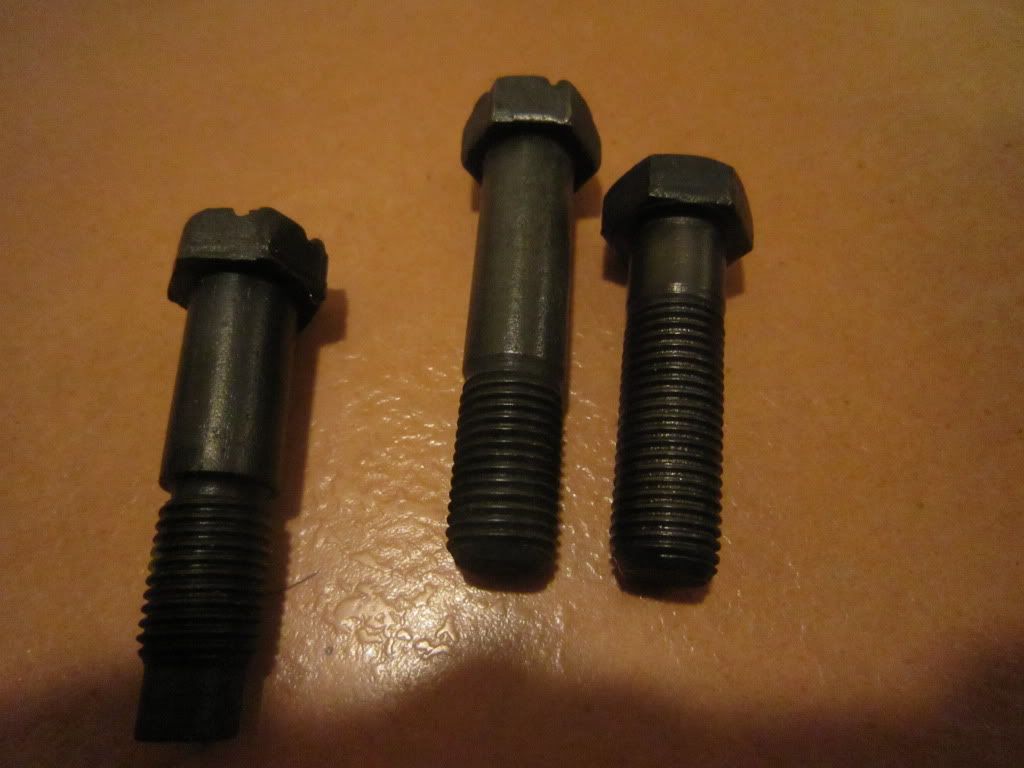
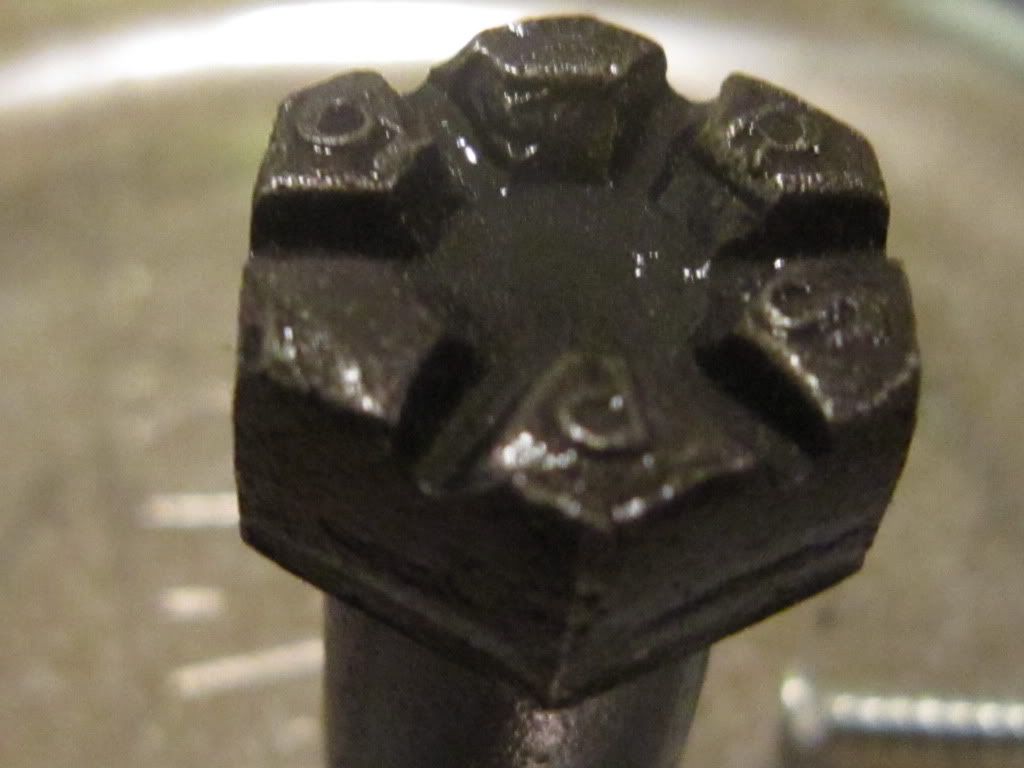
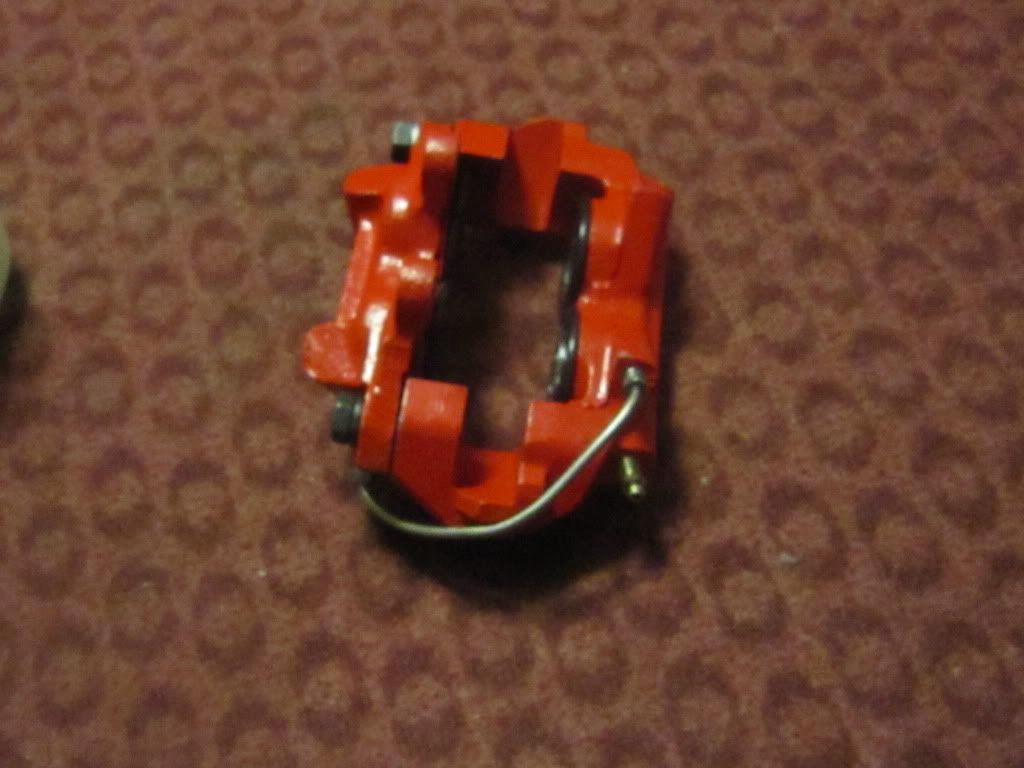
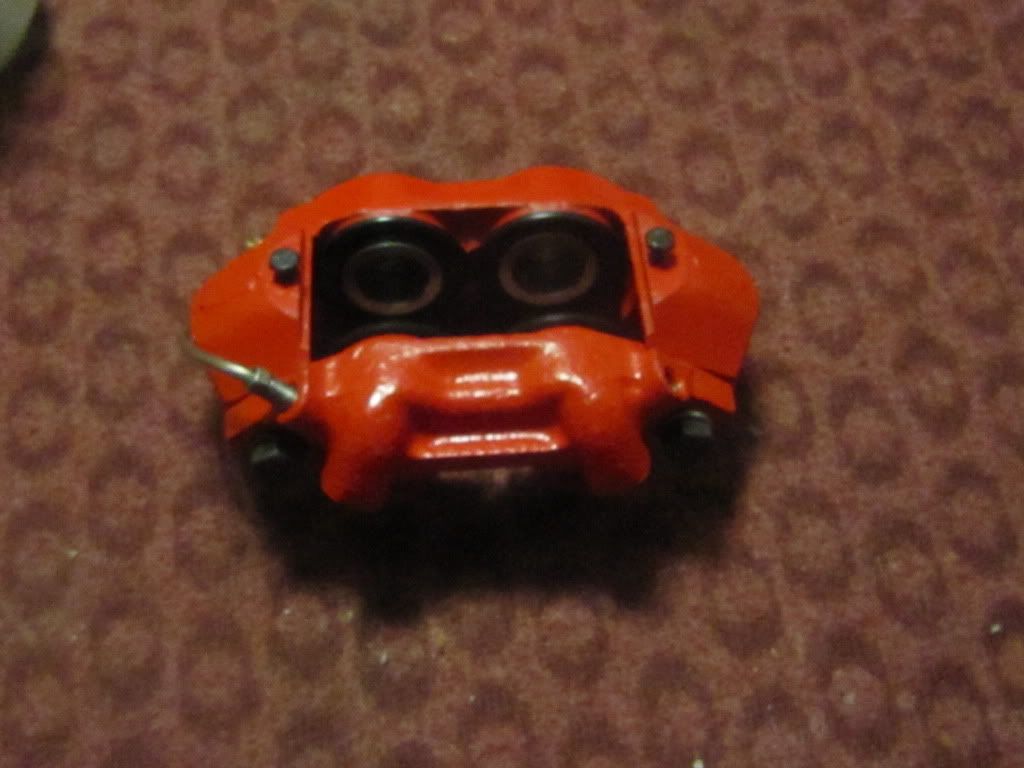
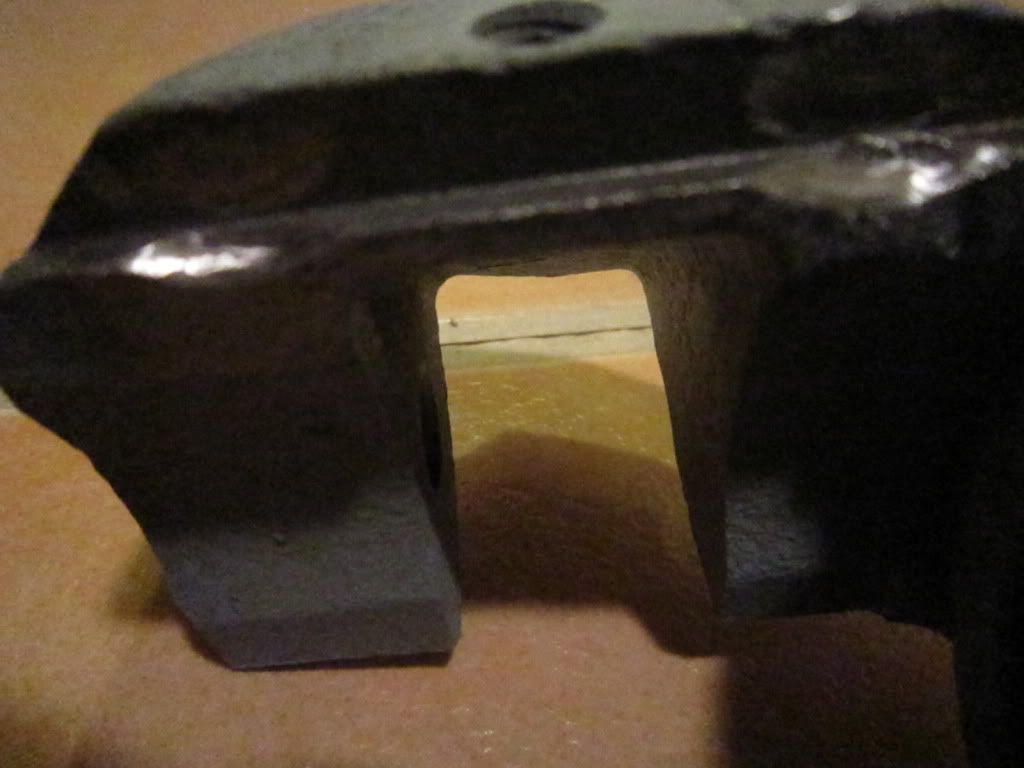
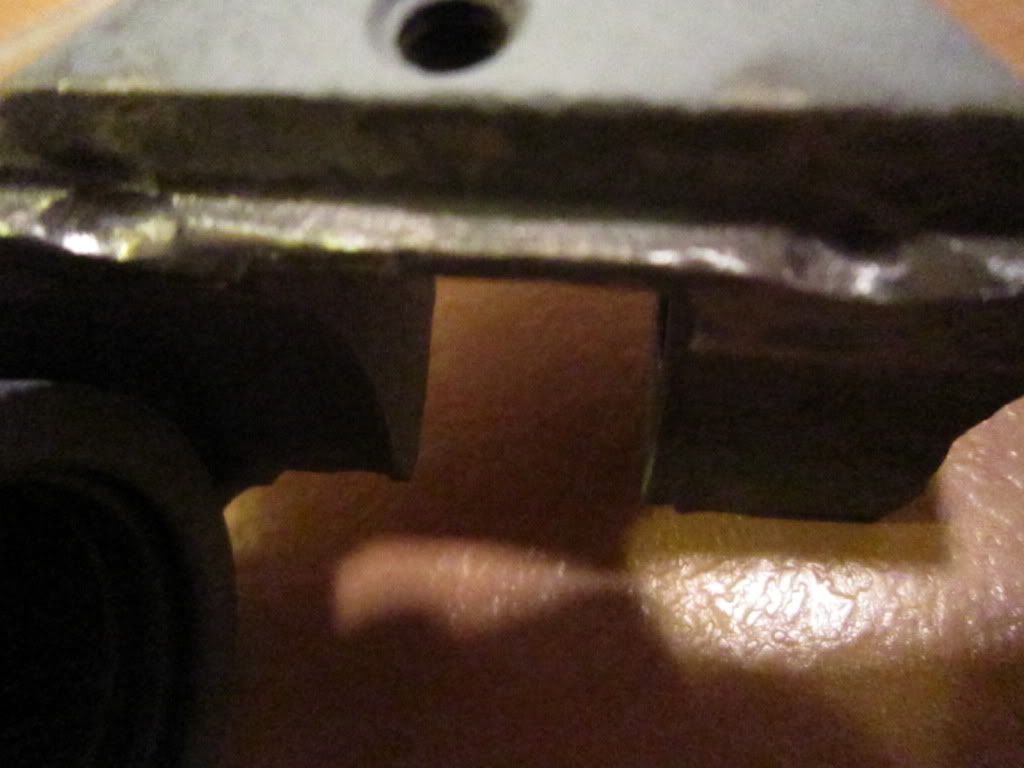
The verdict is in....


EVAPORUST ROCKS!!!!


Unbelievably well really..


IMG_1207.jpg


IMG_1205.jpg


IMG_1204.jpg
 
It's really great to see you working so hard on the project. It's really coming along, way to go! :cheers:
 
Lol it was easy! Plunk the parts in the evaporust and walk away. Come back in the morning and rinse...

I can handle that! Wishing the rest is gonna be this easy..

I just sprayed some primer on the large bits to prevent flash rusting and to give the VHT something to stick to.

Another 5 minute job!

And today is an awesome day. Kesler FINALLY popped his hattrick cherry. Good game and those Bluejackets fought hard. Nucks usually dominate third periods and most of the other time as well. Not this time..
 
Heres a reminder for you.I'll post the old pic and follow up with the after pic. That way I wont be bothered with subtitles on everything!:cheers:

Enjoy the pics Fabo!

IMG_1228.jpg


IMG_1188.jpg

IMG_1218.jpg

IMG_1189.jpg

IMG_1221.jpg

IMG_1193.jpg

IMG_1191.jpg

IMG_1217.jpg

IMG_1214.jpg

IMG_1186.jpg

IMG_1184.jpg

IMG_1212.jpg

IMG_1213.jpg

IMG_1209.jpg

IMG_1210.jpg

IMG_1216.jpg


K Im officially wiped so I'll continue this in a week or so...

Thanks for looking!:cheers:
 
I didn't paint the maiting surfaces of my brakes in fear of not being able to seperate them again. You may want to clean that off for clearance issues too. Rockauto has calipers too if that one is too far gone. nice work so far though.
 
Your right! I realised this as I was hanging them up to bake ! So thier not baked yet...


THANKS!

Caliper is in good condition except for where the dust boot seats in it's groove. I figure a little hi temp silicone and new boots will help.

Im micropolishing the pistons in corn husk media both to remove the accidental overspray and to give the piston a nice smooth surface. The used ones will be 100% useable but I'll also micropolish the new ones when they get here and use those instead.
 
told you that stuff worked well, calipers look great!!
 
Hey Buddy! Bin meaning to email you but you know the xmas season.Can ya shoot me your address info again?

And yes evaporust is AWESOME! Thanks for the hot tip..Dumped all the hardware in in tonight but Im thinking it'll be dun in after that. So count on $20 to safely remove all the rust from 1 brake caliper,probably less in the U.S.

Imma dumbass,dropped the calipers after a bake cycle. Gotta touch em up and leave em the hell alone after baking...one of the perils of M.S. You drop everything! Twice...

What do y'all think of using gun blue on the hardware?
 
Couple more shots foe the weekend.

I stuck all the nuts bolts etc in evaporust last night and they naturally look great! After a good wire wheeling they will get refinished using gunblue.

And the pistons are done/ready. Micropolishing smoothed all the small burrs and the surfaces are very slick now. Totally reuseable

IMG_1230.jpg


IMG_1231.jpg


And I need a bolt like this. Anyone got one?

IMG_1233.jpg


IMG_1234.jpg
 
Heres the KH rebuild kit Bob (superdart340) Bob sent! I can proceed with the rest of the caliper build now. There is an extra hole in the calipers,probably from when they were rebuild before and someone decided to use the grease gun/zerk fitting trick to get the pistons out.I'll just plug it with a spare bleeder screw.

THANKS BOB!!!

IMG_1348.jpg


I've been a busy boy around here with guests etc,but it's time to put my nose back to the grindstone,lol!
 
The hardware came out really clean after evaporust and media polishing. Still awaiting gun blue which is the next step.

IMG_1349.jpg
 
Here is the torker intake Doug bought for me from Rob! It's a nice piece,never been ported,no stripped threads and really clean.Gasket material on the mating surface should peel easy after a good soak.

Imma glass bead it,clean it up with my porting bits and then there's something special planned for the finish.

Thanks Rob and Doug for making this possible.

IMG_1350.jpg


IMG_1351.jpg


I also got some gun blue for doing bolts yesterday,but at $5 for a 2 oz bottle it's gonna be real expensive. I did find a 32oz bottle of birchwood casey gun blue for $50 on ebay which is a much better deal. Free shipping as well! Anyone know where I could get a bigger jug for less $$?
 
Because it will match the theme of the rest of the car nicely and is better than paint for bolts. It might have been better to get them cad plated as far as protection goes but wont look right with the paint color scheme.Paint always adds too much volume and cant be used to treat threads as a result but gun blue is microscopically thin like plating.

I'll upload some pics of blueing soon. Got it done but payed the price for 3 hours on the couch and still paying...friggin pain.
 
The blue stuff in the jar is gun blue. Horribly expensive to buy in 2 oz bottles but I did find a 32 oz bottle for about $55 on ebarf. So I'll have to save up and buy that for the next batch of bolts.


First pic is before blueing;

IMG_1349.jpg


IMG_1352.jpg


after blueing and wire wheeling

IMG_1354.jpg


The blue tint shows best in natural light but the kitchen light will have to do lol!!!.

IMG_1355.jpg


IMG_1356.jpg


I cleared the head of this one and liked it,so I'll do the rest as well.

IMG_1359.jpg


This is a ton of work,so thats why it takes me sooooo long. I need to blue a few more pieces and the caliper can go back together.
 
My son will likely be the only kid in hi school driving anything like it.
Up untill I had 4 out of five lugs spin in the driver's side hub, I was the only kid driving a 70 Dart at my school. Now I'm the only kid who gets a ride to school in his friend's 96 Corrolla. :angry7:
 
K ,so I used the new pistons seals dust boots and bleeder screw from the kit and mocked it all together. It looks great withe the red and black combined. The transer line isnt threaded in,just popped it on.

I'll go and dig out the other caliper tonight,plus finish cleaning the pads which are probably 80-90%.


IMG_1392.jpg


IMG_1391.jpg


IMG_1390.jpg
 
I hope you can see this from where you are Bob! And thanks!! Get well soon!
 
Thanks!

Ran into a slight snag with the second caliper. The glides for the pads are really worn,gouged in fact. I grabbed some nickel/silver brazing rods,but need to preheat the casting to about 700 f first. Dont have a kiln so still trying to figure this out.

Maybe some fire bricks and a tiger torch would make a nice temp kiln? I do know there is cast iron weld wire for a mig,but I need a machine that has at least 135 amps to use it;my Lincoln is about 90-100 amps,not enough heat.


Put it in the oven, Turn the sucker up as far as it will go.. Watch the thermometer and don't catch anything on fire. open the oven, weld quickly, put it back in, repeat as necessary. Ive seen people weld up cracked iron heads this way.

I wouldn't do the wire. go with brazing.
 
Hmmm,I think the self cleaning cycle gets pretty darn hot. You may have a great idea here! The area's to be welded is small.I'll snap a couple pics tommorow.

I love saving busted up stuff!
 
Don't forget if you use self clean the door will lock and if you don't time it right you will have to let it cool before you can open the door.
 
So Im prepping for welding cast iron. The glide suface on the second cal is worn right down. I bought a couple nickel/silver rods,some play sand and a tin roasting pan. The idea behind the sand is to fill the roasting pan,place the cailper inside and then stick it in the oven at 550 for an hour. The sand will help control the heat and keep the part warm longer,plus slow down the cooling stage. This is when cast tends to crack,during the cooling cycle. Hopefully by taking 4 hours or so to cool it off in the oven it wont crack.

Im still waiting for a few $$ to roll in so I can go get some carbon arc rods for my torch. It's the only heat source I have thats hot enough for such thick heavy parts.Much hotter than any gas torch!

IMG_1410.jpg


filler rod

IMG_1393.jpg


gouges

IMG_1486.jpg


play sand

IMG_1487.jpg


IMG_1473.jpg


I ground down the weld area. It's really the only way to completely remove all contaminants prior to welding.

IMG_1473.jpg


IMG_1472.jpg


Not sure how many pics I'll be putting up. We have at a recent ruling here in Cananda from the crtc which means Canandians be paying for uploading and downloading(thought I already paid for this!). Just another example of greed gone rampant.


Thanks for your greed once more Bell!
 
-
Back
Top