72 duster Build progress

-
Thats what I have been saying too. only way I would probably do another project as labor intensive as this has been....is if its been after a few years so I can forget how much some of it has sucked at times lol and if it was an e body cuda . thats one of my favorite cars and i would consider doing it all again for one of those. then again........those cars are way more expensive to restore lol. I would take another project car in the future though.....I just don't want it to be such a time consuming one.....a paint job,fine........or engine work,fine, or interior work ,fine......but not full on jobs anymore. its such a draining process....physically,mentally,financially. once this is done I just want to drive it and enjoy it finally so all that work can pay off and I can take the family cruising and take it to shows and try to get all the hard work recognized.
 
The primer i just picked up is 2k high build urethane 4:1:1 and the paint I'm using is shopline which is ppgs more affordable line
 
From what i recall there isn't a window on the 2k but ill double check. I know there is a window on the sealer where if you wait to long it needs sanded prior to paint because it cant chemically bond, which is fine because i plan on sanding the sealer after i apply it and prior to Color for a little smoother paint job
 
I coulda sworn there was a window with urethane primer.. I used laquer (im sure I spelled that wrong) primer on the buggy and the window was short.. If I remember correctly urethane primer has a longer window before sanding.. but i am sure there IS a window
 
the only "window" I am seeing for the primer is the primer pot life window which is how long the primer is usable once mixed before it starts to set up on you. ill look into it more but i don't "think" there is a window on it.
 
I mean 'window' as in the time you have to apply the paint (or sealer) without having to sand first..
 
this is from a similar primer as what i have and i believe its all the same specs.

APPLICATION
Apply 2K Urethane Primer Surfacer in two medium wet coats,
allowing 15 minutes flash time between each coat. Additional
coats may be applied for more build.
DRY TIMES / RECOAT
FLASH TIME: Allow 15 minutes
DUST FREE: Allow 10-15 minutes
WET SAND: Allow 2-3 hours
DRY SAND: Allow 3-4 hours
CURE: After 18-24 hours

Once entire surface area has been leveled, primer may be topcoated for up to 18 hours without any additional prep. After
18-hour recoat window has passed, surface of primer must be
abraded prior to topcoat application.

Ill have to check mine and see if it is the same. not a problem if it is.
 
right... so if I am reading that right (and I am no pro whatsoever LOL) after 24 hours its cured.. which would mean you would have to scuff it in order to seal or paint .. See.. with my primer it, was on there a week, so we had to scuff it, then tack cloth it off. then we sealed, waited the 20 minutes or so of flash time, tacked it again, and started with the color.. So basically you will have to scuff the primer and tack it before you seal.. etc..
 
right... so if I am reading that right (and I am no pro whatsoever LOL) after 24 hours its cured.. which would mean you would have to scuff it in order to seal or paint .. See.. with my primer it, was on there a week, so we had to scuff it, then tack cloth it off. then we sealed, waited the 20 minutes or so of flash time, tacked it again, and started with the color.. So basically you will have to scuff the primer and tack it before you seal.. etc..


the only thing that is confusing me ( I have been up for 18 hours now to so my minds a little slow lol) is.......
this tech sheet basically says you can start sanding from 2-4 hours after its sprayed.....it also says that once the entire surface has been leveled you can top coat. within 18 hours without additional prep. but after 18 hours you must sand the primer prior to top coat. why would you need to sand after 18 hours if you already started sanding on it within 2-4 hours after spraying it?. I guess im not quite grasping what its putting down at the moment lol....I think i need sleep.

WET SAND: Allow 2-3 hours
DRY SAND: Allow 3-4 hours
CURE: After 18-24 hours

Once entire surface area has been leveled, primer may be topcoated for up to 18 hours without any additional prep. After
18-hour recoat window has passed, surface of primer must be
abraded prior to topcoat application.
 
Not sure about the chemistry of it all, but thats why I asked.. after a certian period of time, no matter what there is additional prep (like sanding again) and what you just posted bears that out.. so the answer to my original question would be 18 hours.. you have that long to shoot whatevers coming next, after 18 hours your sanding again.. lol. Did you already sand it after primering? Even if you did, I believe just a simple scuff is all thats necessary. (why, I couldnt tell you, but I have no doubt its a chemistry thing LOL)
 
I havent primed it yet. I took the car back down to metal and etch primed everything. 2k primer is next, then sealer,then basecoat,then clear coat. plan is to do 2k and sealer at the garage in the next few days and then load it up and take it in to have the base clear done.

tomorrow ill look at my actual tech sheet and see for sure what it calls for and ill let you know what i find.
 
ahh ok,... for whatever reason I thought you already primed it again... lol.. I must be losing it LOL!!
 
Sorry for the lack of updates guys. I have been going non stop on this duster trying to get it done.

Between weather,my wifes schedule (dictates when I have to watch the little ones),my fathers schedule ( he has been helping me get it ready for paint), and the schedule of my painter.....I have not yet been able to get the car painted. right now I am just waiting for a couple of free days so i can knock out the primer and sealer and then its ready for paint.

its very very close .....just waiting on schedules to all align lol.

I did however take the time yesterday to install my new flow master 40 series mufflers ( the summit turbo mufflers that came in my exhaust kit sounded ok but just didnt have that chambered low aggressive tone I was looking for). I am happy to say that the duster now sounds like a totally different animal and sounds MEAN!!!!!!.

Ill try to get an exhaust video for you guys sometime ....cant right now though ( car is all masked up and door jambs are masked so I cant get in the car to fire it up right now).

stay tuned guys...some sweet new updates are coming!
 
I prefer the hooker max flows. Sound a lot better then the flowcrapers and make most power behind warlocks and straigh pipes. But can't wait to see it all done! ��
 
ehhh, to each his own. you say "flowcrappers" I say it sounds bad ***. I say leave the hookers at the corner of 1st and 4th so you don't catch something funky and have to see a doctor LOL
 
Good to see you're getting close brother. :cheers: Can't wait to see the finished product. Also, I think you'll like the Magnaflows, have them on my Duster and absolutely love the tone, especially when you get on it. My buds say she "sounds angry!"....:burnout:

Be well,
Pat
 
sorry for the lack of updates guys!......I have jsut been so busy i havent had time to sit down and load up any pictures and what not. but ill try to make up for that a little bit now lol.

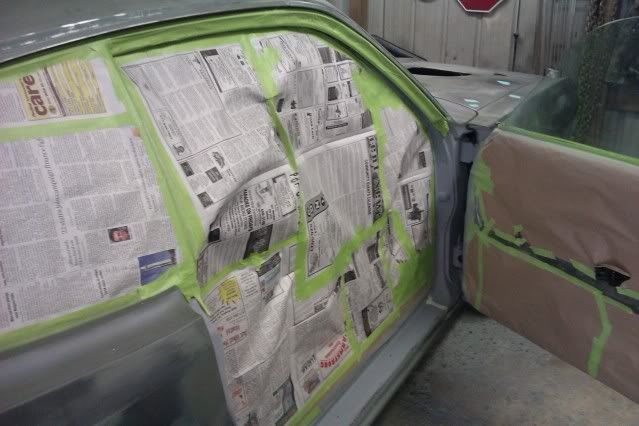
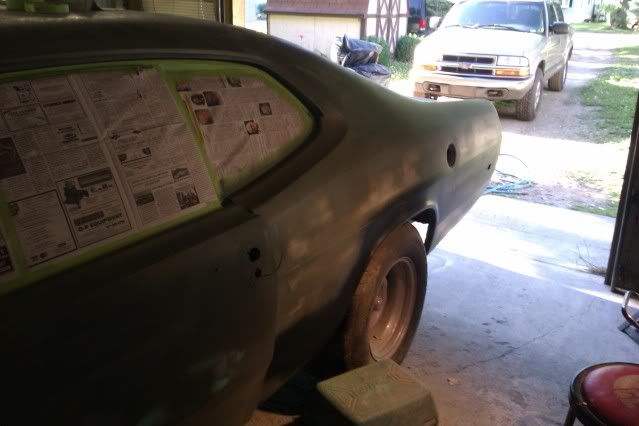
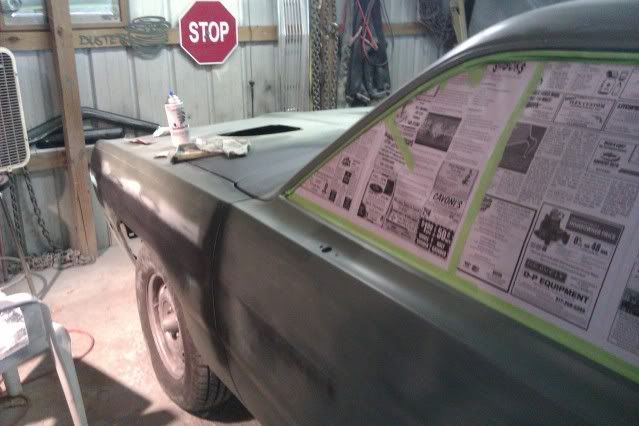
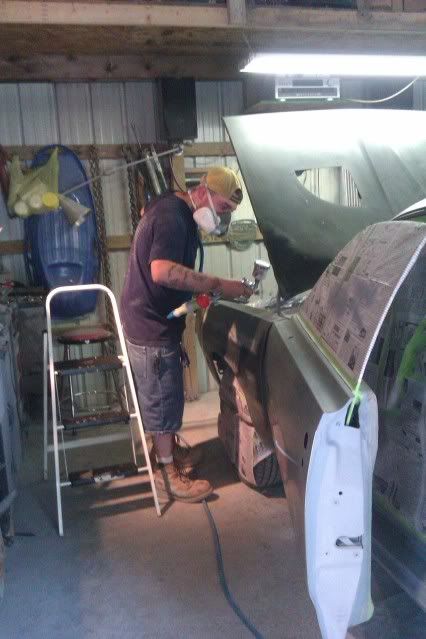
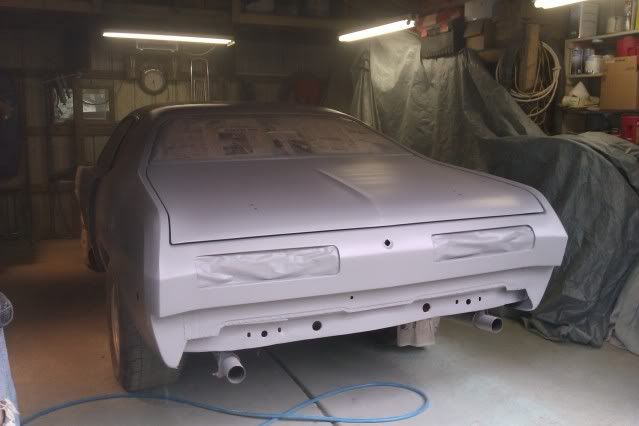
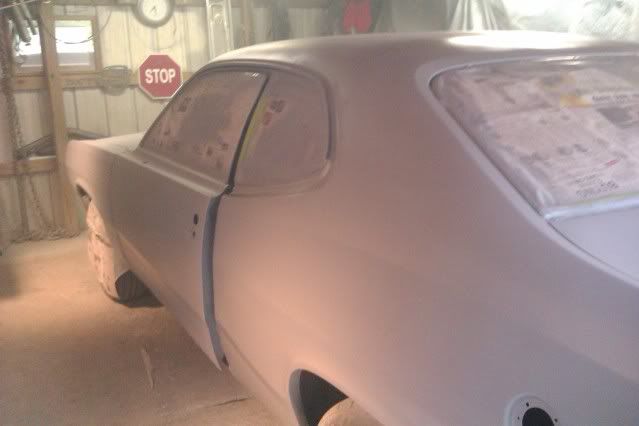
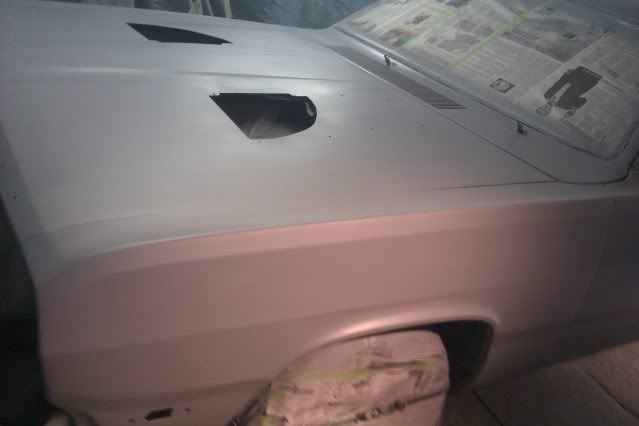
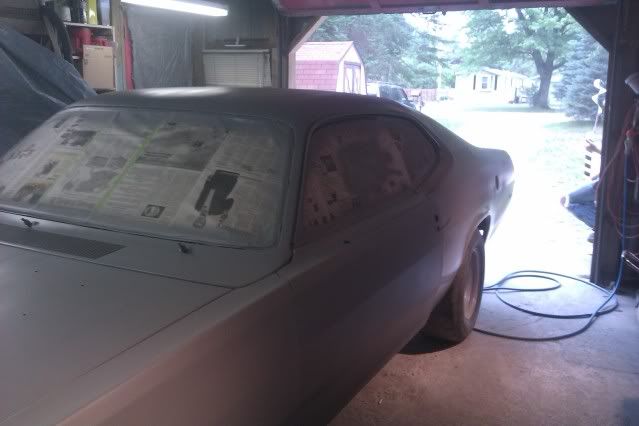
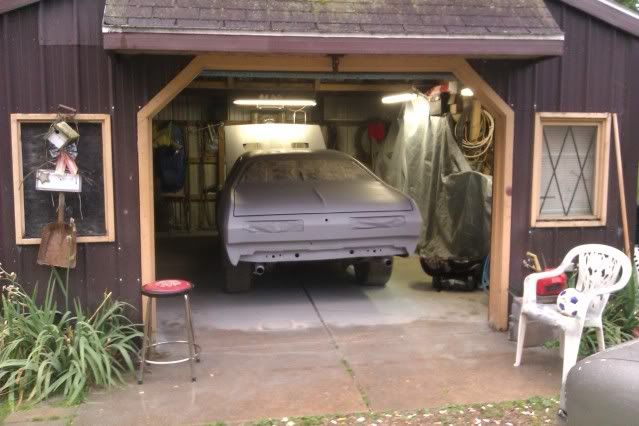
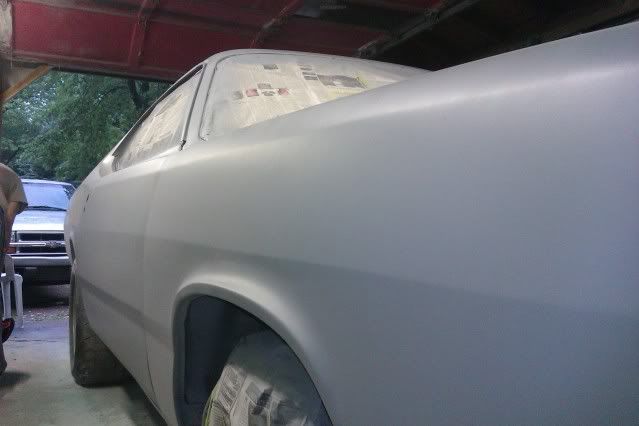
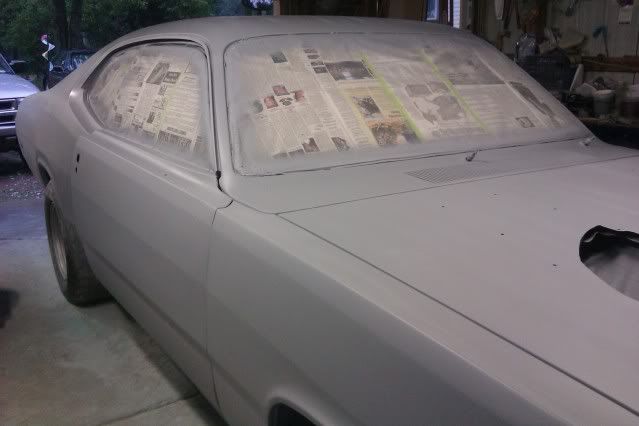
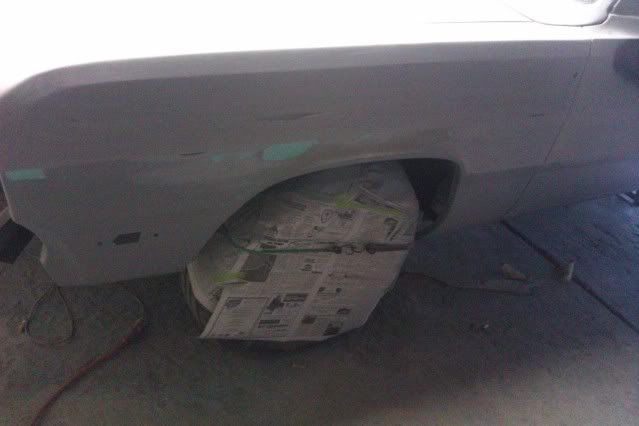
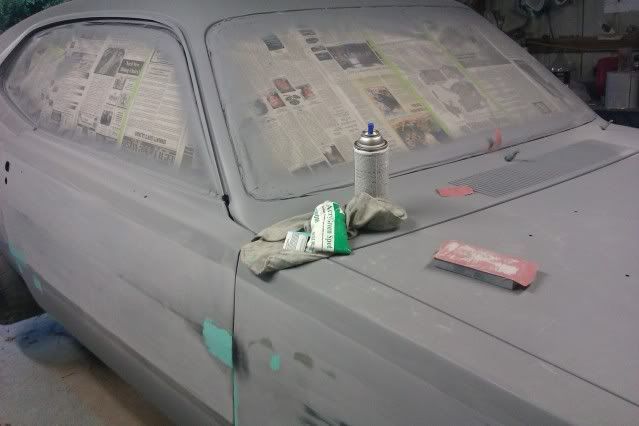
I got the duster all masked off and scuffed,got everything seam sealed up and finished up a bunch of odds and ends,got my 2k primer sprayed down the other day ( much better quality than the last primer i used!, the last stuff took one gallon for one coat of primer on the whole car.....this 2k only used a little over a half gallon for 3 coats of primer on the car!......much easier sanding and has a great feel to it).

I sprayed chip guard on the bottoms of the rockers and a few other places to avoid any rock chips once in paint.

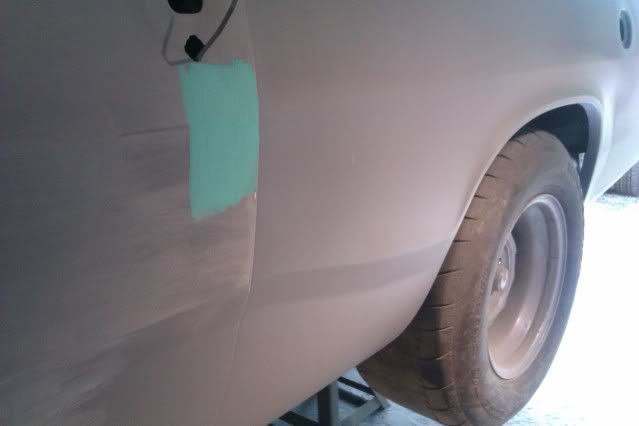
started blocking the car down and so far its coming out great.....all that time during body work paid off because the panels are pretty dang flat. few spots here and there where spot putty is needed but nothing serious....just a little feathering is all.

its coming out great and my plan is to have it blocked out so I can spray sealer this weekend. then once that has a chance to cure up I am going to sand that also and THEN off to paint finally!.....the list of things "to do" is dwindling....which is a great feeling lol.

Id say the worst part about all of the body work has been making sure the lines are straight and clean looking.....doesnt help that I am very very picky about the way they come out.....if I don't like it I redo it until I do like it lol.

anyhow heres a few progress pictures.

IMAG0445.jpg


IMAG0446.jpg


IMAG0447.jpg


when I first started laying down primer
IMAG0455.jpg


IMAG0456.jpg


IMAG0458.jpg


hood bumpers are out so it looks like the hoods off but its just sagging down is all
IMAG0459.jpg


doors open incase you were wondering why it looked funny lol
IMAG0461.jpg


IMAG0462.jpg


door is also open in these pictures too
IMAG0465.jpg


IMAG0466.jpg


a little pit of spot putty
IMAG0468.jpg


doing some blocking
IMAG0476.jpg


doing some more spot putty and laying down tracer paint and blocking out.
IMAG0473.jpg


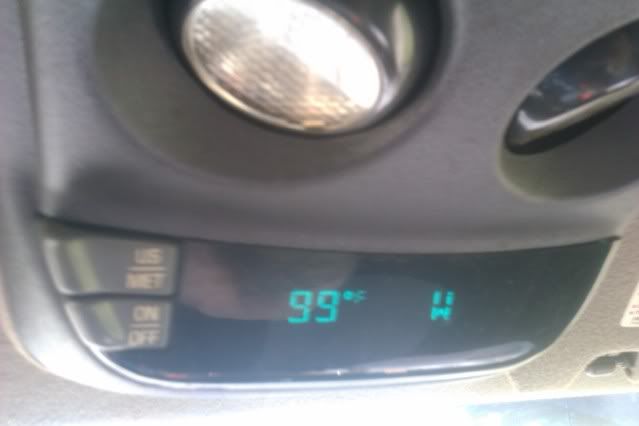
This is how hot it was today ....and I was stuck sanding in this crap....and its going to be like this the rest of the week. I am not sending it in for paint until the temps cool off around the 70's ...so hopefully its cooled off the beginning/mid next week (should be ready for paint by then atleast)
IMAG0470.jpg


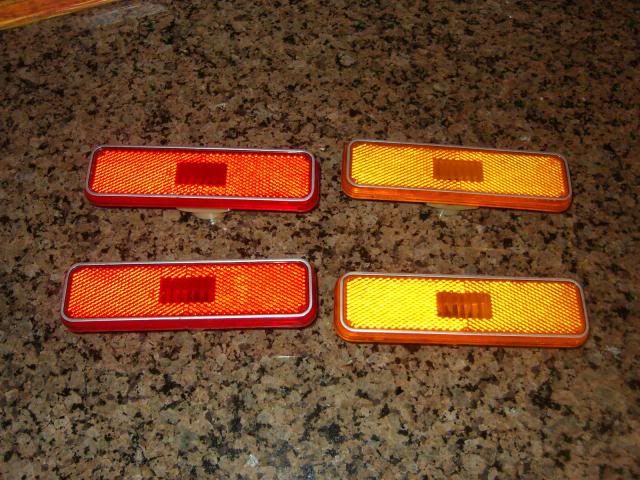
OH and I put some new parts on order, I ordered a new set of marker lights from a member here at fabo, those should arrive soon
Heres a pic of them
sdemakers002.jpg
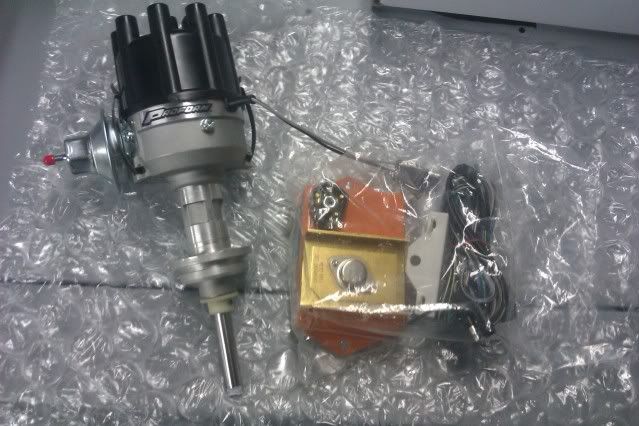
, also ordered my rear tail panel stripe kit from challengergary who is also a member here (he does awesome work and i suggest anyone in need of vinyl stripes for their car....contact Gary....great guy to deal with!)....that should be arriving soon aswell. AND check out what showed up at the door step today! YUP....my new proform electronic distributor conversion setup!
IMAG0472.jpg


if anyone needs a good points setup I am going to sell it. it works good. I cleaned it up and restored it when I built the engine also...if interested send me a PM (should be pictures of it a few pages back during the engine build portion of the thread).

Anyhow guys....I hope those are enough updates to keep you all in the loop. im not just loafing around and not posting.....I am just to dang busy GET'N R DONE! .... Ill update more as I have updates worth mentioning. But like said, the plan is...sealer this weekend....then paint soon after. hopefully everything goes smooth and the weather cooperates. id like to have it done by the end of june (body/paint wise).

Stay tuned.....let me know what you guys think!
 
looking good. all these cars gettin done cant wait to get started on mine. i saw the comment on mufflers that you guys were useing flowmasters and leaving the hookers at the corner. i saw in a LT1 camaro performance upgrade manual that they compared a flowmaster muffler to a hooker muffler and the results were that the hooker muffler flowed better and gave 5 to 10% more power over the flowmaster, and while working at the speed shop i did the swap the hooker muffler sounded great compared to the raspling sound the flowmaster prouduced. either way though dual exhaust sounds great. cant wait to see the duster painted Jerrod all of that hard work is coming to an end
 
Thanks guys. And yes i use to have a 388 lt1 striker firebird firehawk that i ran all Hooker exhaust on. Not that i dislike Hooker exhaust. I just preferred to go with what i did on the duster is all. And trust me .... There is no raspiness to the exhaust. And. Even if there were a slight difference in dyno numbers, I'm not worried. Not going to be a drag car, just a street car.
 
-
Back
Top