AlV 69 Dodge GTS project

-
Been a while since Ive checked in...great progress and nice work!! Love the video with the 340 too. Sorry if I missed it, but did you mention/post any info on the engine stand??

My K wasnt as nice as I thought it should have been. I POR'd mine, but never did any welding or grinding to it. Sandblasted and then POR'd....I may now have to strip mine down....
Keep up the great work and documentation!
What model of Hurst was your factory shifter?

Thank you!

The engine sounded great! and it was a great milestone.

I don't think I posted anything about the stand.... what did you want to know?

AlV
 
Started to disassemble of the front end.
Here's are pics of the mess lol


This thread is fantastic. I think I've just burned through my lunch break reading it all. You're going to have one fine ride when you're done, AlV. As many others have expressed, I appreciate your attention to detail. I look forward to following this.
 
This thread is fantastic. I think I've just burned through my lunch break reading it all. You're going to have one fine ride when you're done, AlV. As many others have expressed, I appreciate your attention to detail. I look forward to following this.

Thank you! . I've been having a great time with this project. And learning so much along the way.

I'm stoked that you found it a good read and that you read it on your break. I should Ask Captainkirk if he's thought about compiling these resto threads and FABO into a table book.

I'm working on the front end now and will post some new pictures soon.

Stay tuned.
:cheers:
 
Yeah I have done nothing with the car in a long while... Well that's not totally true.

I did start to fight with the LCA bushing cup but gave in before I did something I would regret. Cooler heads prevail. :) I will approach removing them as many others have suggested.. I'll weld in a grade 8 washer and hopefully have success pressing them out. wish me luck.

So while it isn't project related I will share what I have been up to and what was keeping me away for a bit.

I took a road trip to Douglasville Ga. (By way of NC) to see friends and pick up my 82 Kawaski GPz.

It really was a great trip (long, 1800 miles round) but great. I met Friends and family along the way.

I even got to meet with a FABO member Martin "2fine69s" for some real NC BBQ ... what a great guy and feel lucky to have met him. Hopefully we'll catch up again soon.

https://scontent-a.xx.fbcdn.net/hph...403_632764143472630_5034909790998917152_o.jpg

The GPz is for a future project (Or for sale if the price is right) :)

Yeah, it's pretty cool. Has 8 K on the clock and everything works. Not sure why the previous owner rattle canned it but I didn't bother me because outside of the crappy paint job and the fact that the previous owner didn't know how to Jet the dang thing, the bike is perfect.

https://scontent-b.xx.fbcdn.net/hph...8_10202010015070633_2606921785570334895_n.jpg

This is what I plan to do with it:

10377001_10202094866751872_172505361187195133_n.jpg


Okay, But now Back to the regularly scheduled programming. :)


LCA's await.

-AlV
 
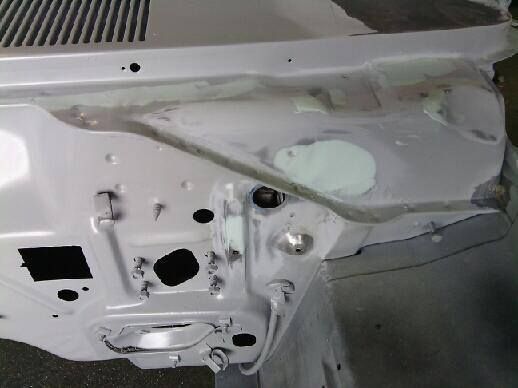
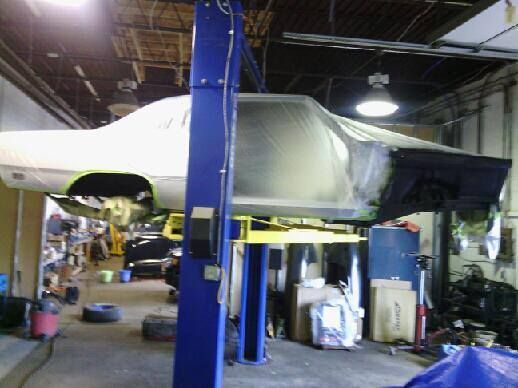
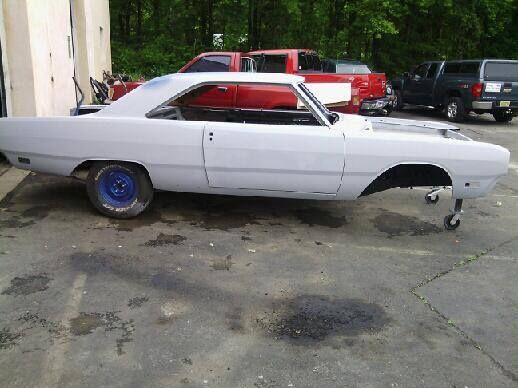
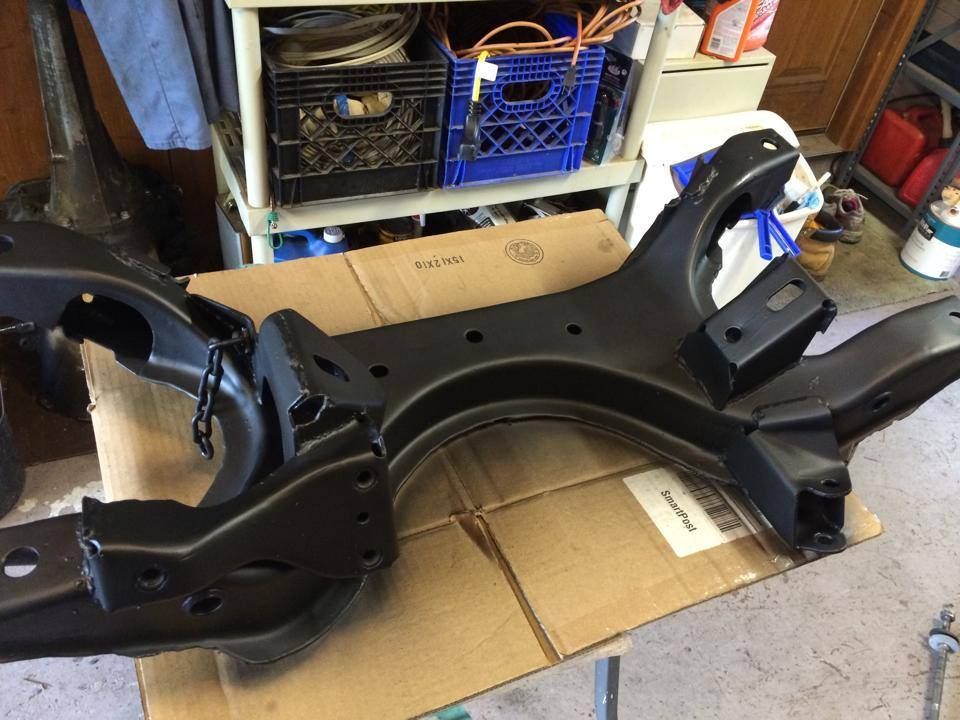
I think I totally underestimated the time needed to rebuild the front end. I came out of the gates strong thanks to Mark and Tom for letting me use their lift to drop out the whole front assembly. Heck even the tear down went quickly and without a hitch. But since then it's been a slow deal.

It's the cleaning and the stripping that is a time suck. I'll admit that I expected this part to take some time considering I don't have a good media cabinet and a limited set of tools oh and limited funds lol.

All that being said progress is still progress.

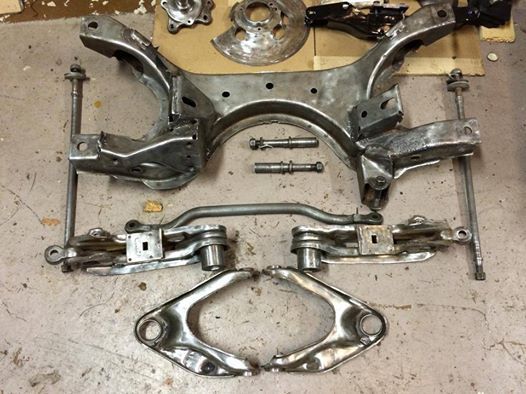
First off the PST super front end Kit is really nice. Heck I even got both Poly and rubber LCA bushings so my options were open. After reading through several threads I decided to stay with the rubber LCA bushing but in retrospect I would have saved a lot of time re-using the outer and inner sleeves going with polys.

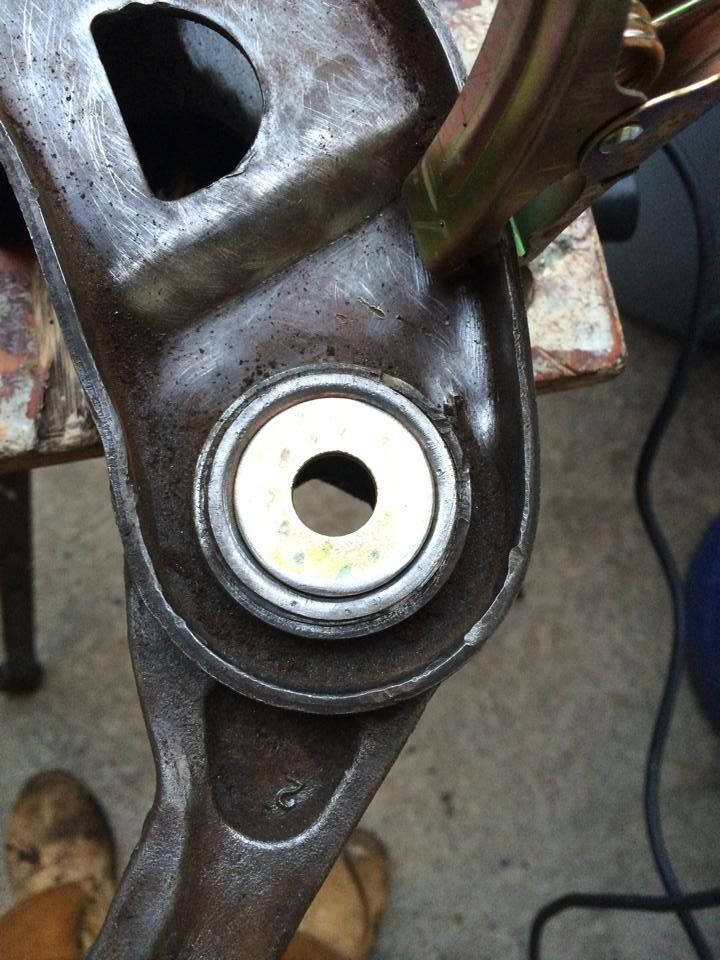
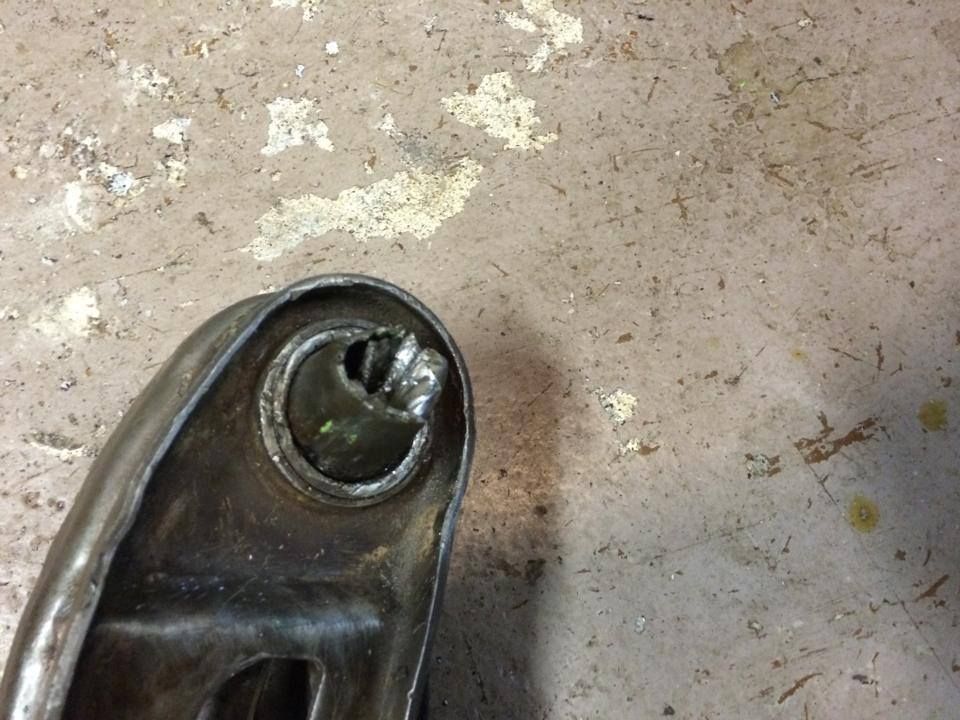
Welcome to my LCA nightmare lol.

I cleaned the outer shell and prepped it to weld in a grade 8 washer.

10389515_640452462703798_4025578347463207541_n_zpslvjml0bi.jpg


10354164_640452486037129_7671633547955951883_n_zpso8v0ubgt.jpg


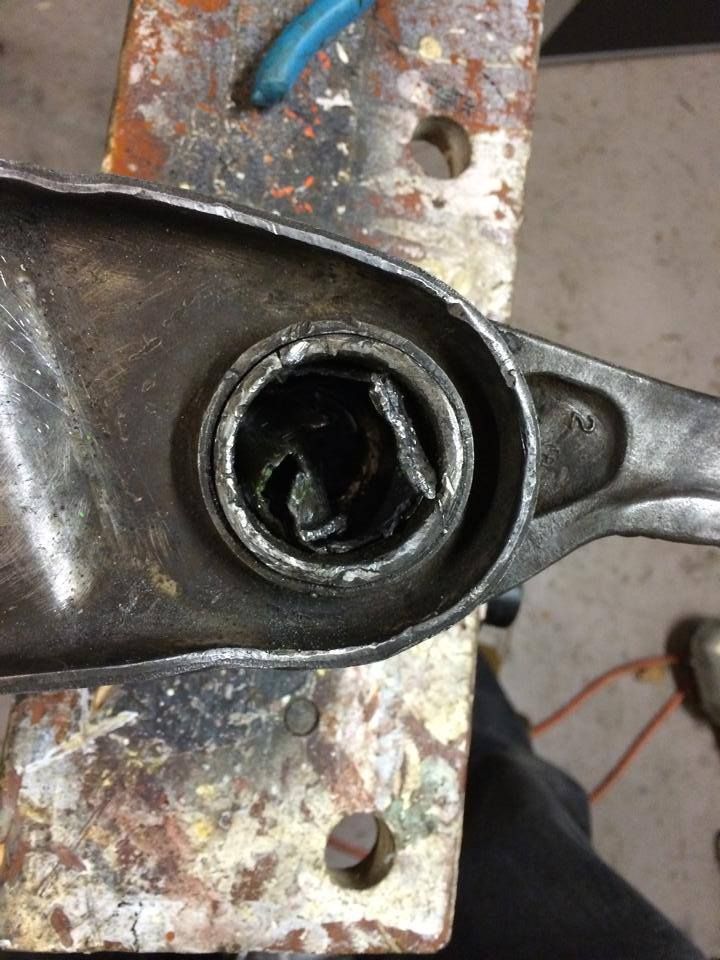
Unfortunately I didn't not take many pictures of the first try thinking that I would on the second arm so I don't have shots of the welded washer or the how the outer shell failed and tore apart while trying to press it out.

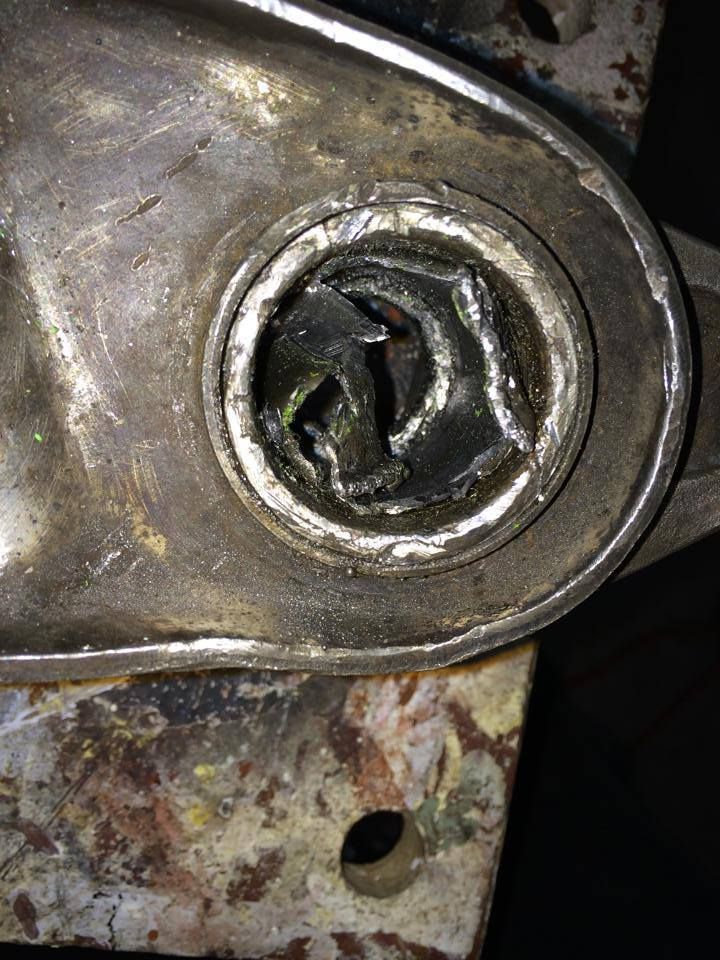
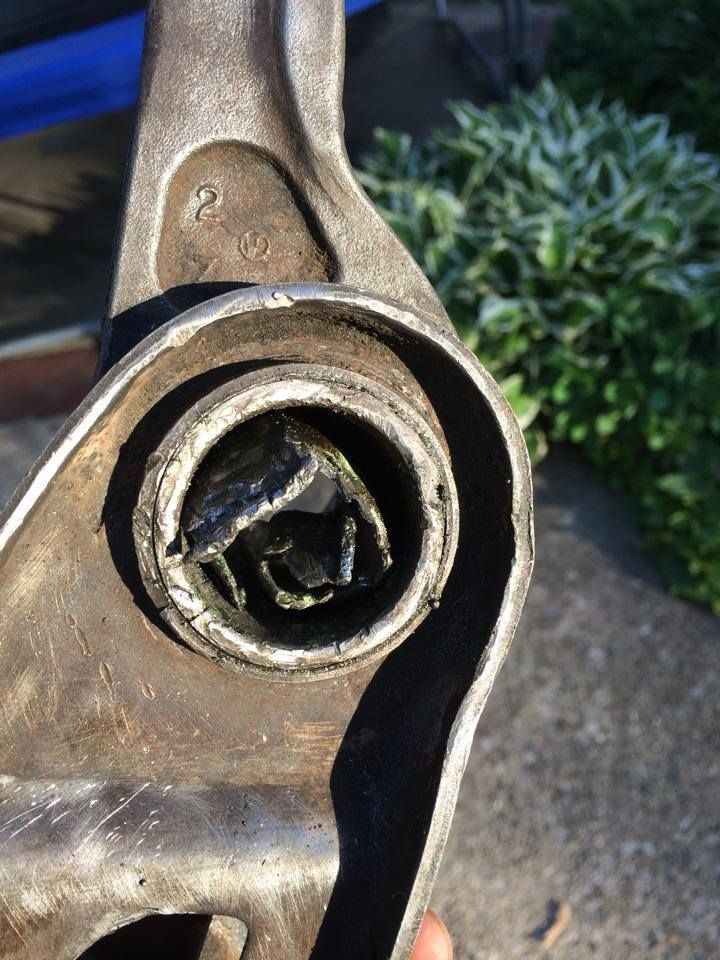
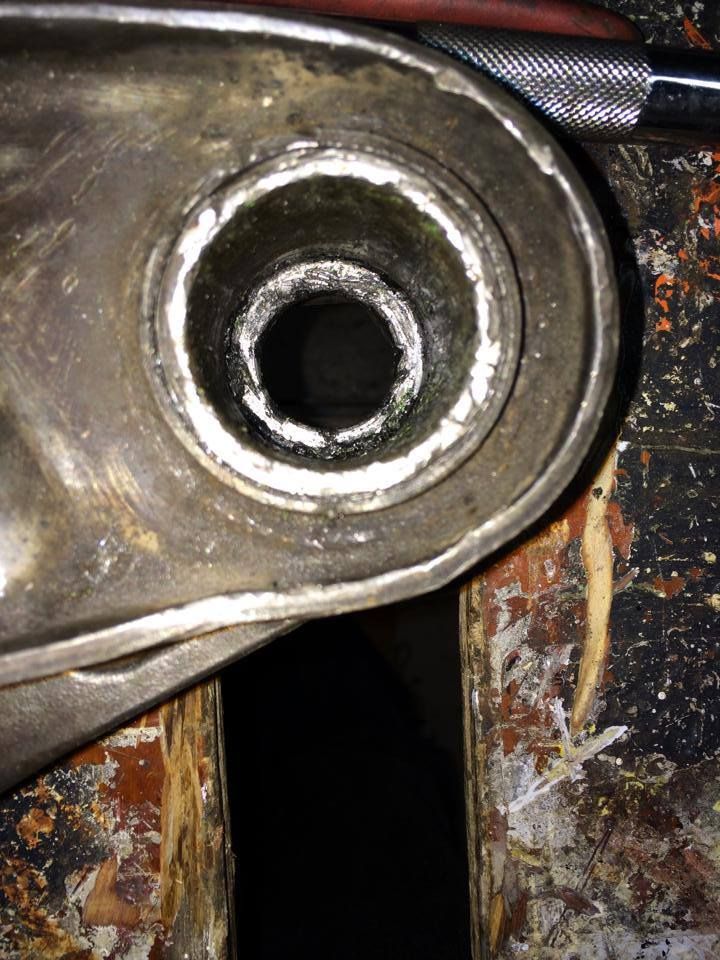
What a mess... The shell tore apart while trying to press it out, so I decided I would not try welding again because there wasn't much material left to make a good contact. Assessing what I had left I figured using a hacksaw blade to cut down the side and rolling the shell onto itself with a chisel was the next step. Funny thing was that the shell seemed fused to the LCA wall and it took a lot of effort even with the shell split. I worked at i and took my time and eventually got them out.

10330266_640452502703794_6984981084941638038_n_zpse7dga25f.jpg


10330431_640452526037125_5175449086265027861_n_zpskcwasltu.jpg


10433947_640452542703790_2843822555588442207_n_zpseydk2t5g.jpg


10433884_640452556037122_864669017585600936_n_zpsc8mq8l8u.jpg


10404089_640452579370453_2627994937985197643_n_zpsx3vkmnwr.jpg


10344833_640452596037118_9073209581949894777_n_zpscaunpkos.jpg


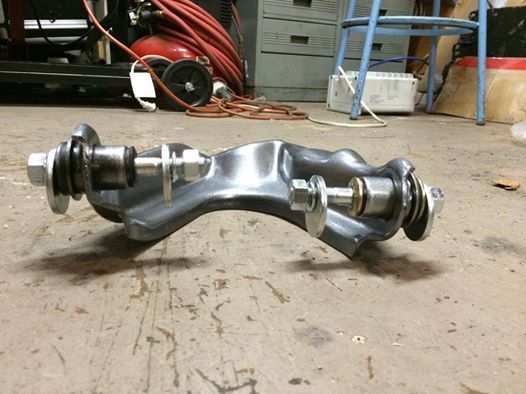
After removing the shells I took some time with a brake hone and steel wool to clean up the walls (I was very careful with my hammer and chisel I don't think others were as kind).

I've decided replacing Lower control arm bushings are one of the things I like the least. My opinion would be different if I had the proper equipment.
I'm sure others didn't have as difficult a time as I did so don't take my experience to be yours. Hopeful it is not.

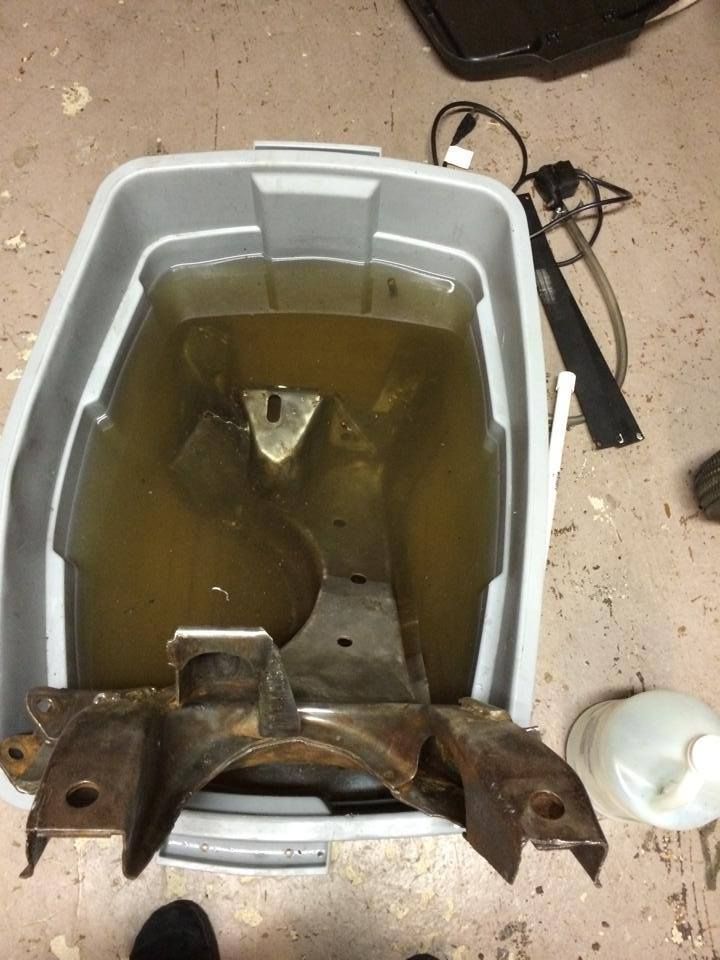
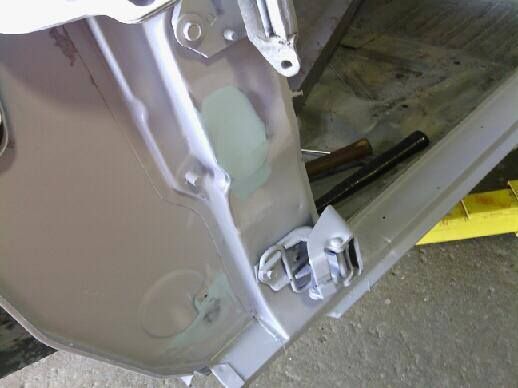
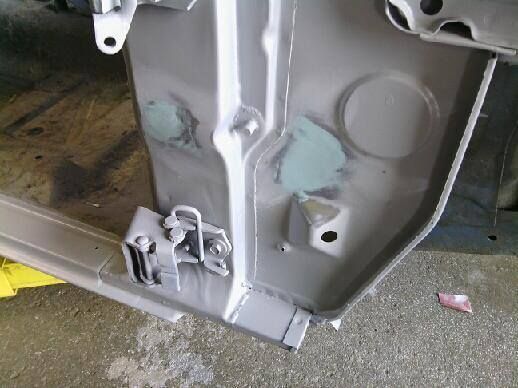
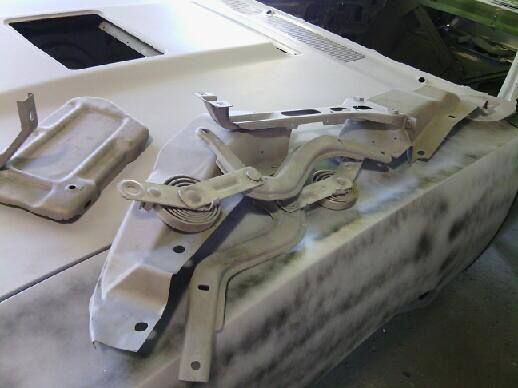
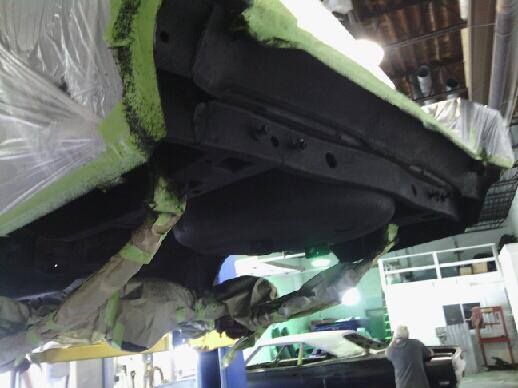
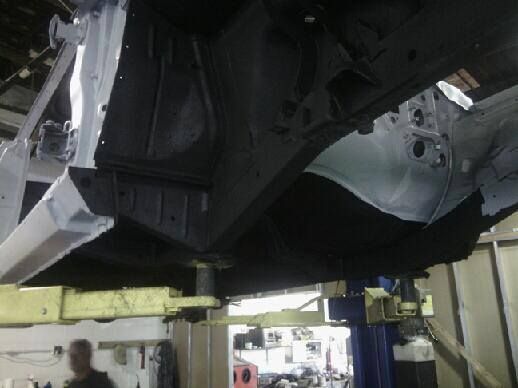
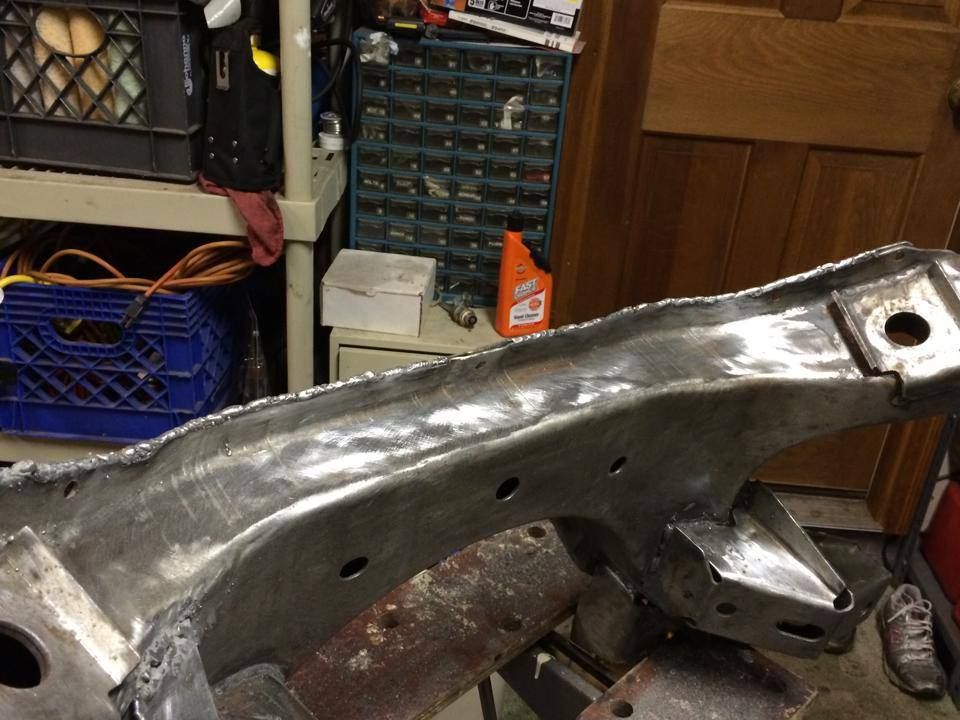
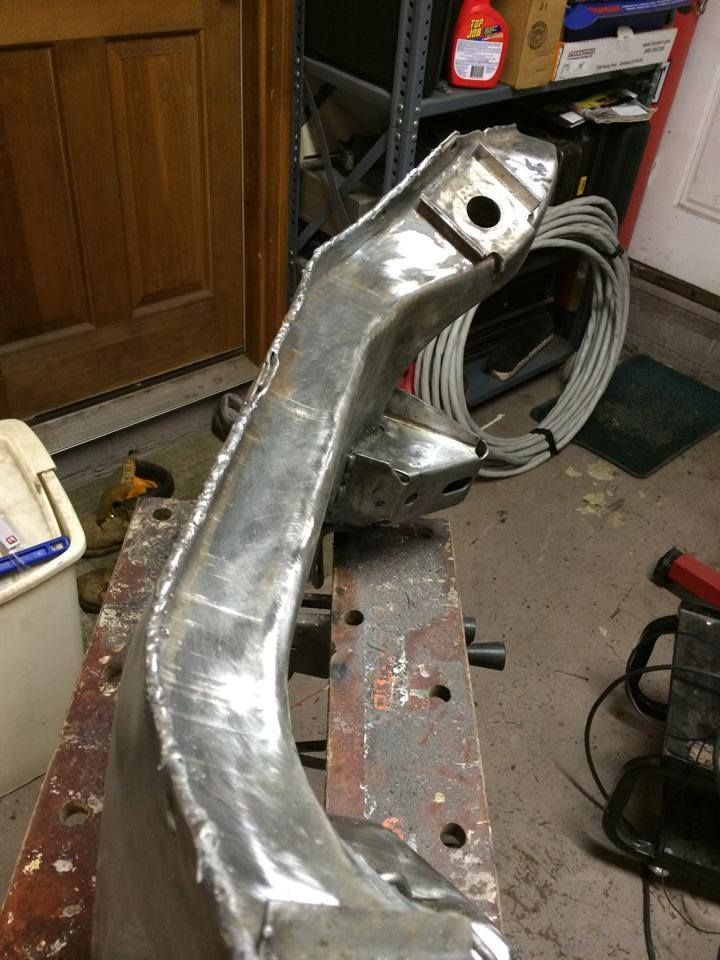
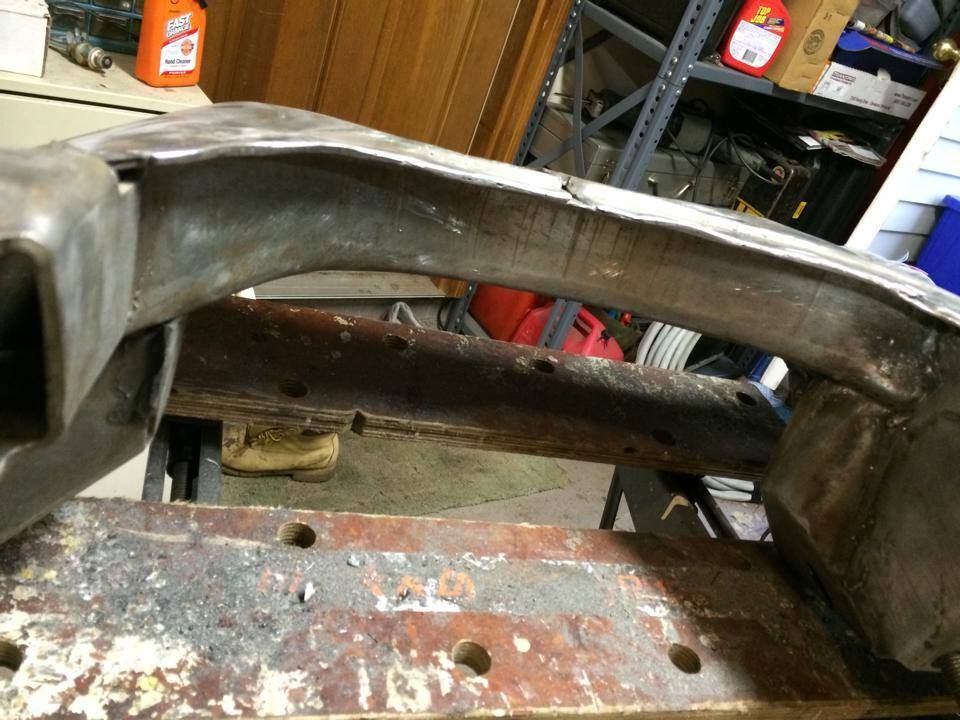
Most parts cleaned up well, I even did a good job with the K but no matter how clean I get it I seem to find more grease.

I used a combination technique to clean components...

1, First I sprayed with degreaser and pressure washed.

2. Then I soaked on alki-clean solution. Back to the pressure washer.

3. After I hit it with various discs, wire wheels, sandpaper and steel wool.

10262083_616087331806978_3276266802104007555_n_zps0hbz4eyu.jpg


Wish I had a hot tank and a sandblaster because they would have saved me lots of time and done a better job. Lol

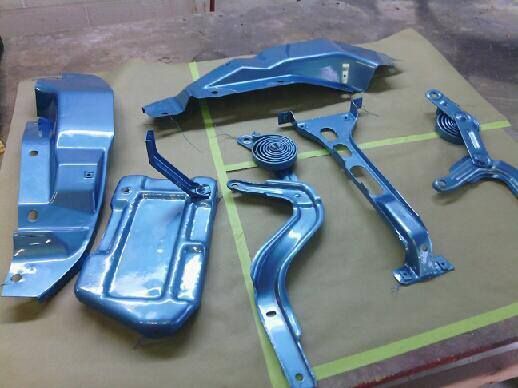
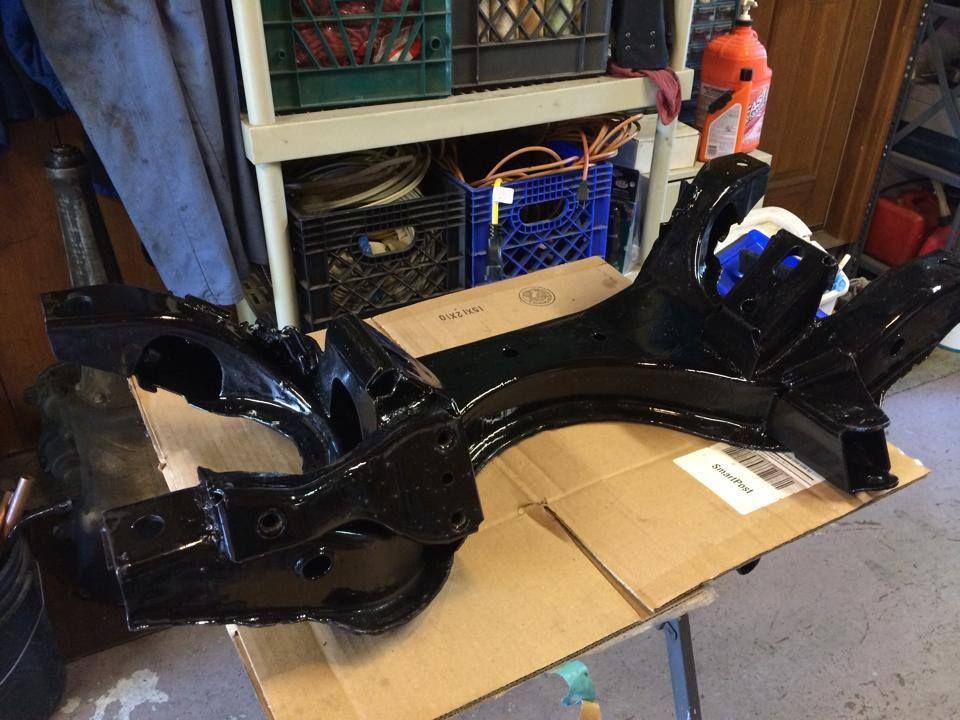
You might be asking why not powder coat??

Got a quote of $150 for just the k frame which seemed high to me. I vacillated between powder-coat and POR because these pieces take a lot of road abuse and I've heard mixed results from folks who had them powder coated. I can still change my mind but will have to decide this week.

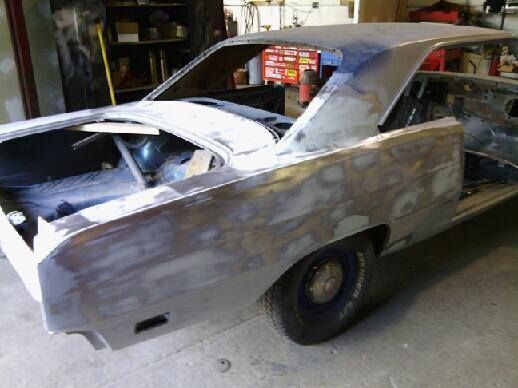
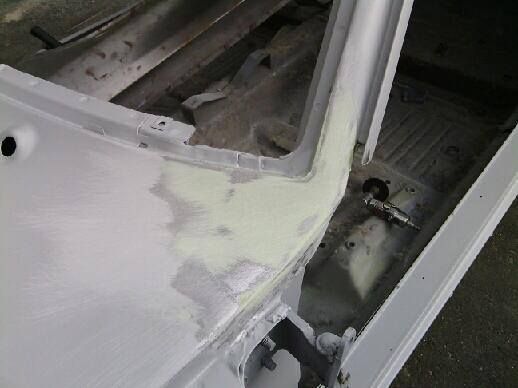
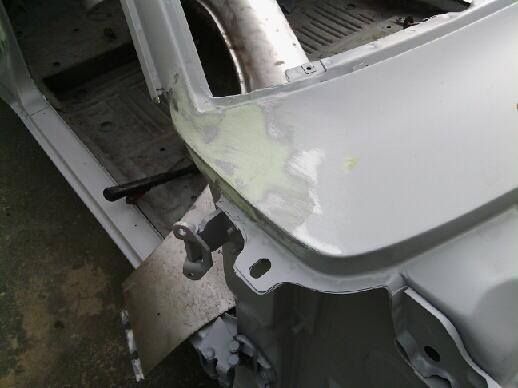
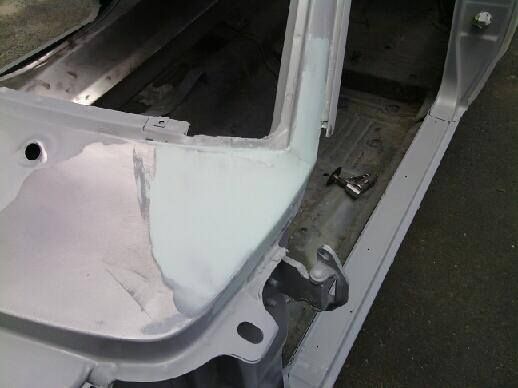
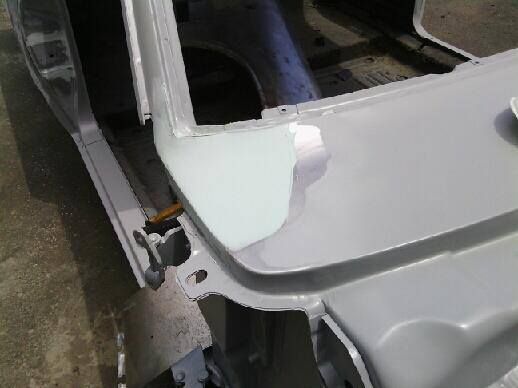
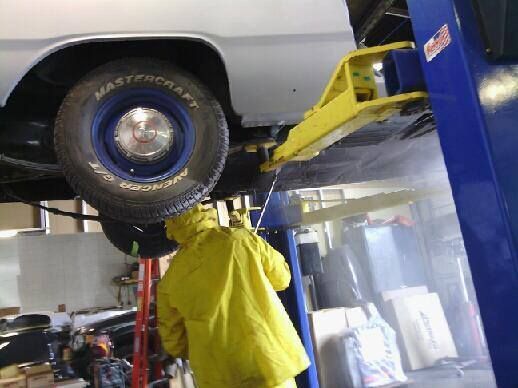
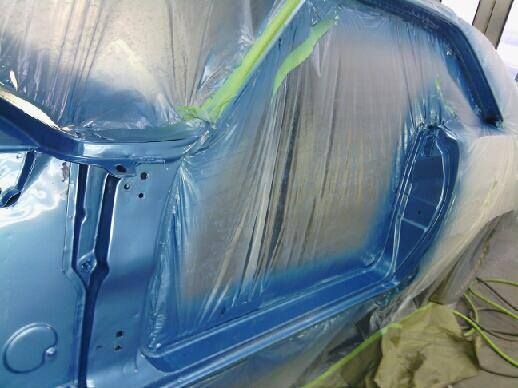
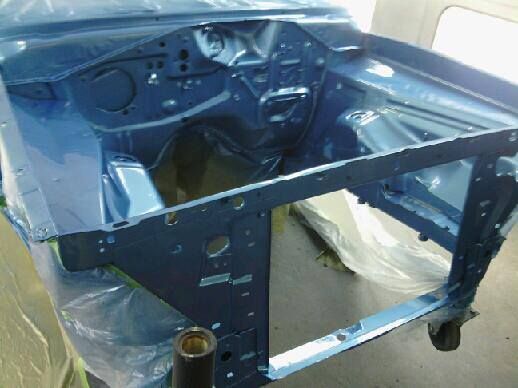
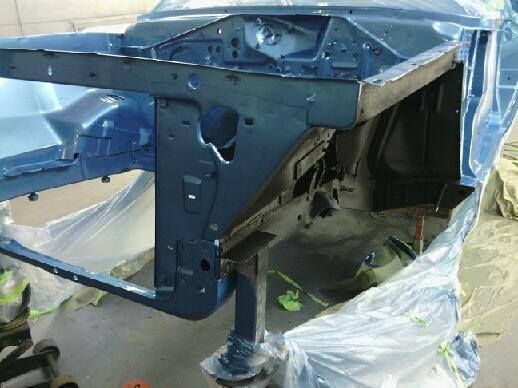
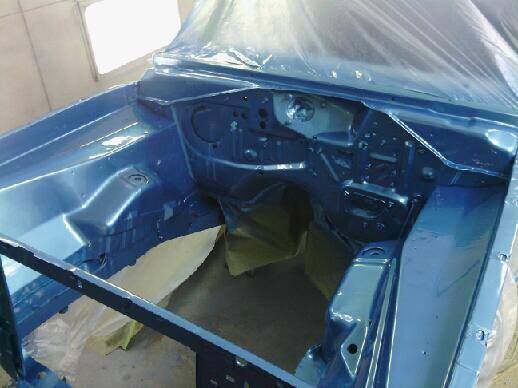
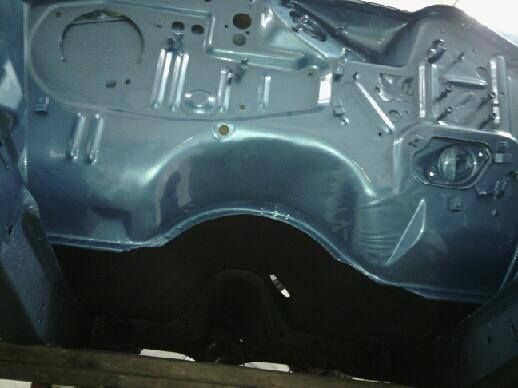
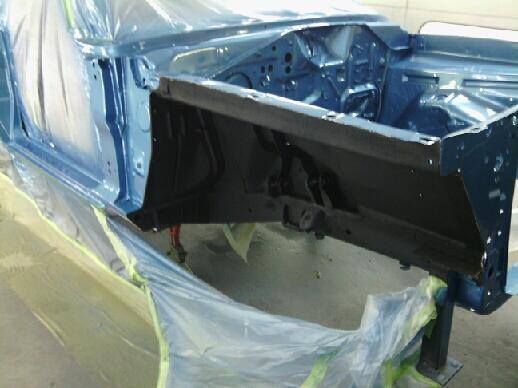
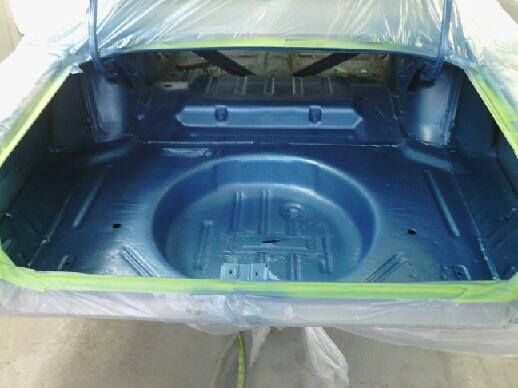
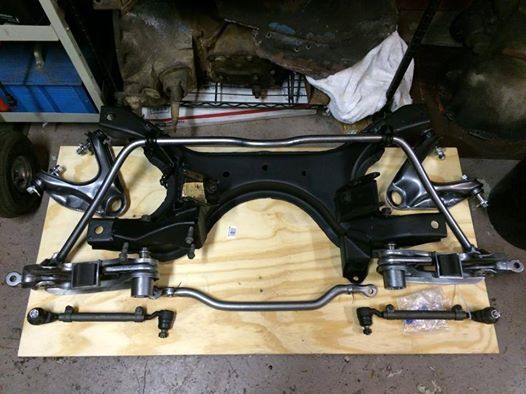
Next steps are to treat the metal then paint and reassemble so I can mount the engine and trans to it. Then ultimately put it all back in the car which should be ready to receive the suspension and drive line very soon.

No pressure lol
 
Those inner LCA bushing sleeves can be a PITA. It took forever to get them out of my Challenger LCA's. For the Dart I bought an 1 3/8" tap.(I think that's the size) It was about $12 on E-bay. You can screw the LCA onto the tap and then press against the tap to get the sleeve out. It should be a few minute deal instead of an hour with a chisel and hammer. If you do any more of these, let me know...you can borrow the tap.

Personally, I'd go with powder coating. I'm not a fan of POR at all. I tried it on my Challenger. It was very messy to work with and parts seemed to rust under the coating. I ended up buying POR's "POR-strip" and removed everything I previously applied. Most of my front end components are powder coated. You will forget about the price. Do it once and forget about it. My $.02!
 
I got sticker shock when I looked into have a ton of parts powder coated black all at once. I went home with a long face and ordered a quart of Eastwood ceramic chassis paint. Sprayed everything and That stuff is holding up pretty good I drive my car a lot, and it sits outside. I'm not even sure if it was the ceramic paint or the cheaper one.
 
Those inner LCA bushing sleeves can be a PITA. It took forever to get them out of my Challenger LCA's. For the Dart I bought an 1 3/8" tap.(I think that's the size) It was about $12 on E-bay. You can screw the LCA onto the tap and then press against the tap to get the sleeve out. It should be a few minute deal instead of an hour with a chisel and hammer. If you do any more of these, let me know...you can borrow the tap.

Personally, I'd go with powder coating. I'm not a fan of POR at all. I tried it on my Challenger. It was very messy to work with and parts seemed to rust under the coating. I ended up buying POR's "POR-strip" and removed everything I previously applied. Most of my front end components are powder coated. You will forget about the price. Do it once and forget about it. My $.02!

Budar, If I change out another set I'll definitely take you up on that LOL Thank you!

Thanks for you feedback on Powder Coat. I like the idea of getting them done once and forgetting about it.
.
Personally, I have not had a problem using POR yet..although I will admit the the cleaning and prep work is Messy.

-AlV
 
I got sticker shock when I looked into have a ton of parts powder coated black all at once. I went home with a long face and ordered a quart of Eastwood ceramic chassis paint. Sprayed everything and That stuff is holding up pretty good I drive my car a lot, and it sits outside. I'm not even sure if it was the ceramic paint or the cheaper one.

Thanks for the feedback James, I think we both went home with long faces... If you still have it, Maybe you could send me a pic of what you purchased.


-AlV
 
Sure. I painted all these parts 3-4 years ago. I think I shot them with epoxy primer first then the Eastwood chassis paint. K frame, control arms, spindles, engine brackets and pulleys. On my jeep I've used "Chassis Saver" paint which is supposed to be the same thing as por15, the guy that sells it on the offroad sites says it needs to be applied to rough surface either rust or sandblasted. It will not bond to a smooth wire wheeled part. I did find that on the frame of my jeep where it was nice and smooth, the coating has chipped and peel off easy.
 
Well FABO, We have a lot of catching up to do...

The Guys at the body shop are working their magic. I am really happy with their work and the way the Dart is shaping up.

The passenger quarter and door were in good shape, like the rest of the car there wasn't any rust although it did have some dings and dents that needed to be sorted out. We ended up saving all of the original metal.

Right side:

10433265_640804086001969_5761878681968739104_n_zpshsgelt6d.jpg


10336698_640804102668634_7659537576335856510_n_zpslgvmxmx6.jpg


984106_640804116001966_5580931295264983165_n_zpsivbpbzlh.jpg


Left side:

10330478_640804129335298_2807363523974203892_n_zpsyytyffaf.jpg


Cowl:
10342899_640804156001962_124334794630636603_n_zpsuruuo0zd.jpg


10382448_640804262668618_6117736230421560697_n_zpshbmuq0tp.jpg


10405697_640804229335288_5011995023073715190_n_zps4hrpnoyv.jpg


10349894_640804332668611_8390452052765123017_n_zpsmno5tedx.jpg


10151782_640804286001949_8391984676120400085_n_zpseetyhgf0.jpg


Right Door:
10329274_640804349335276_2051462647639592071_n_zpshtaly5b2.jpg


10307386_640804389335272_8214301219812547259_n_zps0rrh6yyg.jpg


10367822_640804416001936_8984598099449251974_n_zpskjpa7qx0.jpg


Roof:
10402902_640804192668625_966545703480848740_n_zpswjfbipo2.jpg


Left and Right lowers:
10391021_640804452668599_8913426702025033485_n_zpsorbsq4hm.jpg


10172711_640804466001931_5073360441285199874_n_zpsk8gb9jlp.jpg


Right Jamb:
10366127_640804479335263_1982466589482237203_n_zpsfxlqh8if.jpg


Engine bay:
10393820_640804502668594_1354066626141796161_n_zps8fh6boao.jpg


10313145_640804516001926_2410880671685510982_n_zpsfkee9syi.jpg


First Bits of Color!

1959514_640804536001924_307209880077429897_n_zps2oy8wh0r.jpg


10440929_643608452388199_7638181519156619097_n_zps4r4qaozm.jpg


Undercoat:
10300709_643820412367003_5398873415910049709_n_zpslzka5vvv.jpg


10390959_643820429033668_5023046774574687562_n_zpssgjhakxw.jpg


10376190_643820445700333_1746622822272123363_n_zps5kkegiff.jpg


10438330_643820465700331_2921064860313079376_n_zps9x0ffcas.jpg


10255903_643820479033663_3919315153249195969_n_zps3erugtvq.jpg


10418900_643820499033661_3366633027208697273_n_zpsjlv16lzw.jpg


While they are rocking along, I'm kind of dragging on the front end. I have a lot to do.

Just yesterday I researched the forum to see how Folks were replacing the swaybar bushings. I wasn't surprised to see that the R and R for an Abody setup required us to cut the bracket. So yesterday I did that. I'll post that process soon.

I am welding (And I use that term loosely lol) the K frame and should be ready to assemble in a few days.

My plan is to finish the front assembly, Mate the engine and trans and Mount it to the Kframe so that we can install it from underneath.

I am quickly becoming the choke point. :)

Still stumbling along.
 
It's a big day!!

10345782_645723188843392_5575436150652897231_n_zpsn3wz1fnc.jpg


The first splash of color is on the Dart!

10464083_647389218676789_8542343141246458956_n_zpsuigjfhfs.jpg


10463035_647389235343454_1460347810490880436_n_zpsf8sytb7q.jpg


10443383_647389285343449_119228592689581721_n_zpsxoo6smfi.jpg


10421508_647389352010109_3160751103829518028_n_zpsjs94jcdv.jpg


10430379_647389258676785_8327234487960533566_n_zpsjhgppts7.jpg


10334315_647389312010113_2235501480658862880_n_zpszna9uq1z.jpg


10337704_647389335343444_3464565383989086699_n_zpsfyzjq5zi.jpg


10268434_647389375343440_1156465829935123829_n_zpshcharkuf.jpg


I better get to work on that front end.:cheers:
 
Nice work!

Color always gets you motivated!
 
That's such a great color. It's always good motivation when you see some color on it.
 
Thanks Everyone!

This is a good looking color and the black top and stripe should break it up nicely. I can't wait to see it with the engine and trans mounted.

Hopefully soon.

10441959_648860748529636_7778015739184217999_n_zpsvpbq2ibl.jpg
 
Man this front end has been slow going. Just finding the time to get into it has been elusive.

I borrowed a flux wire welder from a friend and started to work the K frame. I will tell you that this is my first welding project and I did my best. While I am thankful I have to say the welder I borrowed was not in very good operating condition. I'm not sure why but the guy I borrowed it from cut the feed line and shortened it which cause the feed to be very erratic.

I welded and ground the K frame and then seal it with Por15 after washing it with marine clean and treating it with metalprep.

10491214_649178381831206_4982506398906771756_n_zpsjppyo2j7.jpg


10351731_649178401831204_1270347990223944660_n_zps7sdu3jhn.jpg


10261969_649178368497874_663260750640014635_n_zps4lrfrz2g.jpg


finished K

10390906_649177745164603_5602659034423751491_n_zpsgyypjv9n.jpg


10488160_649177758497935_4616238945801376477_n_zpsskx4bi6s.jpg


I found that one of my strut rods has a slight bend so I am tracking down a replacement.

I've pressed in the pivot pins and upper and lower bushings and learned a lesson after destroying a brand new poly upper bushing. I'll post those tomorrow.

chuggin along.
 
Watch with the strut rods, there are 2 different styles.
Thanks James,

I'm looking for the earlier style.. I think they were the same up through 72 and were coarse thread is that correct?
 
Great Job Al. When you go above and beyond as your doing, it takes a lot more time, but its worth it...
 
Great Job Al. When you go above and beyond as your doing, it takes a lot more time, but its worth it...

Thanks Martin! I've hit hit a few hurdles with the suspension that have me taking a closer look at the right side upper control arm brackets. Other than that, I am making progress and chipping away.

Your car is really stepping up. its great to see your got your locking hardware and weather strip in.

I'll be honest I am not looking forward to getting the window hardware replaced in and adjusted. But I'm not thinking about that... right now it's all suspension. Then motor trans and finally all bolted into the Dart. That will be a great milestone.

By the way.... Are you ready to see the Sanoma whip some *** tomorrow?
oh yeah!
 
Getting closer to assembly.

Upper control arm polygraphite bushings install

Lower control arm rubber bushing installed with pins.

Center link and sway bar done.

Everything you see in the picture below was cleaned, treated with POR 15 and painted.

10394586_642432469172464_8085695981818762162_n_zpsjzcltmcu.jpg


Then As I was putting in the cam bolts I noticed something Odd with the right side UCA.. it looks bent. :banghead:

10367739_651923018223409_5165171134284565792_n_zpsm4ztch0q.jpg


I don't think I did it..
These things seem really stout so I am struggling on the fact that the metal can be that out of shape. I'm pretty sure it came out of the car this way although I can't say that for certain because I didn't notice it then. What I can tell you is that it wasn't obvious until I put in the bolts.

I started a thread in the suspension forum (http://www.forabodiesonly.com/mopar/showthread.php?t=280928) to discuss it and hear what others thought.

I'll be taking a closer look at the UCA brackets on the inner fender and will start to locate a replacement. I also noticed that the left strut rod had a bend in it so I'm tracking down a replacement for that also.

after, spending some time mulling over the UCA issue and tryint to figure out a way to correct it I decided to step away from it for a while.

I picked up a dolly rated for 1000 LBS and a 2'x4'x3/4 piece of plywood to create mobile assembly platform which will also serve as a transporter.

Once the transporter was done I put together the steering linkage and installed the bump stops and new torsion adjusters on the LCA's. I also picked up a set of 340 motor mounts and set them atop of the K.

10310513_652239518191759_8251599818216204459_n_zpslheqcmdv.jpg


Hopefully, I'll get the replacement parts soon so I can wrap this up and install the steering gear and idler.

The engine is coming home next week. so my next steps are:
* Wrap up the suspension (including torsion bars)
* Install the Band M Holeshot converter into the trans (tha's been sitting for a while)
* Move the flex plate from the 318 over to the 340
* Mate the engine and trans
* Install the the engine and trans onto the K frame
* roll the platform under the car and install.

Piece of cake lol

Stumbling along crankily because of these suspension woes. :hmph:

-AlV
 
-
Back
Top