1974 Plymouth Duster Restomod

-
Any good machine shop can fly cut your pistons for the proper clearance required for your cam lift, and could balance the piston. For higher compression you can mill the head. Your project is coming along very well, keep up the good work!

Yes and I priced it out, and it just doesn't seem like a good idea to throw money at something that is not what I need. When getting what I need will actually help me out a lot more.

With the pistons I have I am running a .020" thick head gasket, and the heads have already been milled down to a 61cc chamber. I do not want to mill heads more, and there is not a thinner head gasket available. And doing both of those things together could once again result in valves hitting pistons.

So instead I figured I would just go ahead and get new pistons with the correct valve reliefs and much deeper as well. At that point I could choose a piston that would give me enough compression with whatever thickness gasket I choose.
 
Hey where did you get your rear coil overs from? were they pretty stiff ?I'm looking to stiffen up my 74 we almost have the same set up suspension wise do u have a part number or link thanks diggin the build just got done with my 410 stroker 4speed love it . Keep up the good work glad to see the young guns like myself go at these abodies

The shocks I am using are just the monroe sense trac, not a real coil over. They are pretty soft until you really put pressure on them then they are very stiff. I just run a 1" shock extender on it which does not raise the vehicle it just compresses the shock together more so that it is stiffer sooner. Although I am happy with this setup up and it only cost me 120$ for all of it, I would not recommend it. I would suggest either the edelbrock classic IAS shocks (Cost about 170$), which are very stiff and I am extremely happy with the ones that I have. You could also go with the adjustable QA1 stocker shocks. They are not a coil over, but from what I have read are very good shocks, but these are the most expensive of them at 130$ a piece or 260$ a pair.
 
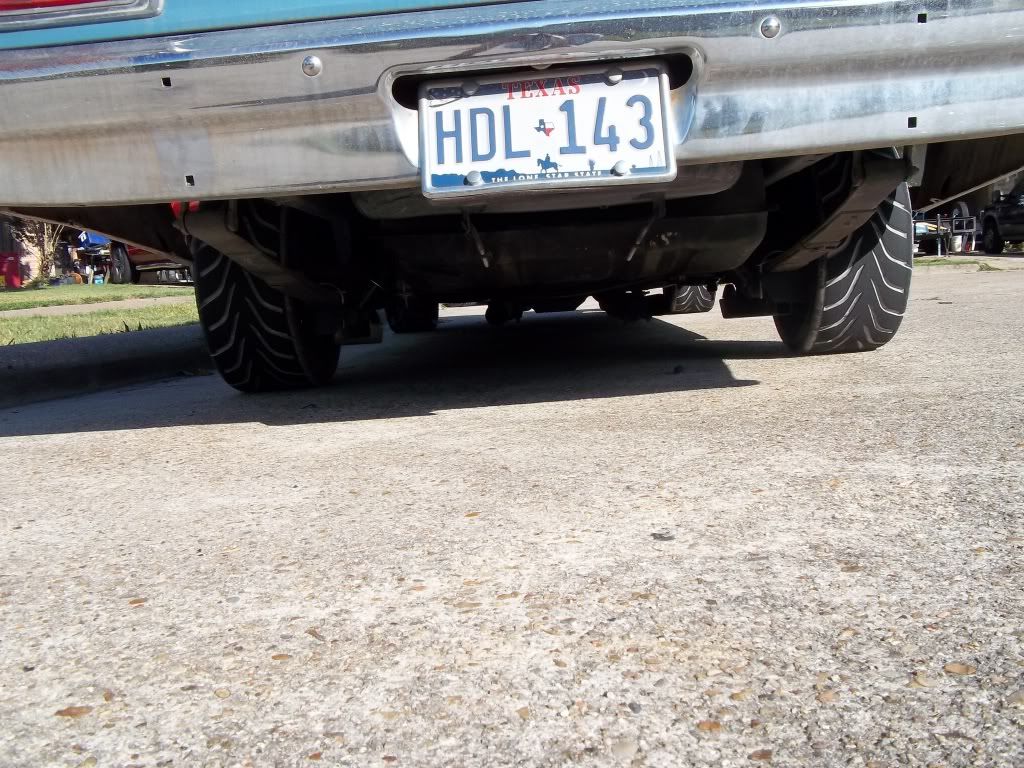
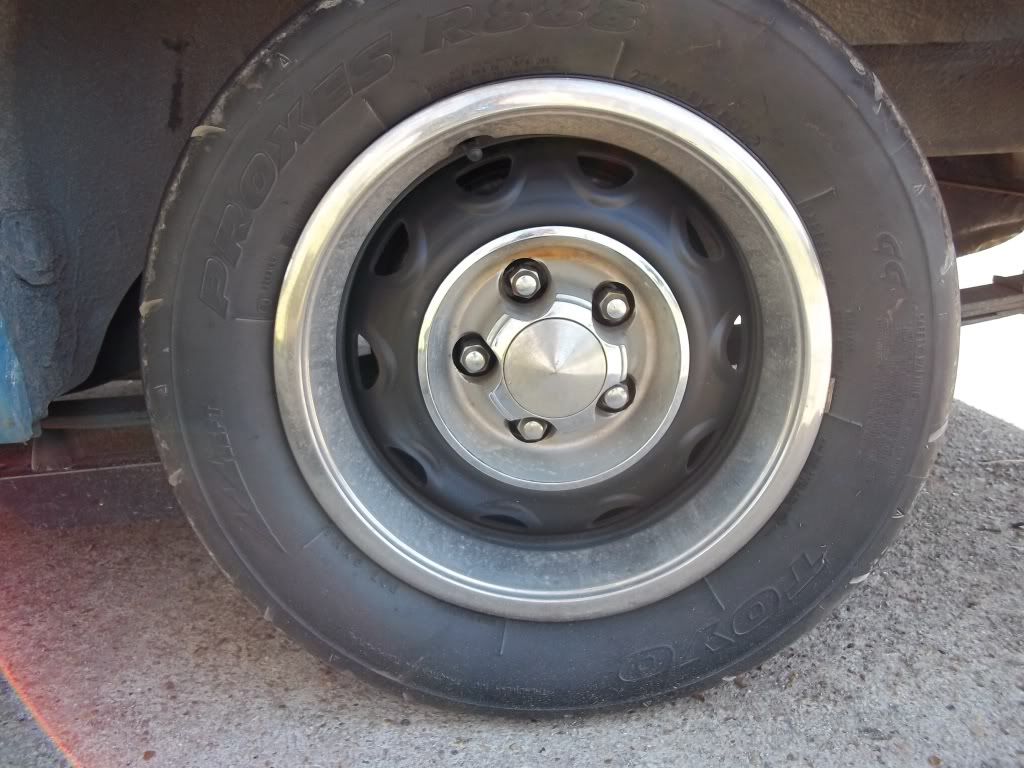
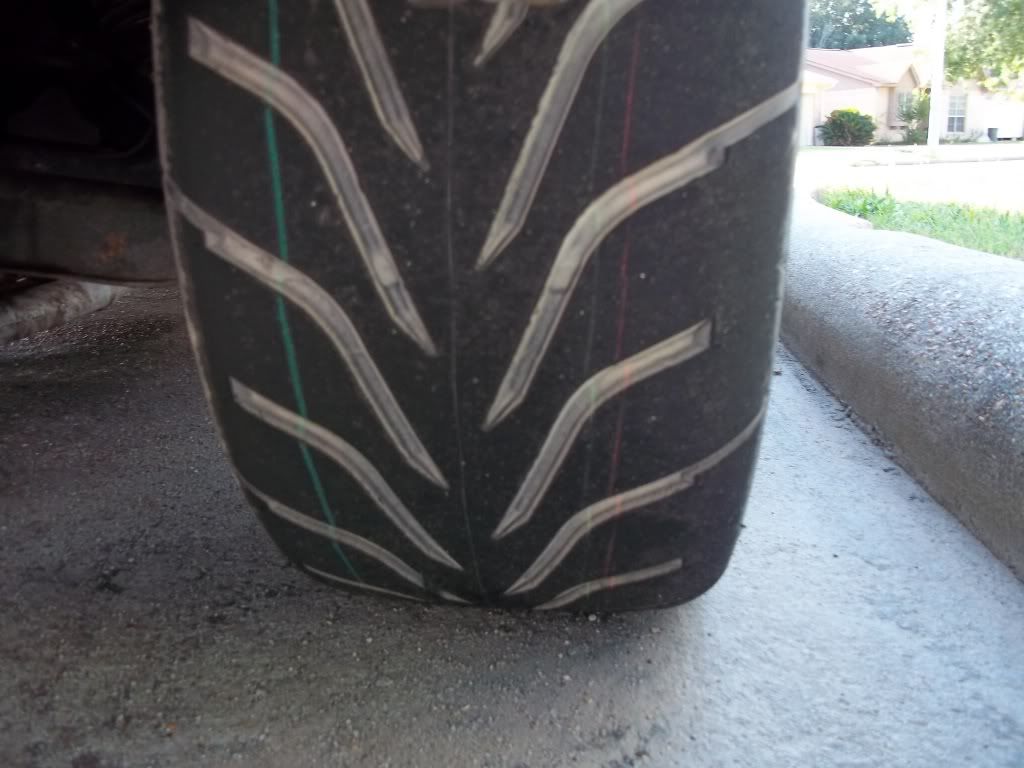
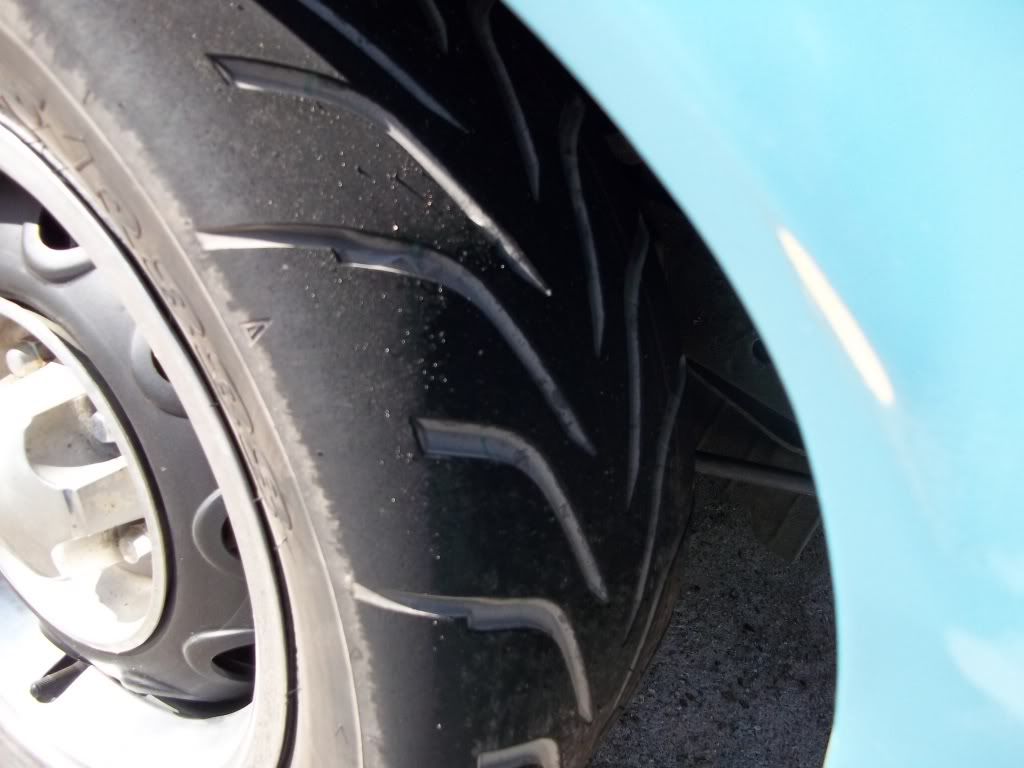
I finally got my camera to upload some photos so here are some pictures of the new tires and rims painted. The tires won't last long, but are SUPER sticky!

100_0105.jpg


100_0104.jpg


100_0103.jpg


100_0107.jpg
 
So I am brainstorming at the moment on what combination of parts I want to buy at the moment.

I am thinking of buying:

Keith Black domed pistons .040"
Cometec head gasket .075-.090"
Intake gasket
Timing cover gasket
Water pump gasket
Oil pan gasket
Windage tray
Transmission bearings
Correct shift rods


New Cam:
Lunati Voodoo
Advertised Duration (Int/Exh): 284/292
Duration @ .050 (Int/Exh): 242/252
Gross Valve Lift (Int/Exh): .533/.552
LSA/ICL: 110/106
Valve Lash (Int/Exh): Hyd/Hyd
RPM Range: 2500-6600
 
So I guess it is time to resurrect this thread from the dead now that I am able to work on my car again. I have many boxes of car parts waiting for me to put them on laying around my room that I have collected over the months.

I have all new gaskets for my engine
New Windage tray
New Lunati cam 60405LK and lifters with specs of
Duration at .050 242 int./252 exh.
Advertised Duration 284 int./292 exh.
Lift 0.533 int./0.552 exh.
LSA 110
New Edelbrock Performer RPM heads
New Scat I-beam connecting Rods and bearings
New Pistons and rings They are Keith black dome pistons .040" over
New Cometec head gaskets .040" thick
New Timing Chain
New Spark plugs
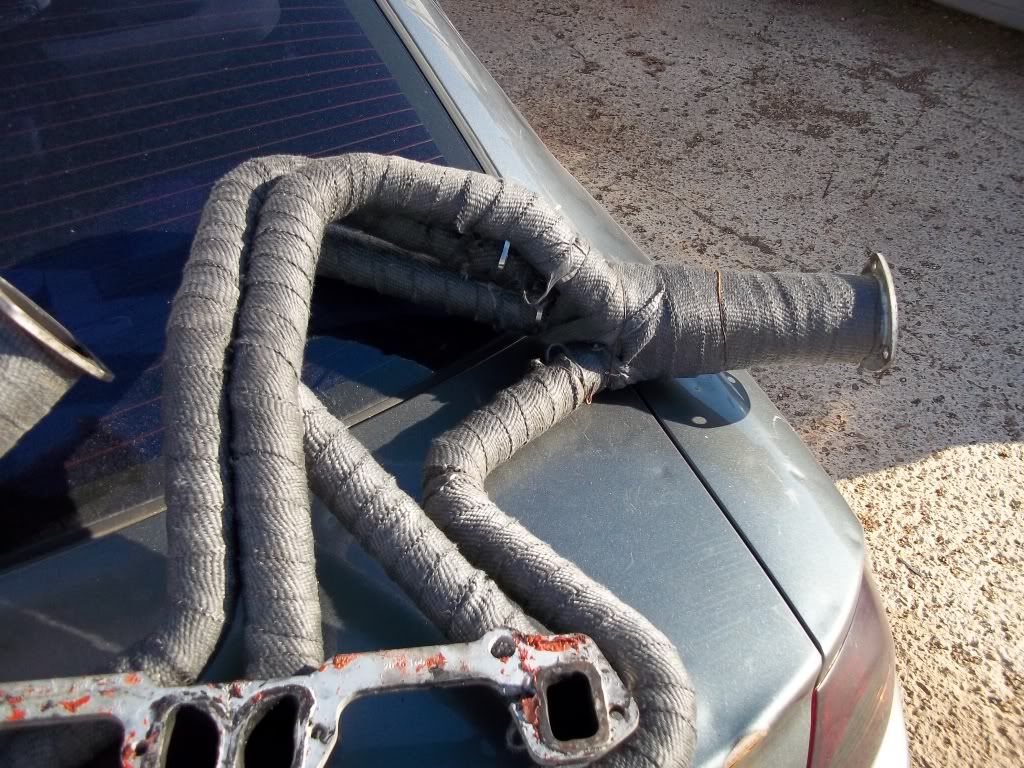
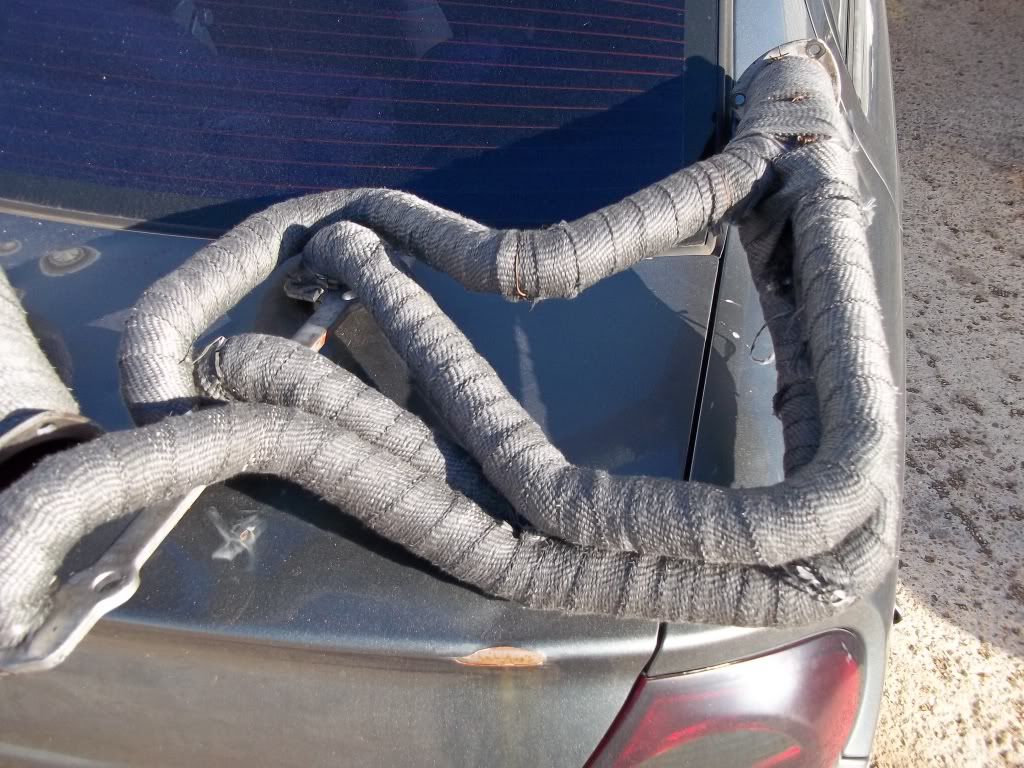
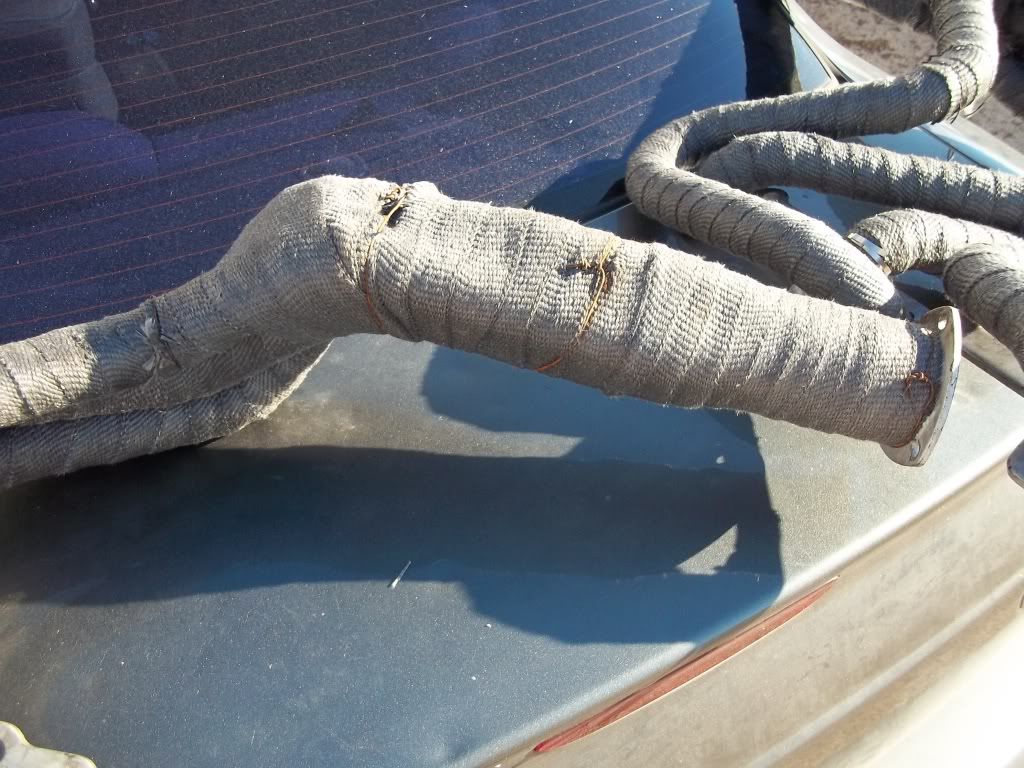
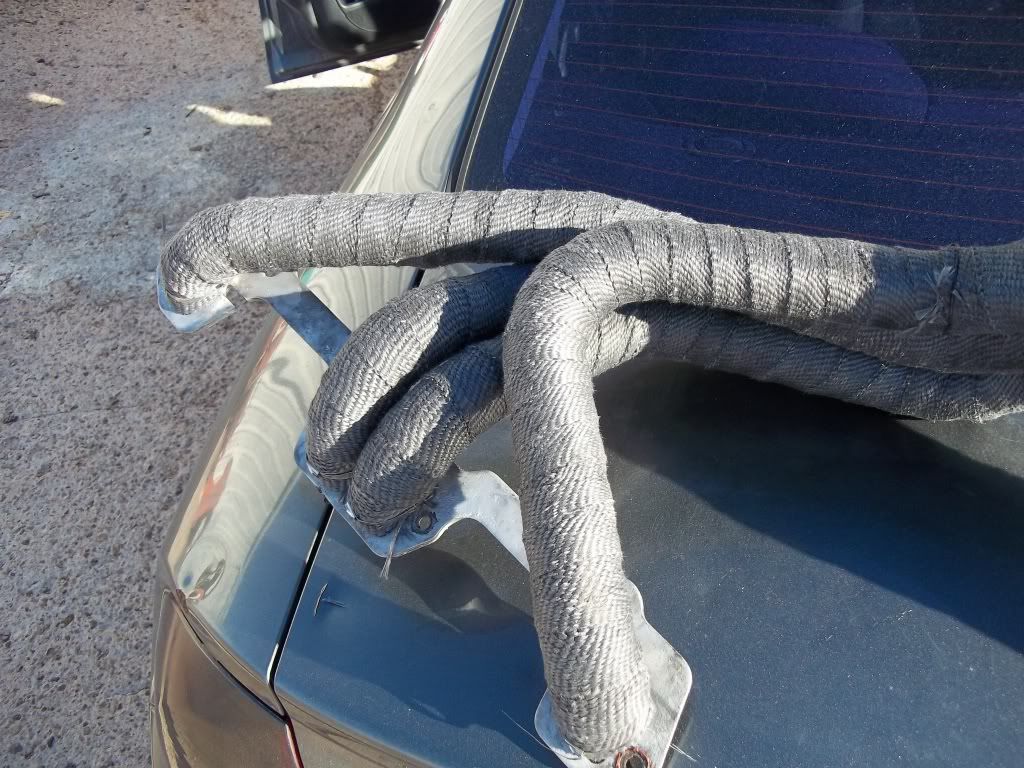
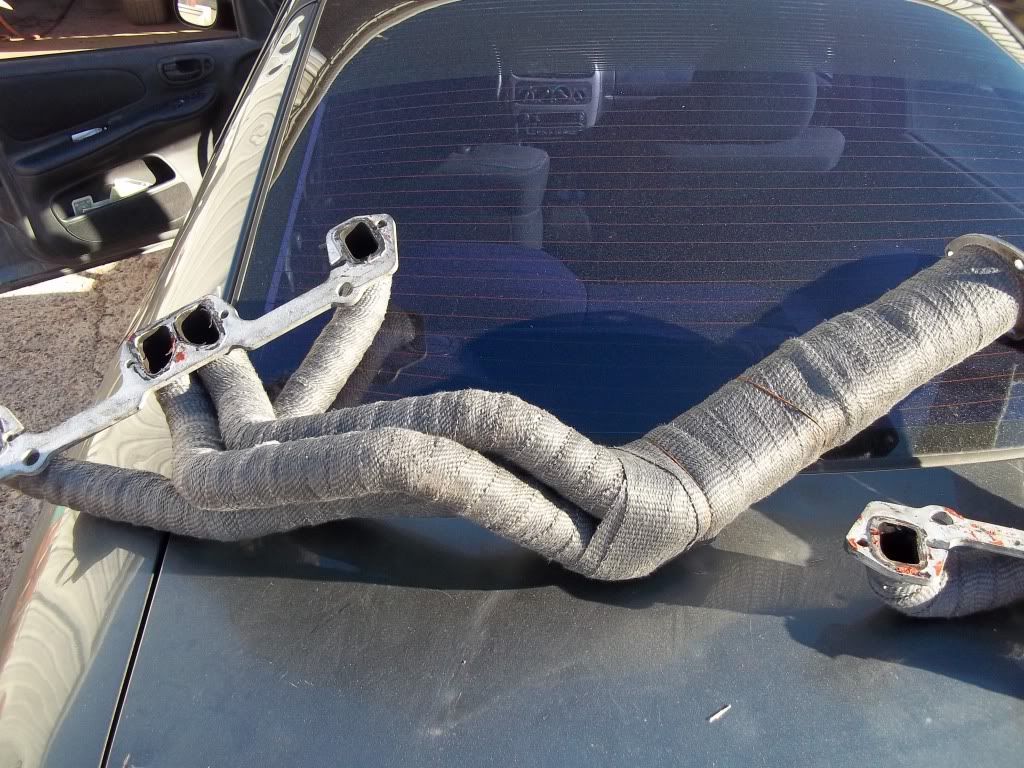
Header Wrap
And a new pitman arm

I am still waiting on the pistons to get in so I can assemble my engine, my transmission I am waiting on one bearing so I can completely reassemble it.
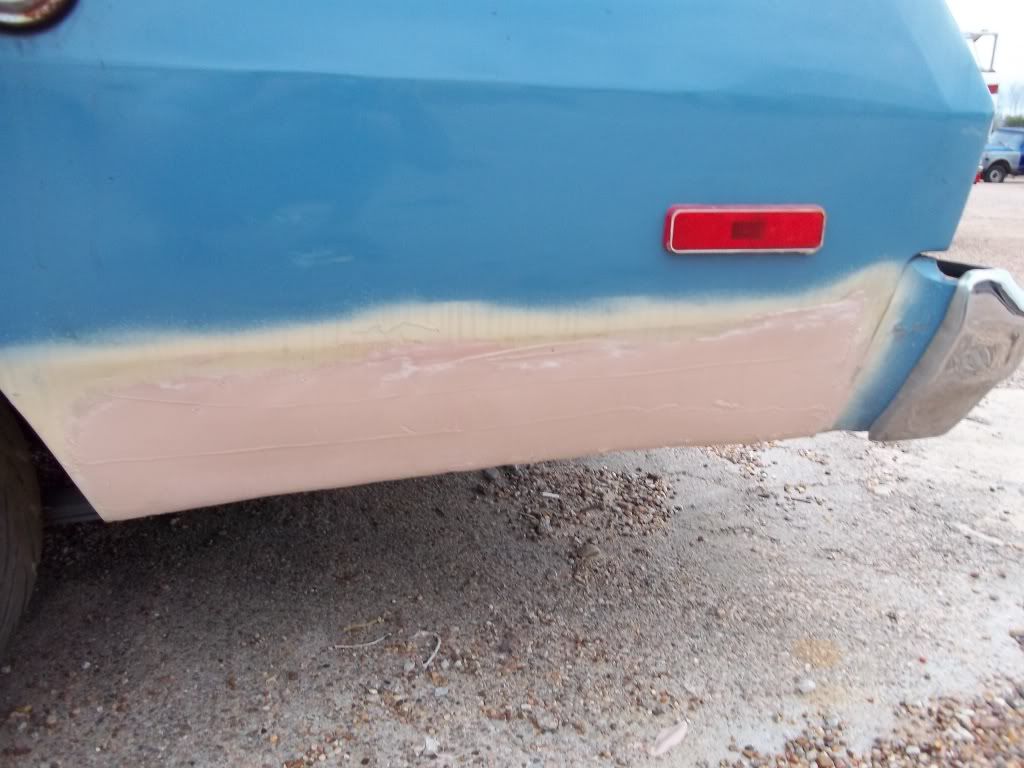
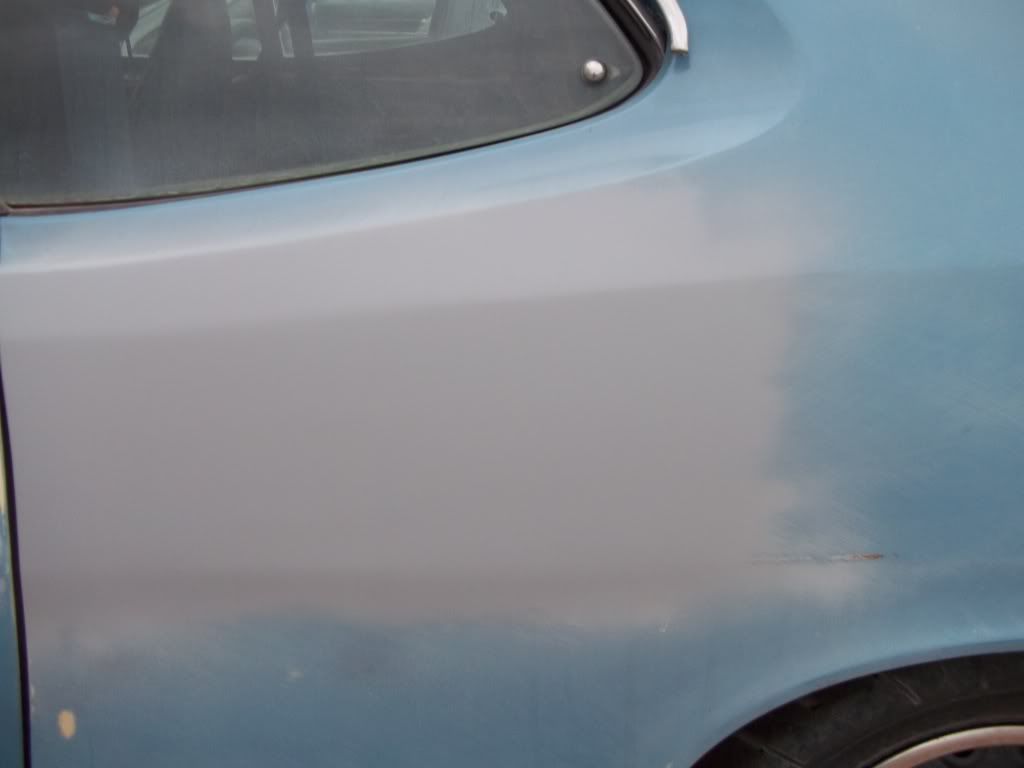
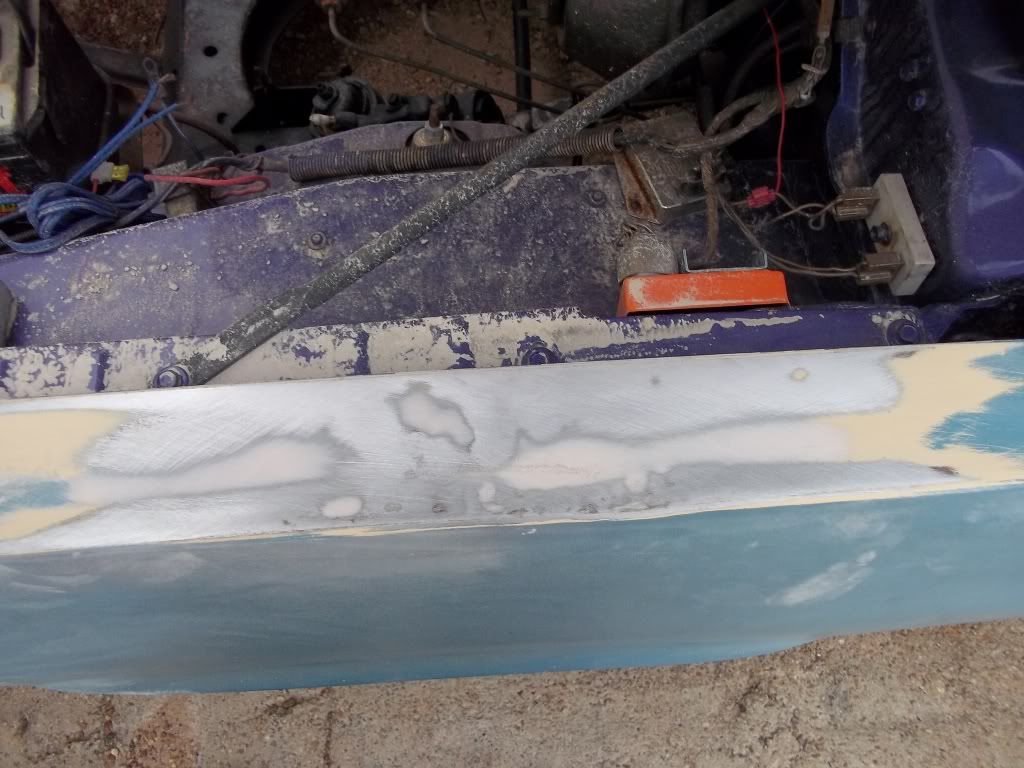
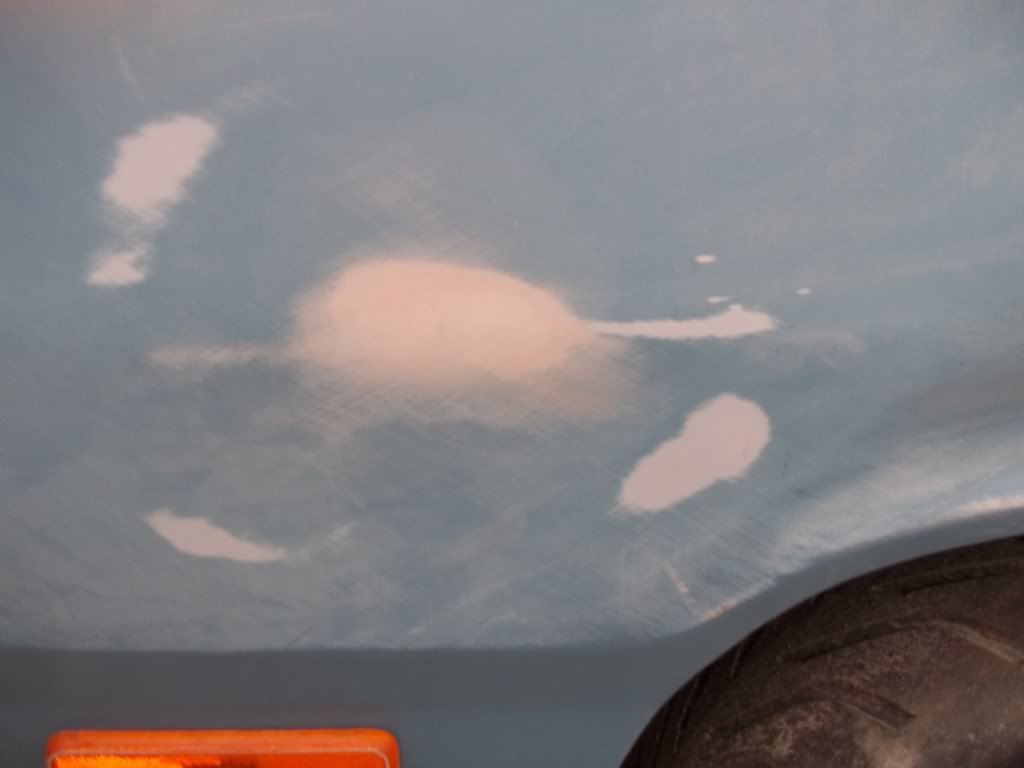
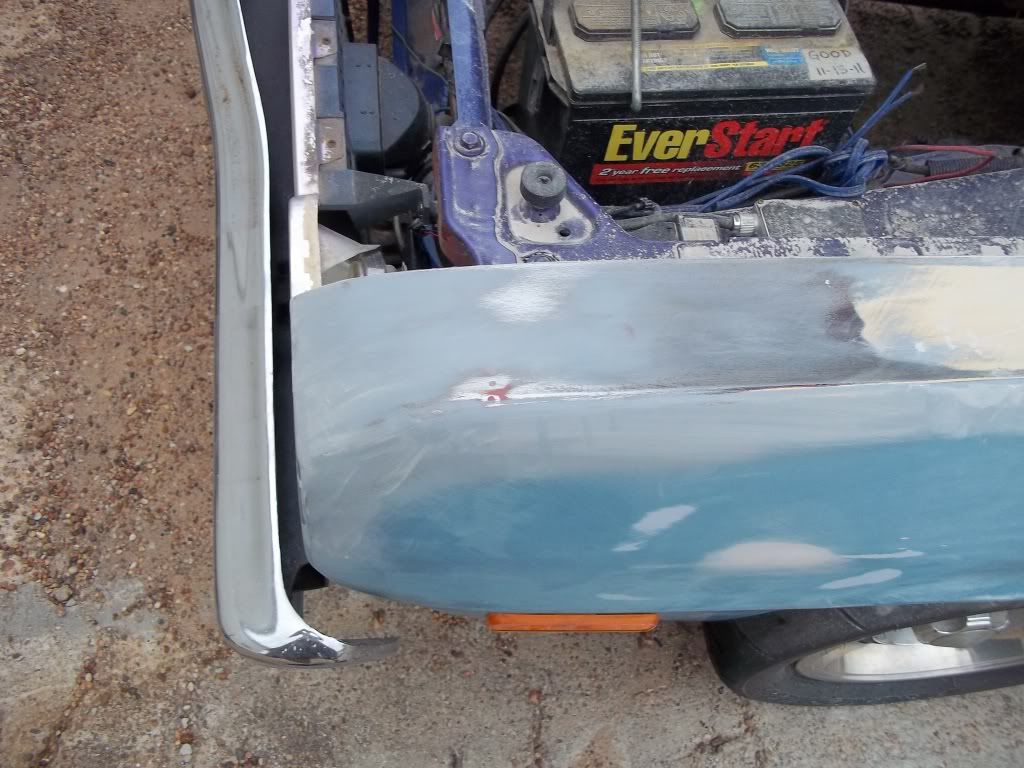
In the mean time I have been doing lots of body work I will take pictures next time I am at my car.

This is my first time wrapping headers and I think it came out ok.

100_0222.jpg


100_0221.jpg


100_0220.jpg


100_0219.jpg


100_0223.jpg
 
So I got to snap a few pictures of the Duster yesterday.

100_0232.jpg


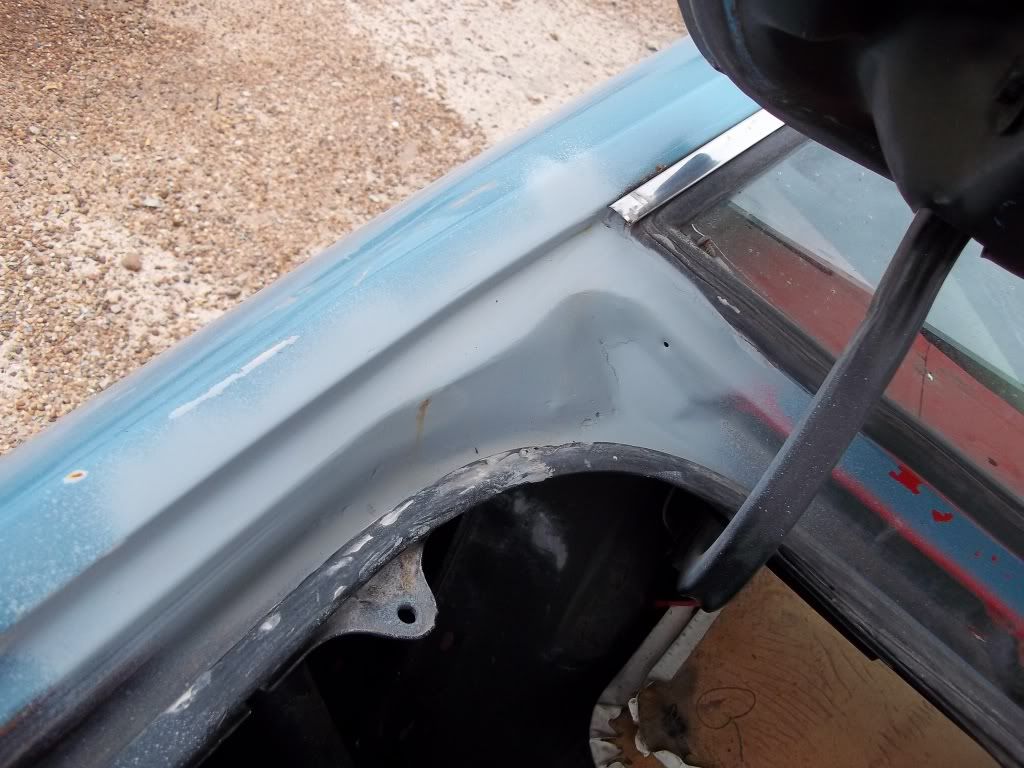
Still needs a little work but it needed to be covered so it doesnt rust

100_0231.jpg


100_0230.jpg


100_0229.jpg


100_0228.jpg


100_0227.jpg


100_0226.jpg


100_0225.jpg


100_0224.jpg
 
I got to sanding the engine compartment for paint today, and it is going A LOT faster than I expected it to go. I am painting half of it tomorrow, I got everything removed sanded and prepped today for this side. And I will paint the other half when I am ready, but it should not take long I am 75% done with sanding the whole thing. I will post pictures tomorrow!

How did you sand it? What grit and how did you prep the surface? I might want to do this before I take it to get painted!
 
How did you sand it? What grit and how did you prep the surface? I might want to do this before I take it to get painted!

It depended on how bad the area was, I usually started out with 180 to get it nice and flat, then switched to 320 to smooth it all out. And I prepped the surface by washing it all down really good, then wipe it all down with wax and grease remover, then use a tack-rag on it.
 
It depended on how bad the area was, I usually started out with 180 to get it nice and flat, then switched to 320 to smooth it all out. And I prepped the surface by washing it all down really good, then wipe it all down with wax and grease remover, then use a tack-rag on it.

Was this all by hand or did you use sanding disc?
 
My pistons arrived today, and they are sexy! The last link to my engine has arrived. I can finally get started on it. Tomorrow I will be putting the pistons on the new rods, and filing the rings to fit!
 
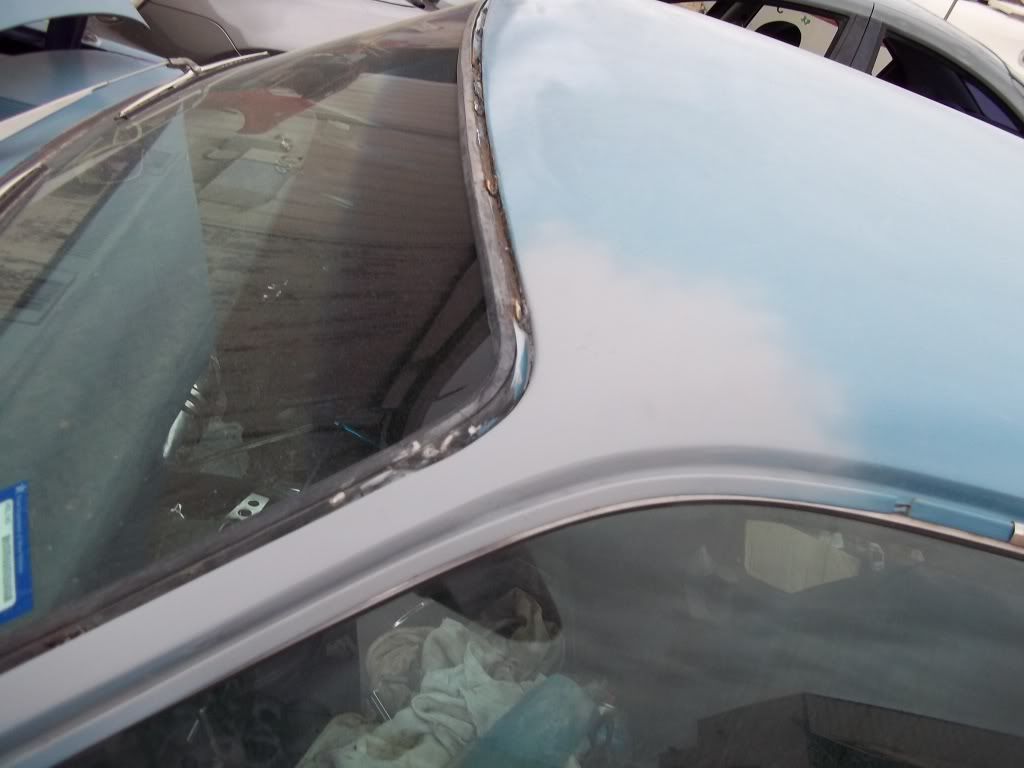
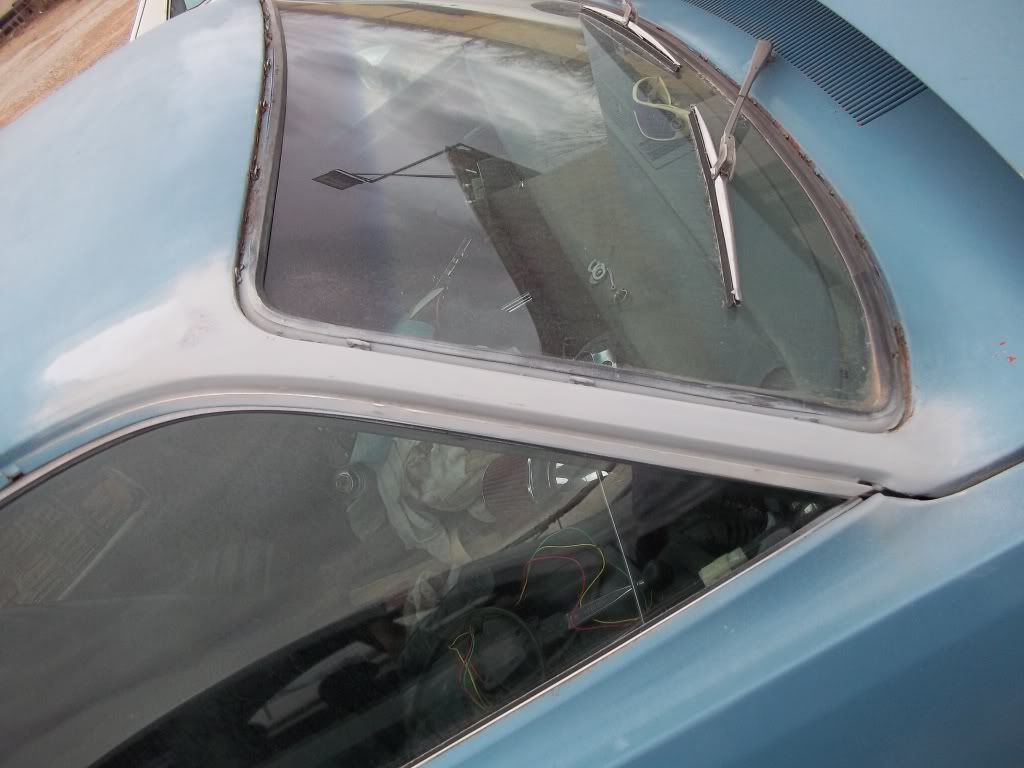
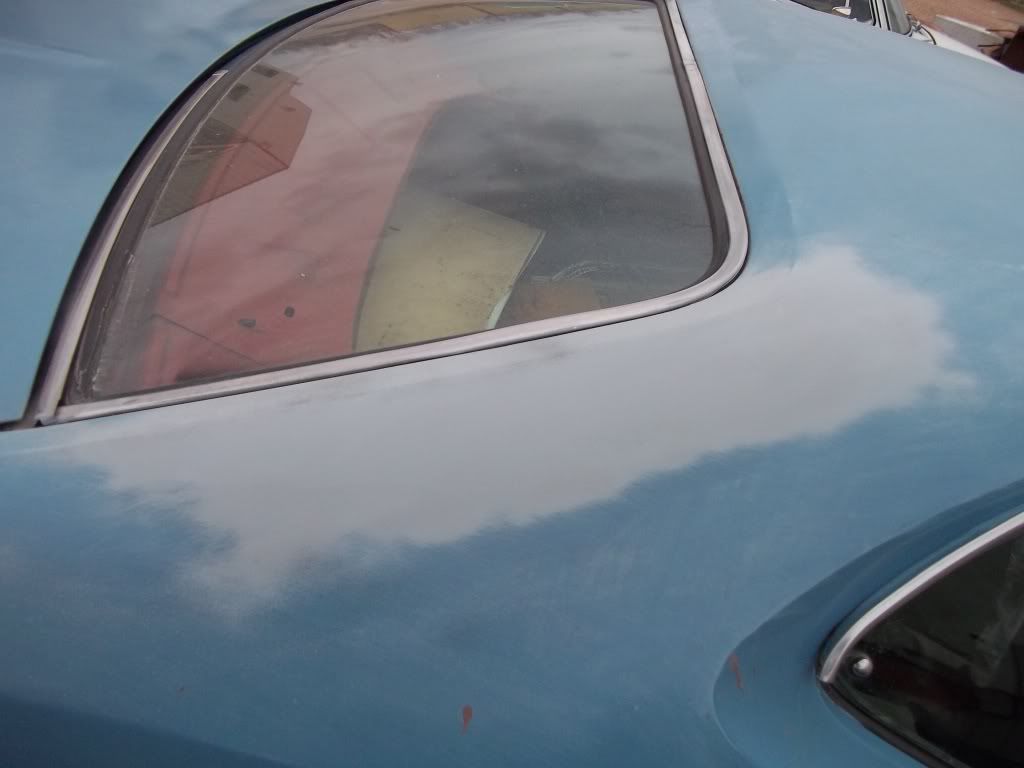
It has been a very long time since I updated this, but I have finally been making progress again. Once I received all of my parts it took me about two months of sending parts back for the right ones, or getting the parts machined the right way, but I finally got it all straight and the engine is going back together now. In the mean time while I was waiting on parts I went ahead and sanded down the whole car and painted it a flat black. A nice under-coat for the Plum Crazy Pearl that it will eventually be. I will upload picture in just a minute.
 
Sorry for it all being a little out of order, but here we go.

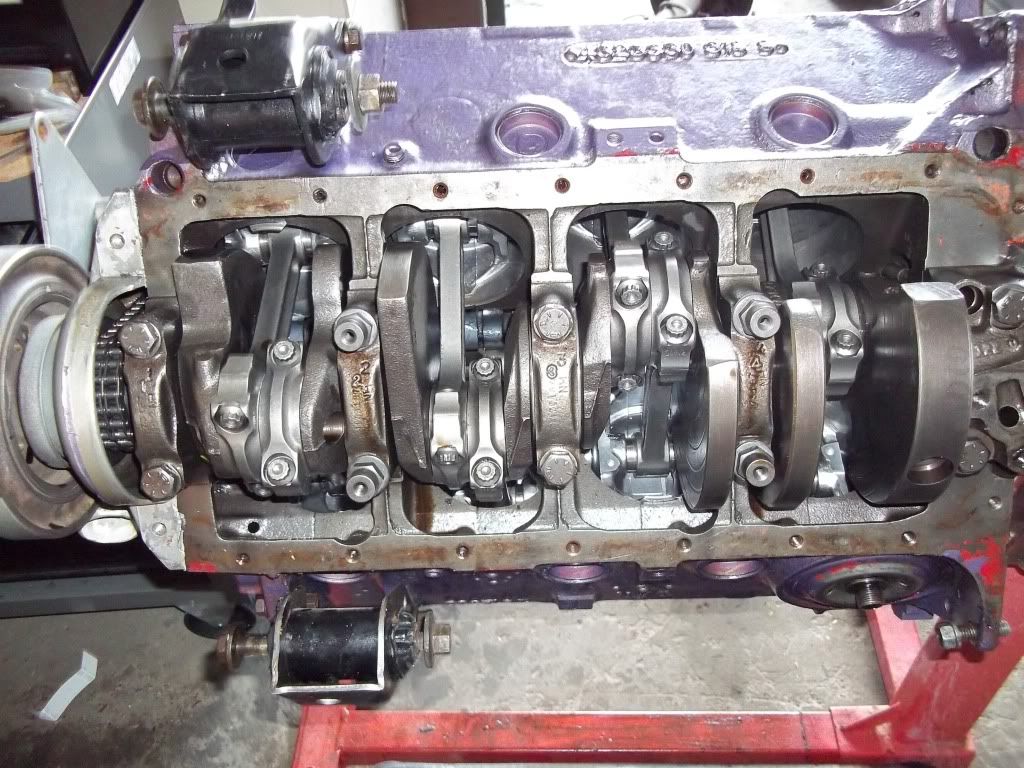
Pistons and rods all in there and torqued down nicely!

100_0233.jpg


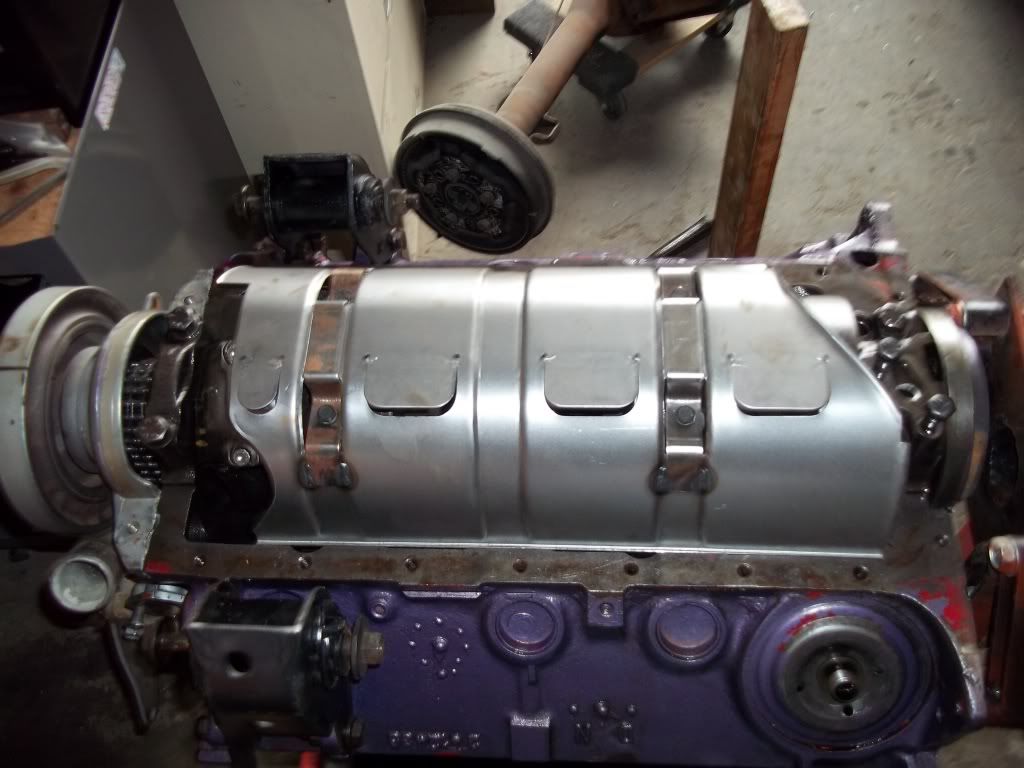
Windage Tray put on

100_0234.jpg


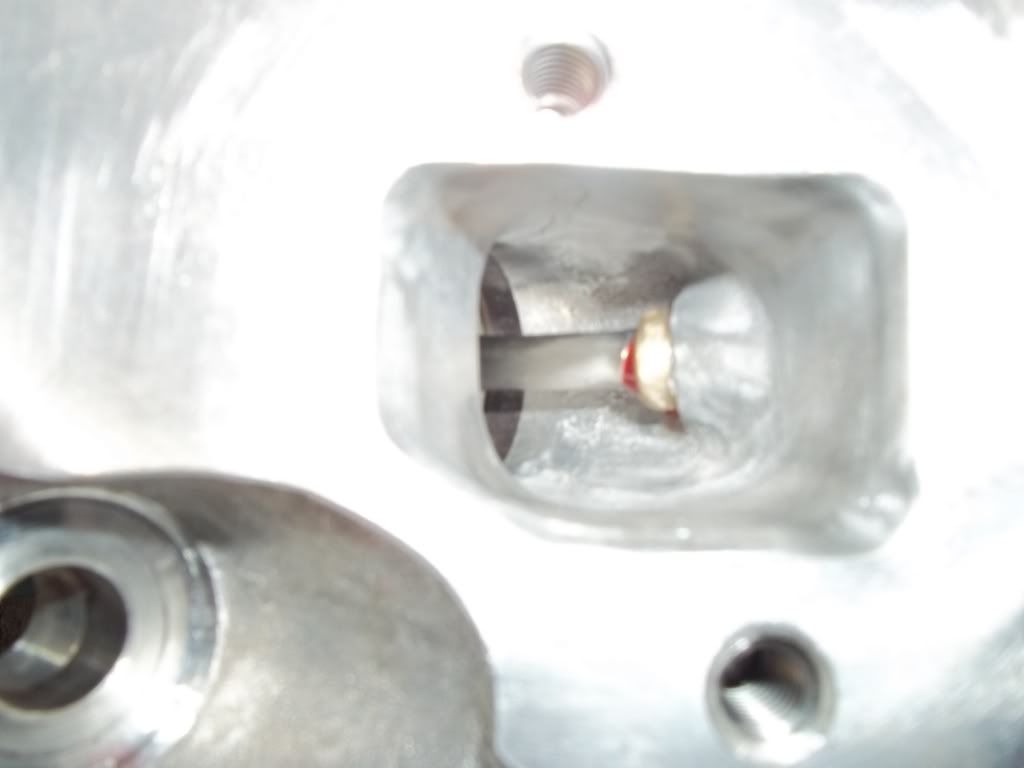
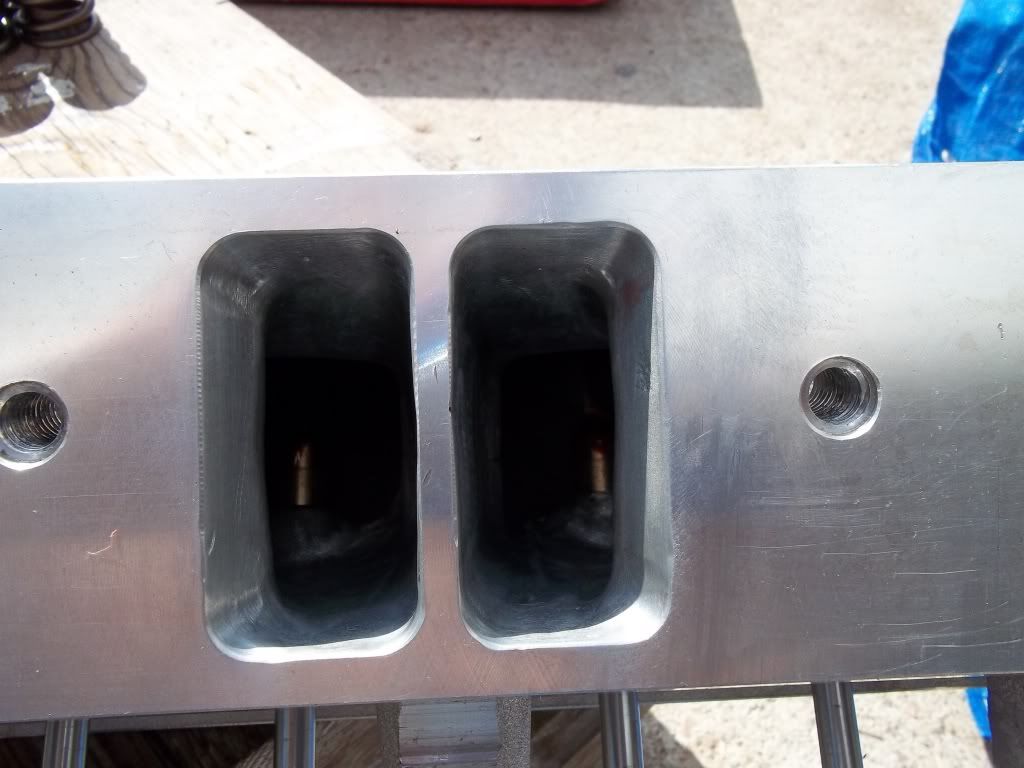
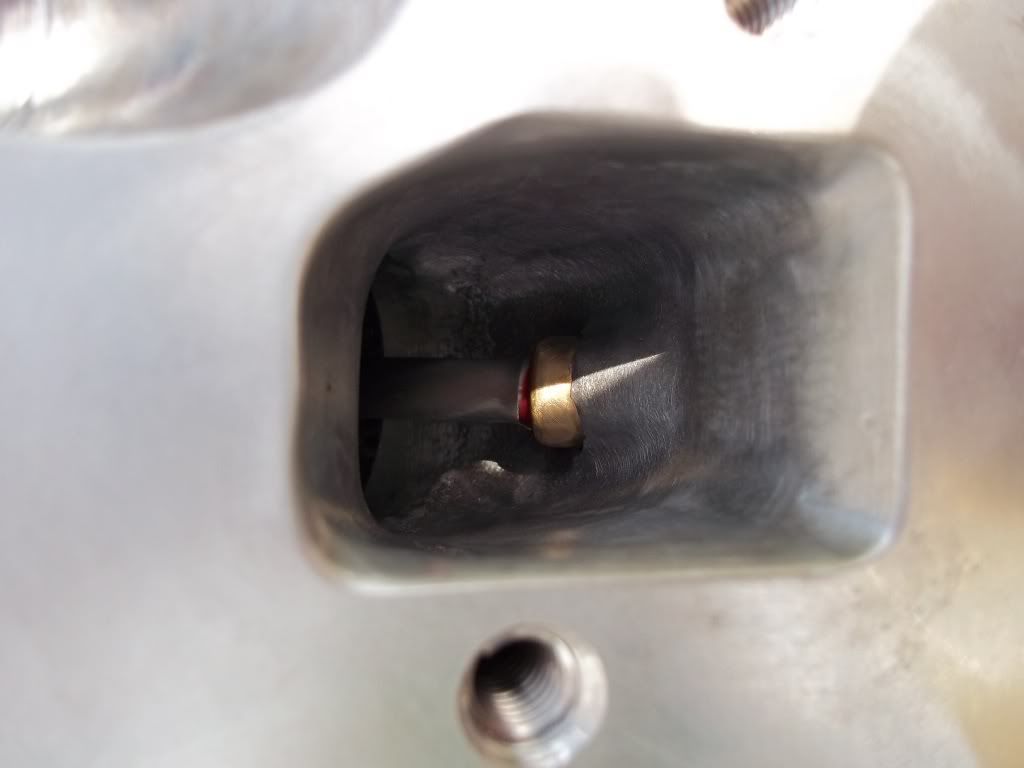
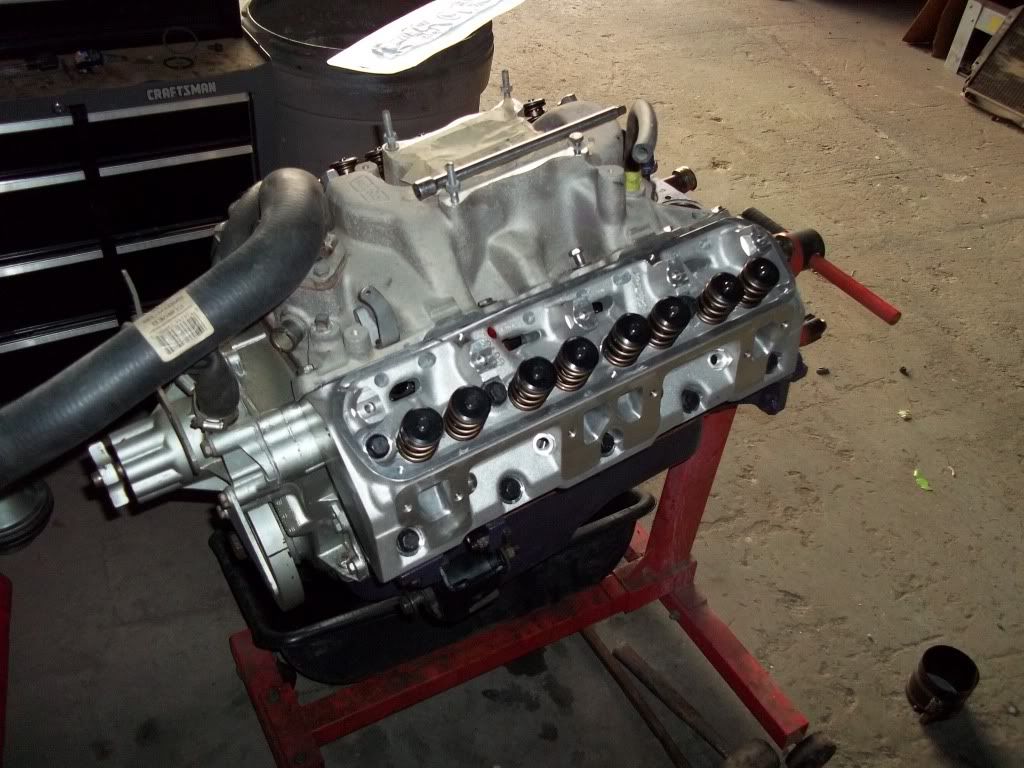
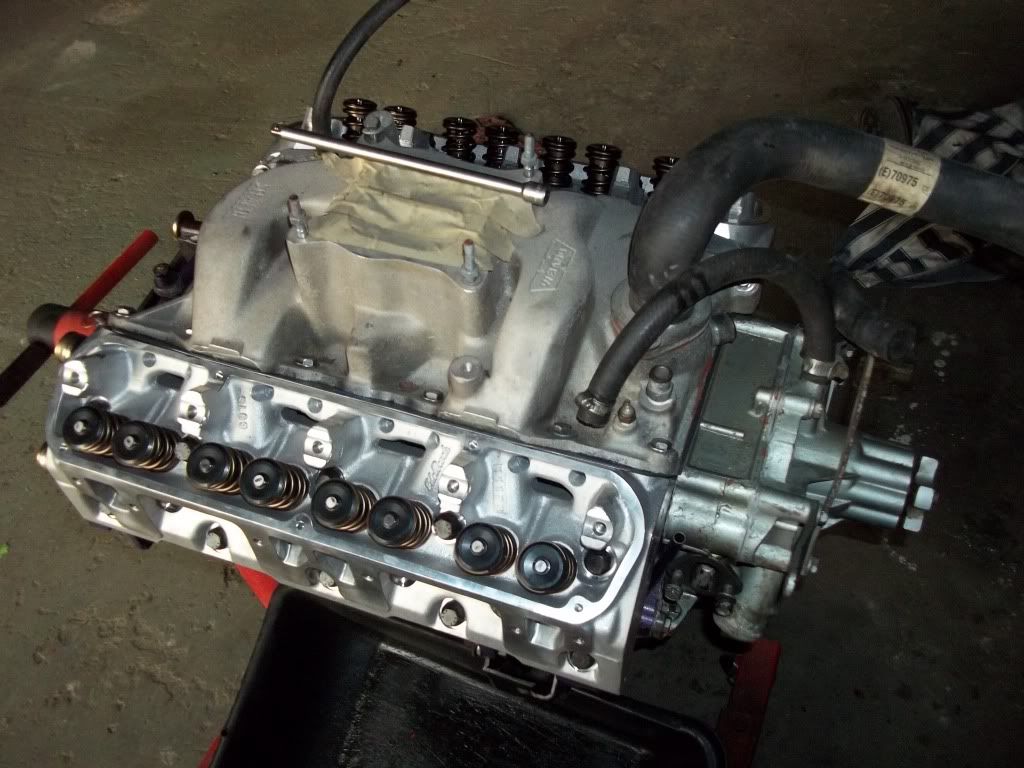
New edelbrock heads with minor port work and polish

100_0238.jpg


100_0246.jpg


100_0252.jpg


100_0241.jpg


100_0249.jpg


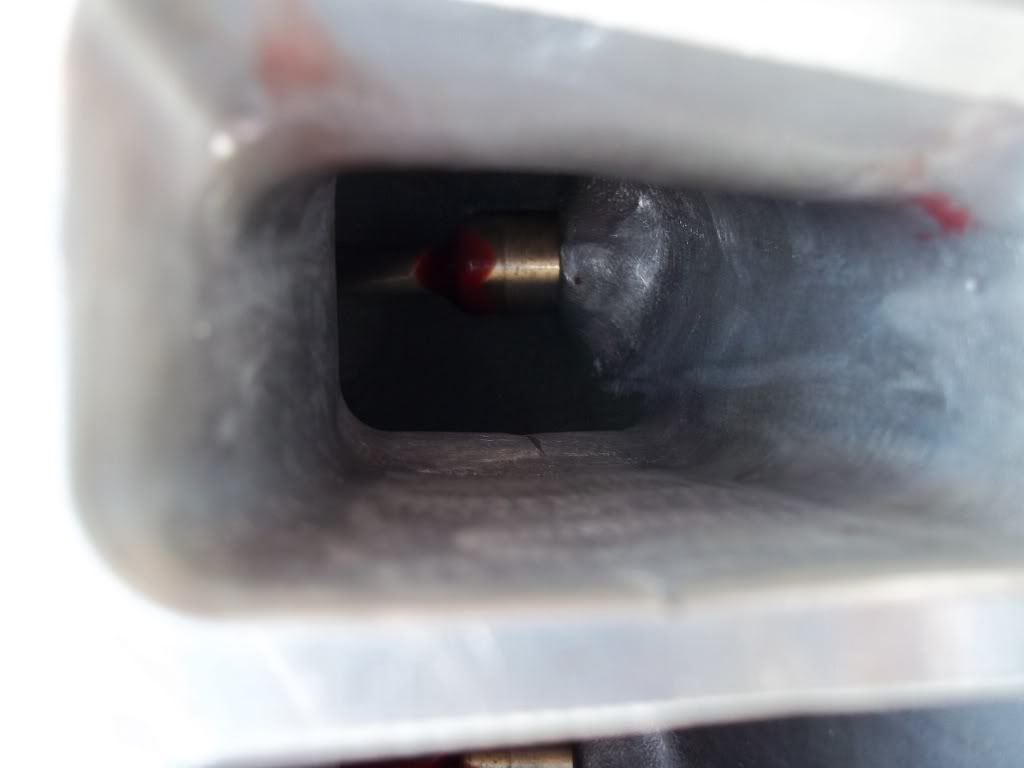
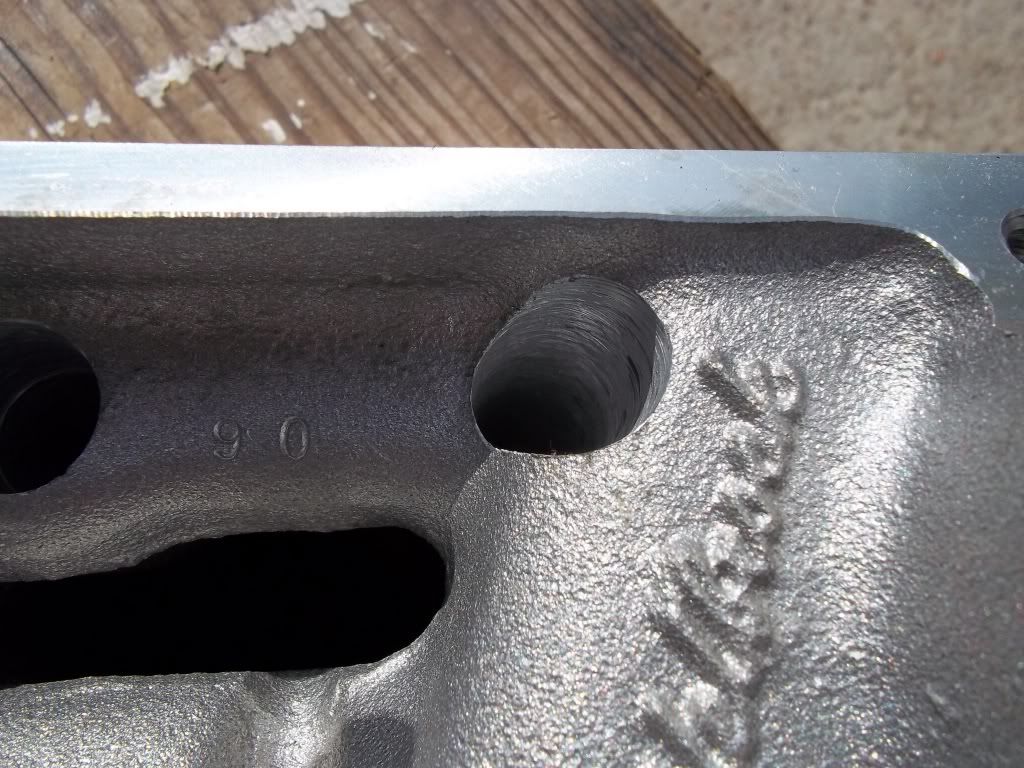
Had to open up the push-rod holes a little bit because of interference

100_0254.jpg
 
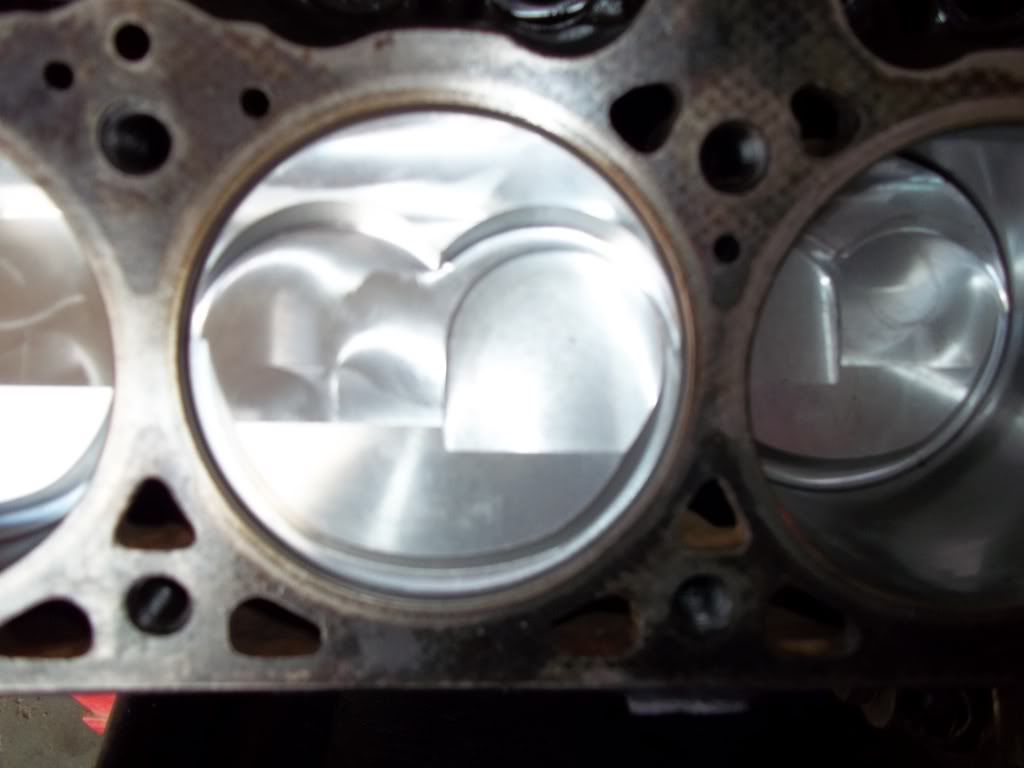
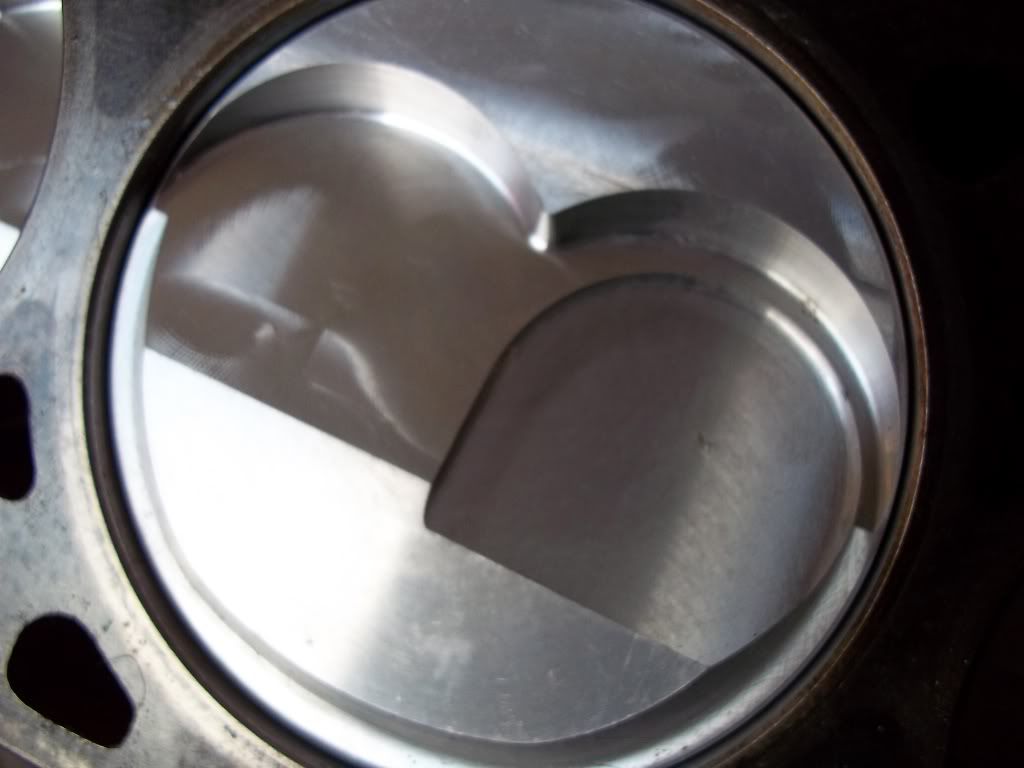
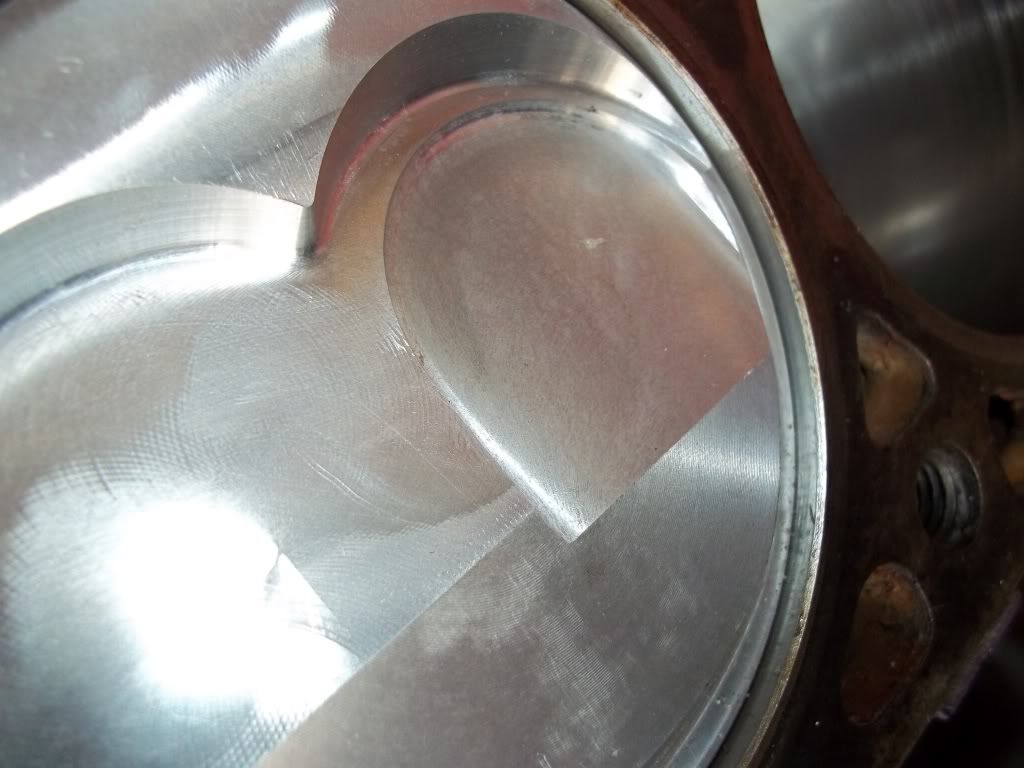
I forgot to snap a picture of the combustion chamber on the head, but it had to be opened up slightly so that the domed pistons would fit. I also had to cut bigger valves reliefs in the pistons for the exhaust to have proper piston to valve clearance, but I did get a picture of that!

100_0256.jpg


100_0258.jpg


100_0257.jpg


100_0259.jpg


100_0261.jpg
 
I got the engine and transmission into the car this past weekend and everything hooked up smoothly. The past two days I have been trying to get the car running, but have ran into several problems. The first problem was that the car was just spinning over with no compression. So after making a tool to prime the oil pump with. (An alan wrench welded to a piece of rebar to stick into a drill). Not ideal, but it works just fine. After getting this figured out I was getting spark out of the coil going to the distributer, but not going to the plugs. I put my new plug wires on, but still had no spark. I took off the distrubter cap and checked everything and all was good. I have electronic ignition and the gap was set right and everything was clean and looked good. So I put it all back in and checked it again, still no spark. After doing this two or three times it finally got spark, so I guess one of the wires just wasn't happy somewhere. I was not able to figure out which wire it was, but it is all very old wiring and needs to be replaced. I will be replacing all this wire very soon. So once I started to get spark I started to adjust timing to try and get it to start. I adjusted and adjusted, but was not able to get it running. I tried putting the distributer both ways (Rotating it 180 degrees) just in case I got it mixed up. Still with it only firing every now and then and not being able to get it started I started to think that maybe I got the gear the distributer rides on off. I will be checking this tomorrow. And I forgot to mention that it is getting fuel as well.
 
I got the engine and transmission into the car this past weekend and everything hooked up smoothly. The past two days I have been trying to get the car running, but have ran into several problems. The first problem was that the car was just spinning over with no compression. So after making a tool to prime the oil pump with. (An alan wrench welded to a piece of rebar to stick into a drill). Not ideal, but it works just fine. After getting this figured out I was getting spark out of the coil going to the distributer, but not going to the plugs. I put my new plug wires on, but still had no spark. I took off the distrubter cap and checked everything and all was good. I have electronic ignition and the gap was set right and everything was clean and looked good. So I put it all back in and checked it again, still no spark. After doing this two or three times it finally got spark, so I guess one of the wires just wasn't happy somewhere. I was not able to figure out which wire it was, but it is all very old wiring and needs to be replaced. I will be replacing all this wire very soon. So once I started to get spark I started to adjust timing to try and get it to start. I adjusted and adjusted, but was not able to get it running. I tried putting the distributer both ways (Rotating it 180 degrees) just in case I got it mixed up. Still with it only firing every now and then and not being able to get it started I started to think that maybe I got the gear the distributer rides on off. I will be checking this tomorrow. And I forgot to mention that it is getting fuel as well.

As I said my next step is to check to make sure that gear is pointing at cylinder number one at top dead center of the compression stroke.

But if anyone has any ideas or tips that might help out I am more than welcome to listen to anything!
 
Well it turns out that it wasn't pointing to cylinder number one when it was at top dead center and I corrected it. However I have no compression at all, so I am assuming that I installed the timing chain with the cam or crank 180º out of spec so tomorrow I will be pulling off the timing cover and water pump, and hopefully fixing this.


When I remove the rocker arms and let the valves stay closed I do get compression which is why I am assuming that it is the timing chain.


Slow and steady, slow and steady.
 
After readjusting the timing and checking to make sure that I had compression I did. I am glad that I got all that sorted out. But after I hooked everything back up to the engine and filled it with coolant again the engine would barely crank over. I am going to investigate the reasons why today. It is either my battery (Borrowing the one from a dodge neon to try and start) and it might not have enough cranking amps which I don't believe it is because I even had it on the charger. The starter might not have enough in it to crank over my motor now. Or something I am completely missing.

One thing at a time!
 
Well the engine would crank over but barely when I had the battery on the charger so I bought a new battery 700 cold cranking amps. I installed the battery and tried to crank over the motor and it wouldn't so I checked the voltage of it. It was only at 12.5V so I left it on a 2amp charge until it said it was fully charger and hooked it up to a battery tester and it turned out to be bad. So I returned that battery and exchanged it for another one and made sure this battery was good before taking it. I got to the shop and tried to start the car, but it wouldn't crank at all and I only got a click from the starter. It wouldn't even turn it over a little bit.

I was a little worried that maybe something internally had come loose or I had made some mistake installing something and it was in some sort of bind. However I turned the motor over by hand several complete revoloutions and was happy that it would. The starter would still not turn the engine over however though. So I ordered a new high torque/compression mini starter and will be installing it onto the car today.

Hopefully if all goes well I will have some videos of the first start up to post tomorrow!

If not well it will be on to the next problem, but let's hope that it starts.
 
Well I got it running today! I had a bad starter relay and the ground straps were not grounding very well either. But after running it for about two minutes to try and break in my cam, it started pouring out oil from the valve covers. I kind of expected this, so I already have new gaskets to go on tomorrow!
 
Well I broke in the cam today! But it wouldn't stay running very well so once that was done I did some investigating. Found out it had a bad ballast resistor so I put a used one on (Still wasn't quite perfect voltage), but I was able to dial in the timing and tune the carb for the most part. I have one ordered already and will be picking it up tomorrow!

Everything went well though no more oil leaks, only a small tranny leak left as far as I can tell. Other than that it's great!

I drove it around the shop once, but had to stop because the car is too low right now. I need to crank up the torsion bars some, I had about 3/4" of clearance and didn't even back it up without it grinding.

Slowly it is coming together though!
 
-
Back
Top