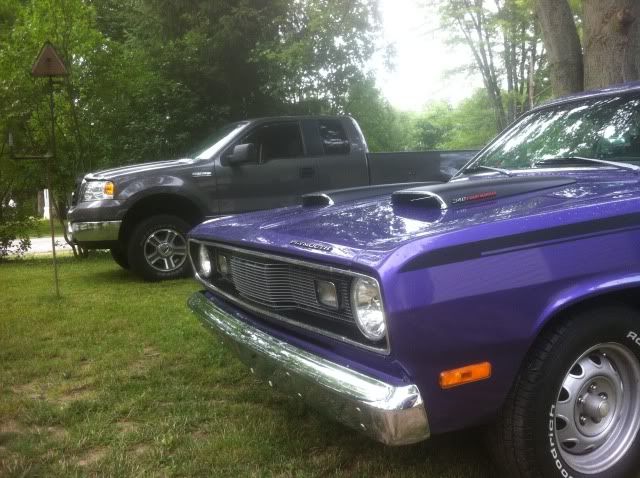
72 duster Build progress

-
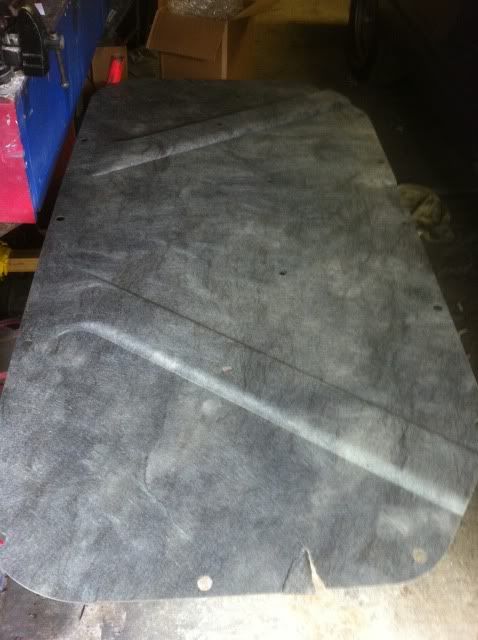
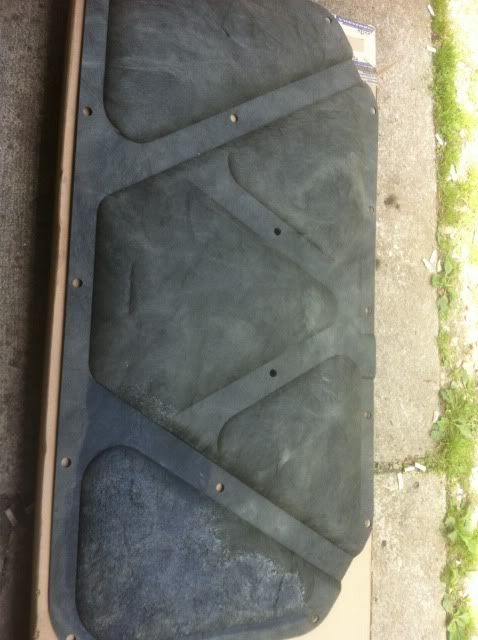
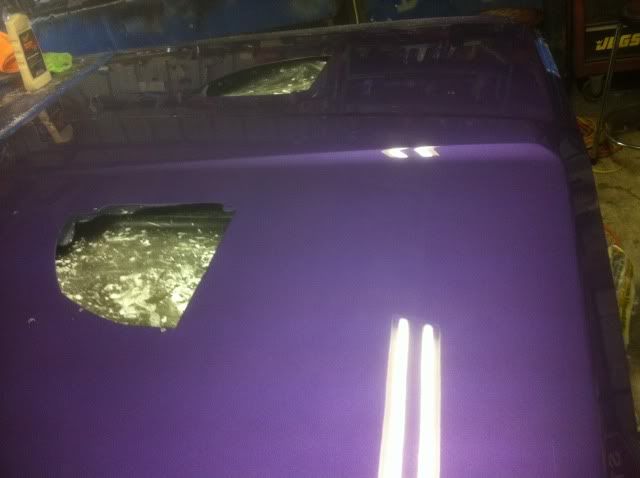
Well, biggest reason is because the previous owner cut the holes in the hood where the scoops mount and it looks ugly from the under side of the hood. Some molded hood insulation will remedy that lol.

One day I may switch the a 6 pack scoop but until then I'm going to do my best to make the current hood look as good as possible.
 
Your current hood looks fine. I think using the insulation to hide the odd holes from underneath is a great idea.

Thanks for the "review" on the sill plates. I'll try Classic Industries next time. I pretty much only go to Year One if I absolutely need to, which fortunately, hasn't been for a long time.
 
I normall had good luck with year one but over the last couple years have gone elsewhere unless year one was the only place that had what I need. Mostly based on the ridiculous shipping prices that they have.
 
I typically find year one to too pricey. But that's just me. Lol. And I totally understand why you're goings with the under hood insulation. I think it's gonna look great
 
sorry I haven't posted much the last few days guys.

Temps here have been in the 50's and its just now starting to warm back up but we have had rain for 3 days in a row and it looks like rain for the next week too :banghead: . That and between the holidays,working around my wifes schedule and watching the kids.....havent had a whole lot of time to do much. And I helped my dad do some work on my moms van, I helped my brother do a tune up and brakes on his vehicle. And I did brakes,shocks and a tune up on my wifes jeep. So I have been pretty busy....just not on the duster lol.

But I am hoping to get a bunch more done later this week.

I did get the new sill plates installed but forgot to snap some pictures...Ill get some soon.

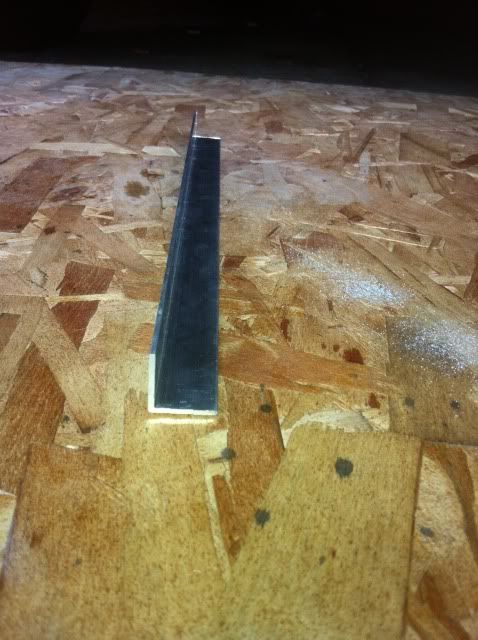
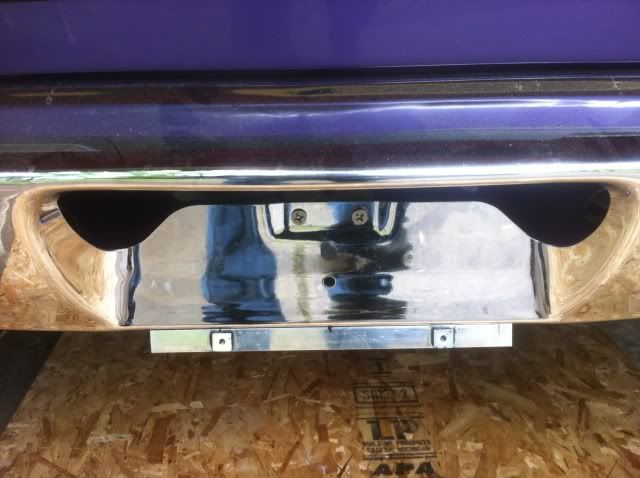
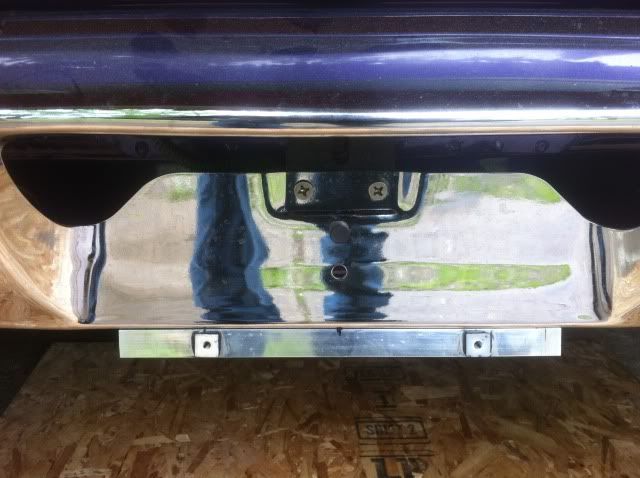
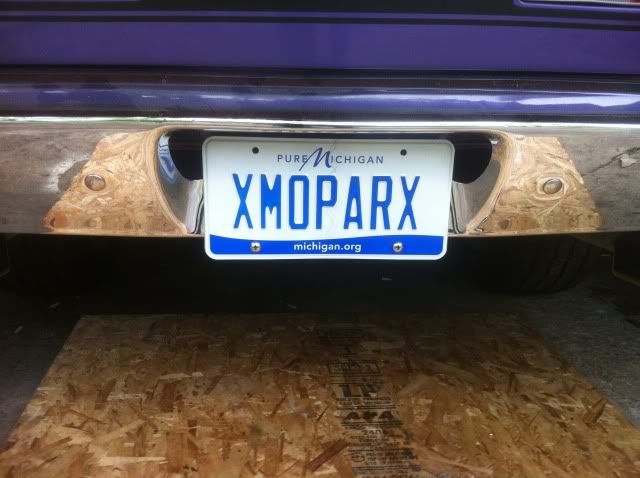
Today I picked up a chunk of aluminum angle iron and did some measuring,drilling,filing....And made a new rear license plate bracket (I had my original one but I left it mounted to my old rear bumper and my dad gave the bumper to a friend of ours to scrap it and forgot to grab the bracket off of it before hand).....oh well, The new bracket worked out nicely.

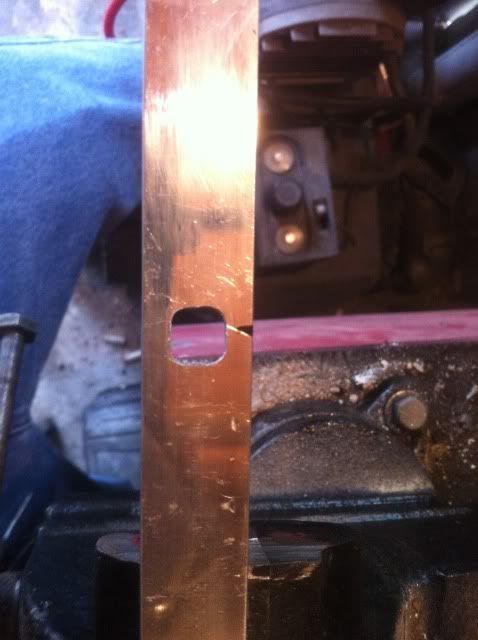
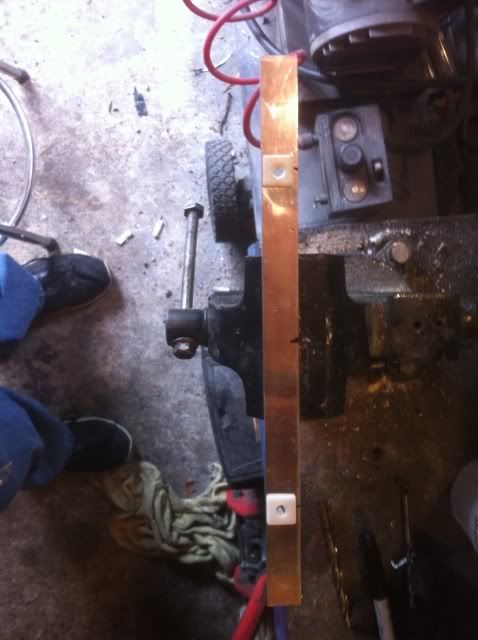
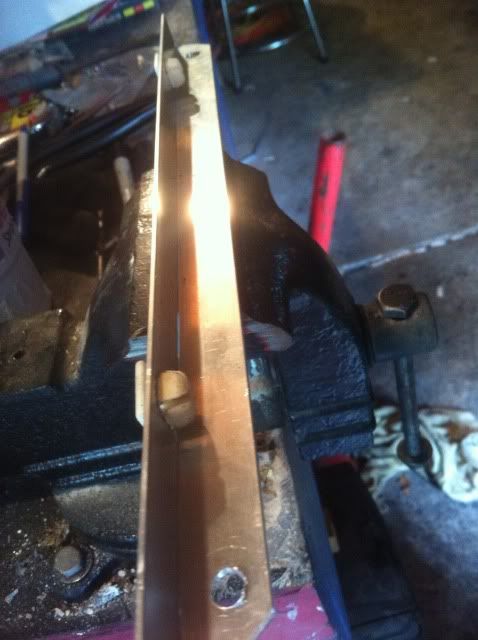
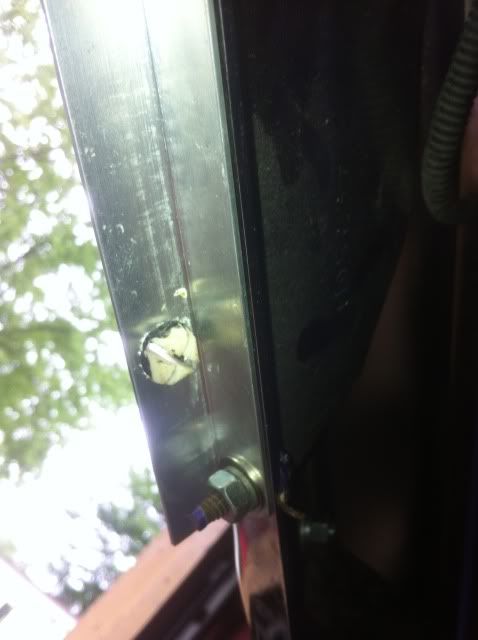
I used a chunk of 3/4" aluminum angle iron, cut it to length,measured everything out for the mounting holes,drilled the holes, then at the plate mounts I hand filed them somewhat square to accept new plate mounting clip in nuts.

I polished the bracket up really quick for the heck of it since I was right at the grinder cleaning up some edges anyhow lol. no one will ever see that its shiny....but.....oh well lol. I also polished up the plate mounting bolts because the ones that were in the kit I had were silver and didnt look as good as id like.

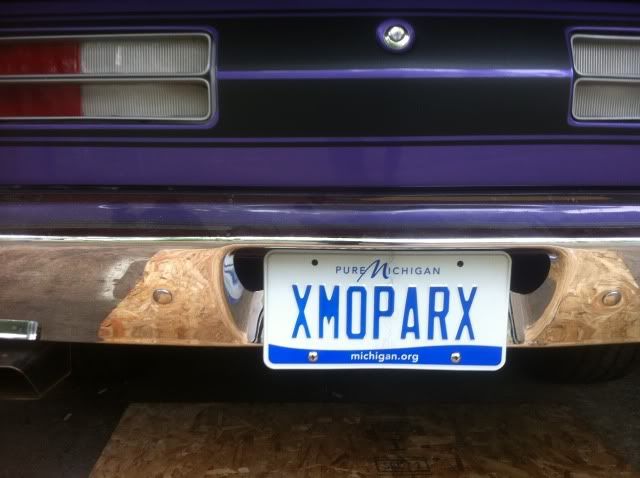
put bolts,washers,lock washers and nuts on and mounted the bracket down and then installed the new custom plate.

check it out and let me know what you guys think!.


this was prior to deburing the holes


I put weather strip adhesive on the plate mounting nuts jsut for the heck of it so my plate wouldnt rattle for any reason and as an added measure to make sure they werent going anywhere lol


UGHHHHHH.......

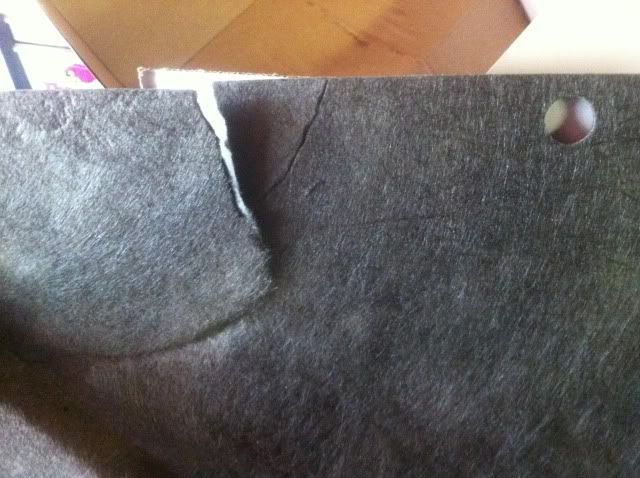
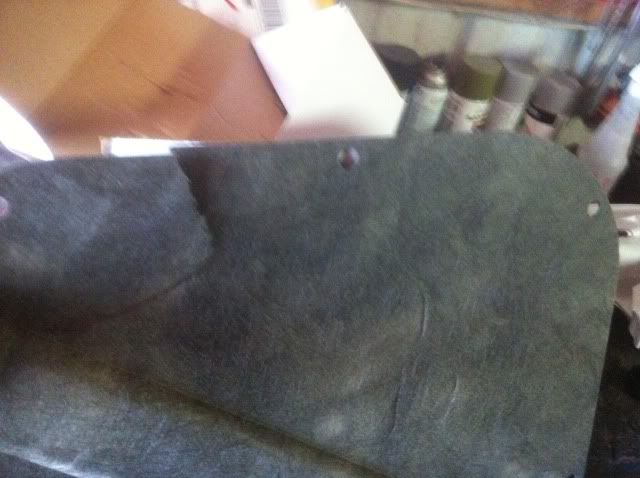
I got my new hood insulation today (got one already and it arrived in pieces in case you missed my earlier post.). Well, This one they put in a better box for shipping instead of a home made one. BUT it still had a chunk busted out of it and a crack from being folded where whoever packed it shoved it into the box.

This time I opened the box....inspected it.....seen the flaw and shook my head and laughed and said loud enough that neighbors near by probably heard " YOU HAVE GOT TO BE KIDDING ME!". So then I got back in touch with classic industries and sent them pictures of everything and told them that at this point I didnt even want to risk trying for a 3rd one out of fear that it will show up like the others have and that I would just prefer a refund.

This one could probably be repaired with some fiberglass resin or something.....but thats not the point. I THOUGHT I had purchased a new/ready to install product.

Luckily their customer service is FAR better than whoever is in charge of the packaging department because the woman I spoke with apologized and said she would definitely be contacting the "high ups" to let them know of the incidences so that they can raise their standards on large fragile items in regards to how its packaged. And she also said that there would be no problem issuing me a full refund of the purchase price and shipping.

I am not saying I wont deal with classic industries again.....the customer service experiences i have had with them have been pretty headache free and straight forward. And my sill plates were in excellent condition when they arrived. I think I will just avoid any large or fragile purchases with them until I am positive they have stepped their game up in that department is all.

Anyhow, I just wanted to update you guys on that.


you would think that a company as big as they are would be able to figure out how to ship something without damaging it... once I guess I could forgive, but twice? really? I would've been PISSED... but I am glad to hear they will at least refund you your money... maybe this is a sign your not supposed to have hood insulation? LMAO ..
 
Its starting to warm back up....but with all the rain we keep having on and off it has been super humid outside and been hard to stay productive lol.

But I did manage to finally get my wiper linkage all hooked back up (fell apart under the dash last fall and I never got around to putting it all back up in place).

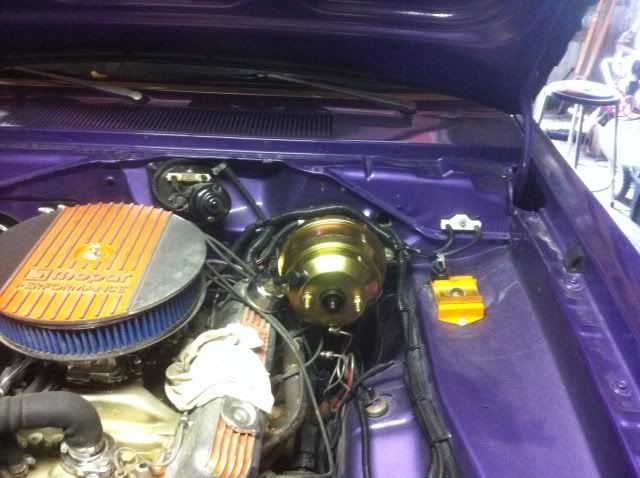
I also drained the master cylinder,removed the lines going to the distribution block,disconnected the arm going to the brake pedal. removed the master cylinder from the car.

Then on my new brake setup ....it came with 3 different length arms and I installed the shortest one ( I always hated how my brake pedal sat like 3" higher than my gas pedal did) which effectively lowered the brake pedal to a comfortable position (around an inch higher than my gas pedal).

tightened up all the hardware, installed the brake booster brackets, brake booster, master cylinder , attached the arm to the pedal, re adjusted my brake light switch.

Now I just need to get some new brake lines to go from the master cylinder down to the distribution block . And I need to plumb the vacuume port into my intake somewhere. And then I should have power brakes.

sorry for the long post. Just filling you guys in on things....should be more to come soon so stick around!

P.S. If anyone is interested I have my "old" master cylinder and manual pushrod that I took off the car that I will sell. The rod itself I paid $40.00 for I believe. And I cant remember what I paid for the master $40 or $50....bought new and has actually only had about 15 miles worth of driving on it....its just been sitting on the car for a year.


forgot to take pictures after putting the master on ...but Ill get more soon.

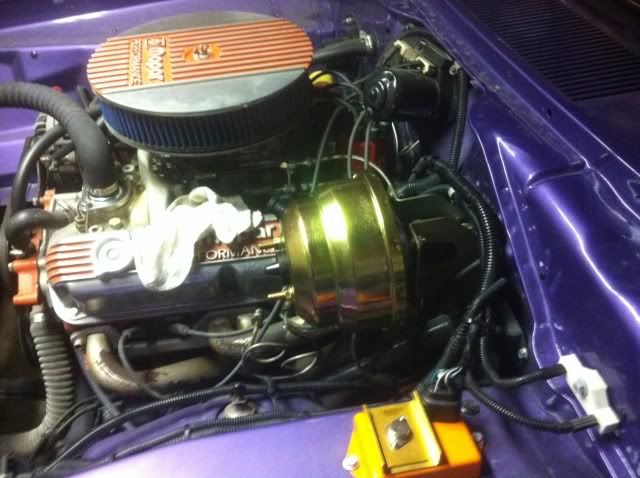
And dont mind the engine bay. It needs a real good cleaning. between the paint that has peeled off the headers, all my polished aluminum dulling up,dust on everything, intake discolored where one carburetor I had leaked fuel on the paint and where I had a coolant leak...........she looks really cruddy compared to the rest of the car.

I am going to have alot of detailing to do once I get some other things done first.
 
you would think that a company as big as they are would be able to figure out how to ship something without damaging it... once I guess I could forgive, but twice? really? I would've been PISSED... but I am glad to hear they will at least refund you your money... maybe this is a sign your not supposed to have hood insulation? LMAO ..

Yes I was surprised. The woman I spoke with when the first junk hood insulation showed up said she was going to put a note on the order saying to use extra precaution during packaging and to use a better box etc...etc...


Ill admit, they did use a better box this time....but whoever packaged it did a crap job. They wrapped bubble wrap around the insulation one time. Wadded paper up and shoved it in the bottom of the box. Then shoved the insulation in the box and waded up more paper and stuffed it in the other end of the box (which is likely what cause the damage). If they would have just wrapped the insulation in the large bubble wrap a few times (and not just the center like they did....but wrapped length wise and width wise) It probably would have did the job just fine.

And LOL.....I still like the idea of the hood insulation.....but for right now Im done dinking around with it...Ive got other stuff I need to get done. once I get caught up on things I may try to repair the damaged insulation....maybe resin one whole side to keep it nice and sturdy and still serve its purpose.

but we shall see.
 
Today I installed my new kick down cable (bought one because I though the one I had on it had snapped but when I removed it I found that it was just a busted end piece....so I fixed it and now have it up for sale if anyone is interested in a stainless braided kick down cable kit).

anyhow....I havent got to test it out because I still don't have any brakes. But I did get my new brake line to run from the master down to the distribution block. So sometime I will put the right fittings on them and flare them and bend them up how i want and installed them.

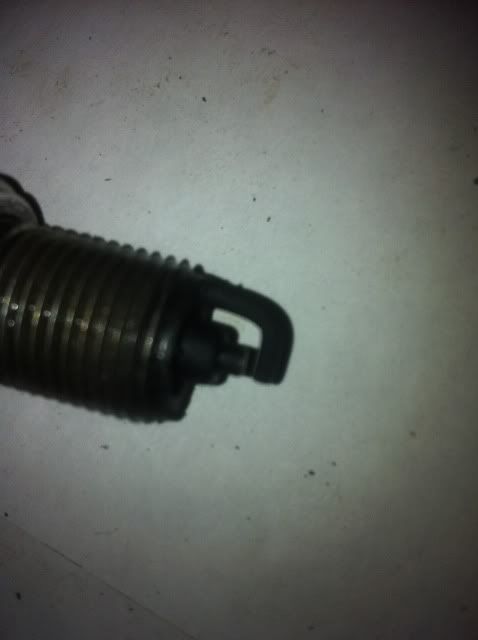
Also today, I pulled a spark plug because I was curious as to how nasty they looked (its been running really rich) and it was coated in black soot and reaked of gas. So I ended up pulling them all and cleaning them up and checking the gap on all of them and re installing them (they actually only have a few hours of run time on them and still good plugs...just dirty,so no sense in buying new).


Fired it up and it starts alot better and is more responsive but is still running to rich . I think the 750 is just a bit to much carb for it.

I either take the chance at buying the stuff to try and detune the carb to something that wont run as rich on my engine.....and maybe still not have it be enough.....or buy a new carb with a lower CFM rating (which is what I will likely do).

This carb is "brand new" has maybe a couple hours of actual run time on it....still looks new,still have the box and paper work and accessories that came with it. Excellent running carb...just to much fuel for my engine is all. Paid close to $350 for it....Ill give someone a good deal on it if they are interested in buying it! Its a Polished summit racing 750 dual feed electric choke 4 barrel with vacuum secondaries. Its a great carb...I know a couple other people that have them and love them. Awesome design too. I plan on getting another just like it but lesser cfm.

PM me if your interested in it.
 
Sorry I havent been updating a whole lot guys. Been spending alot of time with the family and tinkering a bit with the duster when I get the chance but I havent bothered posting because I was waiting to get some bigger updates for you guys.

ANYHOW....I installed new brake lines from the master to the distribution block and I couldnt stop one of them from leaking at the master ( I reused an old fitting) so I picked up another chunk of line and some new fittings and im going to get back on that project tomorrow probably and then my brakes should be about taken care of.

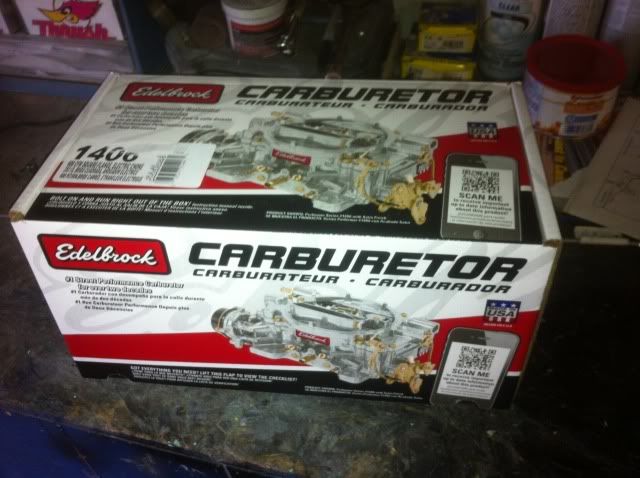
I also picked up a new eddy 1406 carb today ( my "old" still new summit racing 750 carb is up for sale.....if anyone is interested I posted a for sale add on it....works and looks great and is still like new with only a couple hours of run time on it). Anyhow, I am going to remove the carb and start on tidying some things up and touch up the paint on my intake ( got really dingy looking from a coolant leak and from when fuel spilled on it a couple years ago)...so I should be able to purdy things up in the next couple days hopefully.


I also picked up a nice fuel line for the new eddy that will allow me to not have to reroute how I have the cars fuel lines ran right now.

I also picked up another throttle cable (mine was shorter than I liked).

And I got some resin so I can resin the hood insulation and clean it up and get it installed eventually.

I also got all my 3M buffing and polishing compounds and buffing and polishing pads....now I just need to pick up some sand paper and I should have everything to wheel the top of the car out when I get the time to do it.

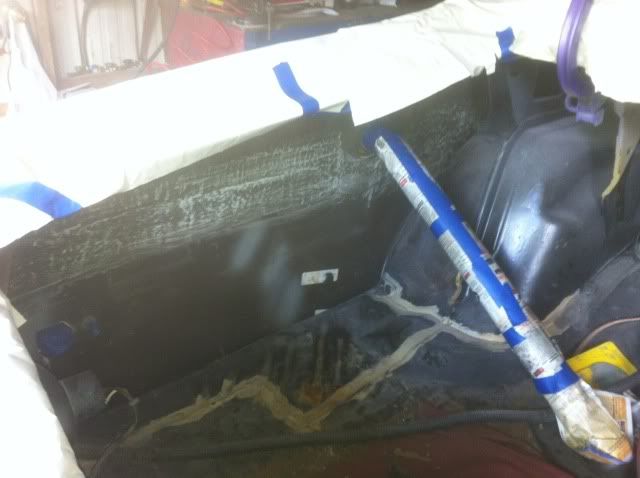
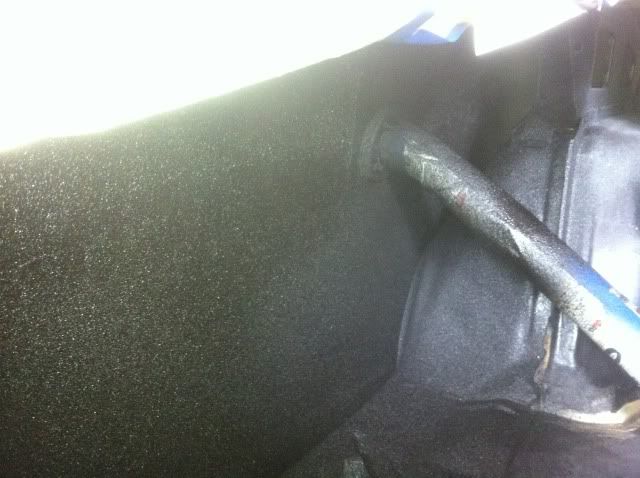
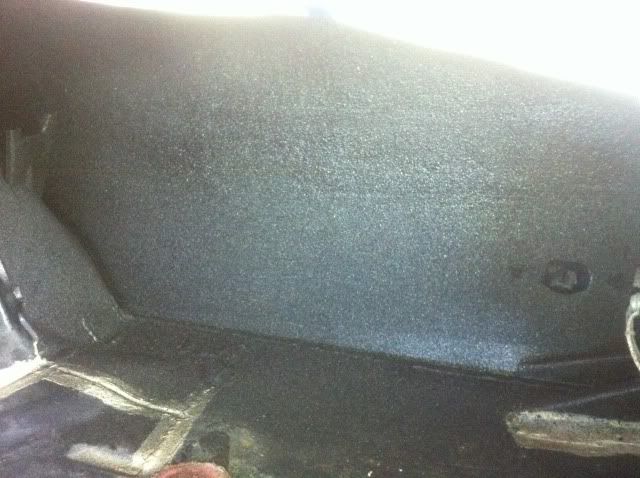
And today I finally got around to putting some duraglass on the back sides of the quarter panels where my welds were from when I welded the quarter panels on and then I knocked any loose factory undercoating off the panels and then I just did a quick scuff on the duraglass with some 36 grit to knock down the high spots. ( I didnt want to make it perfectly flat because by the time I sprayed the under coating I wanted it to match the factory under coating which was not perfectly laid by any means lol). And it came out looking good....to see it in person it looks like the factory under coating. You can still see a little bit where I laid the duraglass but its not bad. And i wanted that extra safety measure there on the backside of the welds. ( I still need to do the trunk floor and the wheel tubs and stuff but I am going to do all that another day).

looks ugly I know lol, but it gets better.


The stuff i used was a little pricey at the local paint shop but I got it on my painters account and got a pretty good discount on it. And ive used the stuff alot before and it beats the crap out of any of the other types of canned under coatings out there. And it dries in about an hour and wont chi or peel or stay soft like most of the other crap out there. its the autobody master brand in case anyone out there is interested in it.


Anyhow, thats where things stand as of now...Ill be posting more soon. I got lots of stuff to do and lots of parts and stuff that I need to dink around with. right now its all a matter of balancing time and catching the weather when its nice.

STAY TUNED!!!!
 
AND.........The Duster thread has reached a milestone guys!!!!!!!

OVER 100,000 VIEWS!!!!!!

That means that there is alot of people that have seen me struggle on this project over the years, alot of people over the last 4 years that have probably said "dang,he isnt done yet!" LOL....BUT, I hope that out of those 100,000 views that there have been people that have taken something from my thread...rather it have been a bit of motivation for their own project, Or seeing something I did and applying that idea toward their project.

Its been a long process guys....finally close to "done" with it. Made alot of good friends here on FABO that I wouldnt have if it were not for this Duster. I improved upon alot of skills that I already had because of this project, and I have picked up new skills and learned alot.

Ive learned that if my pockets were deep that this car would have been done LONG ago.....because I would have paid someone else to deal with the headache HAHAHAHA. But I was brought up to respect work ethic and to save money where possible.....even if in my case it means learning to be a metal worker,welder,body man,painter,prepper,finisher,interior worker,machinist,engine builder,trans builder,exhaust man...etc...etc....

Anyhow...I dont want to ramble on but I just wanted to tell everyone thank you that has been active posters on the thread and to those who have checked in from time to time and for those who have helped me along the way and to those who I was able to help along the way.

I am surprised to see the thread with as many views as it has.....wouldnt have expected more than a couple hundred views when I originally posted this thread a few years ago lol.

Thanks guys....and stick around because we arent done YET.....I think we got a few more view counts left that we can squeeze out of this ole thread haha.
 
100,000 views??! Wow!, that's pretty darn cool. The buggy thread has a way to go to reach that mark. Lol. I have very much enjoyed this thread. I've read it all since the very beginning, and I make it a point to check in on it often (or when I see there's an update). Sometimes I visit it just to re-read things or just look at pics again... I look forward to continuing to keep up with this thread my friend
 
Thanks Bill,

yup ,every once and awhile I like to look back at peoples threads after they had finished the car just so I can see again what they started with and some of the cool stuff they have done (yours included). And I still find myself catching things I missed before or getting new ideas for my ride along the way.

Thanks for being a regular Bill!
 
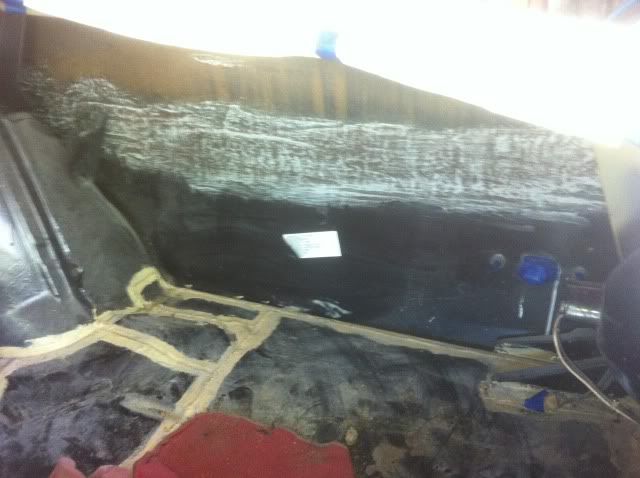
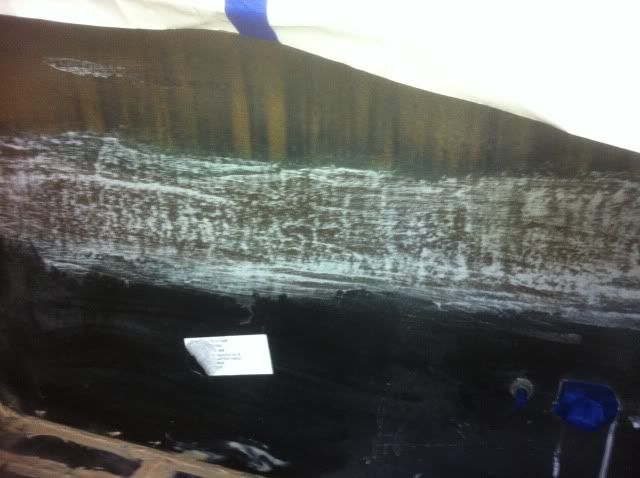
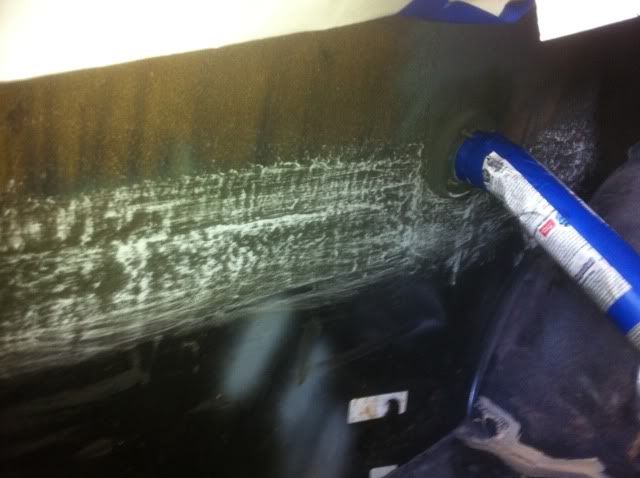
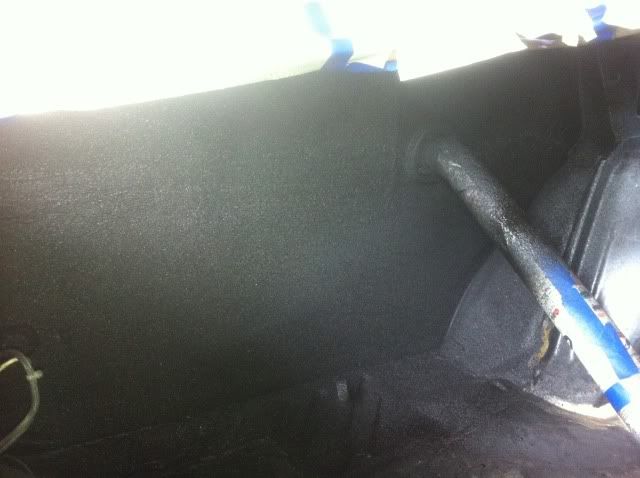
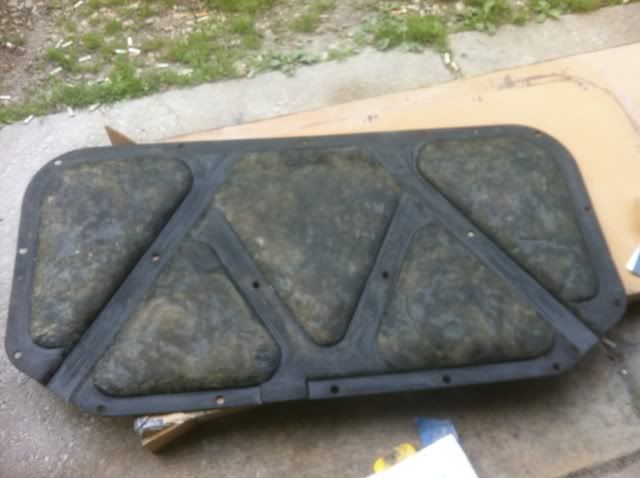
Today I took the better looking of the two hood insulation pads that I had and laid it out. mixed up some resin and coated the entire back side of the pad. I took some strands and bonded them into the damaged areas and added more resin and used my brush to mold it all together nicely. it was just enough resin to soak about half way through the entire insulation pad to add some stregth to it but without leaking through to the side that you will see when the hood is open. Came out great!.

After it all cured I took some 36 grit and just knocked down any high spots. then smoothed it out a little with 180. nothing fancy by any means....its on the back side and will never be seen. It mas mostly to make sure I didnt have any clearance issues or anything when I go to install it eventually.

Im not going to install it until after i have wheeled out the top of the car and bolt my hood scoops on. but I trial fitted it and it looks like it still fits good.

not sure why they didnt do this to the insulation pads in the first place. makes for a much better quality product that will last.

anyhow, here it is.


when I first started on it


2 coats wet


and dry


forgot to take pictures of it after I sanded but basically looks the same.
(p.s. incase anyone was thinking it looked like it was discolored like it had air bubbles or something....it doesn't, its just the different color blend of insulation they used from the factory that shows lighter or darker in spots.)

And the engine side still looks factory finish (the colors around the edges isnt where resin bled through....its where my dusty finger prints were during sanding lol).
 
Jerrod, you are da man. Looks great and look forward watching and learning more of what you are capable of. :) I am going to pm you with a praise of thanks for saving me money on something I would have never tried and thought of. Just don't want to high jack your thread cause it's not mopar related but I did it to my DD car. Love the updates keep them coming. :):):)
 
Jerrod, you are da man. Looks great and look forward watching and learning more of what you are capable of. :) I am going to pm you with a praise of thanks for saving me money on something I would have never tried and thought of. Just don't want to high jack your thread cause it's not mopar related but I did it to my DD car. Love the updates keep them coming. :):):)


Well Thanks!, glad I could help you out.

Thats one of the reasons I post as much info and pictures and try to describe what I do as well as i can.....because I hope that others out there can learn from it and get ideas from it.
 
Apply this to well anything plastic guy's. He knows his stuff. :) :cheers: :blob::D

well guys, the weather has been pretty decent lately. And as promised.....I have been at it on the duster again! feels good!.

I first had to charge up the battery because its been sitting awhile...but once I let it charge for about 15 minutes she fired right up!. let it run for a bit. And then back it out of the garage so that I could spiff the garage up since its been used as a catch all for most of last fall and this winter.

Then I pulled it back in, jacked up the rear end and took the wheels off in preparation of truing up the rear end and installing new u joints (still havent replaced them since I exploded them last summer on a test run lol).

and thats about as far as I have got on that before I got side tracked lol....I ended up taking the grille out and grinding V's into all the cracks I found in it (wasnt to bad...had one large crack across the upper face of the grille and it had 5 cracked fins). I had a spare ford grille sitting in the shed that I cannibalised some tabs of plastic from. I then took out my soldering iron and melted all the grooves that I had cut and then added plastic from the tabs I had from the ford grille and used that melted plastic as a filler to flatten it back out. I then tested all the cracks and it all worked really well. I tried bending,twisting and prying on them all and they are just as strong as factory.

I then took my drill with a sanding disc and sanded all the work down nice and flat. once that was done I applied a smear of filler on the spots that I worked out. Then sanded the spots down and did some spot priming.

Its coming out really nice. I am about finished with it now. tomorrow I plan on trying to finish up all the body work on it and depending on how fast I get the work done and how ambitious I am feeling. I may go ahead and repaint it all tomorrow also.

so be sure to stay tuned because the updates will be coming again!!!

Also today....I finally got the Duster insured for the road ( thats how close she is to being ready lol). Got a really good deal through grundy insurance for $160.00 a year for full coverage with a $20k agreed value.

so anyhow...basically...the grille should be done soon,then I need to polish the chrome trim that goes on it, then need to polish the head light bezels and then mask off the centers and respray them. Then I need to mount headlights, finish mounting in hood latch assembly. I need to do a fresh oil change, maybe some plugs since its had alot of idle time and alot of carb tweaking done on these plugs so I am sure they are probably pretty sooty. I need to fix an upper radiator hose that keeps leaking at the water outlet. I am probably going to run all new fuel line since I have a new spool of aluminized sitting on the shelf anyhow. I may down size gears in the rear because I think the 4.56's might be a bit to much for what im looking for.
Ive got to get a new kick down cable and install it, need to install new u-joints and true up rear end, I will probably put all new bearings in the rear and axles if/when I do gears. I need to put new bumper bolts in. a couple little interior peices. And I need to buff out the top of the car still where we didnt get around to it after paint.

so there is still quite the "to do list" but most of it is odds and ends and hopefully wont take alot of time.

sorry for the long post guys but its been awhile since I really got to post anything of interest and im just excited to share it with you all. Almost 4 years since I bought the duster and im just now nearing the completion ( Ill always be able to pick things on it apart and find something else that needs done of course lol. but for the most part it will be complete).

Heres some pictures for you guys for right now. stay tuned!

before pictures


after carving out the crack


missing tab


another crack


another crack


replaced the missing tab


corner of this tab was missing, so i made my own.


back side of the worste crack after I did a bit of plastic filling on it.


another tab that was missing, so I made my own and patched it in.


the visible side of the worst crack just after I did some plastic filling


some of the fin supports that had cracks after I plastic welded them


one of the cracks on the top after I did some plastic filling


sorry guys, I forgot to take pictures during the sanding of the plastic and of applying the body filler.

But as you can see " CRACK BE GONE" LOL....this is where the worste crack was.It went all the way through the front,back,and through the lowest fin.


and heres a closer picture of it


I still have to sand the primer down along with the rest of the grille when I prep it for paint...but it should all come out looking really nice. dont let the "before" pictures fool you lol. I know some of it might look ugly. but just you wait and see lol.

And here is a couple of pictures of the duster when I first backed it out of the garage (its dusty) but sure is purdy lol.


stay tuned guys and dont be shy to chime in!
 
I have not forgot about the thread guys. I have just been having a real stupid issue with my gas pedal/kick down cable that I have been racking my mind over see here ----> http://www.forabodiesonly.com/mopar/showthread.php?t=238002

soon though I hope to figure out what the heck is up with it so I can get back to the other stuff that needs finished. check that thread out though...maybe one of you guys know something that could be of some help?
 
Hey guys, sorry I havent posted a whole lot on the thread lately. But there hasnt really been any one posting on the thread so to speak for quite some time so I figured there wasnt much interest.

So I decided to just work on the duster and save up some pictures and just wait awhile and make one decent sized update rather than a bunch of little updates.

I havent got as much done in the last month as I would have liked to but I have still got quite a bit done and the duster is pretty dang close to being done now. mostly some odds and ends and cleaning up that need done.

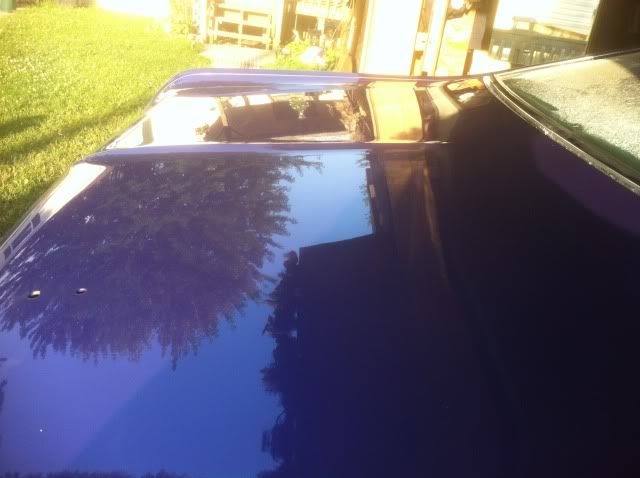
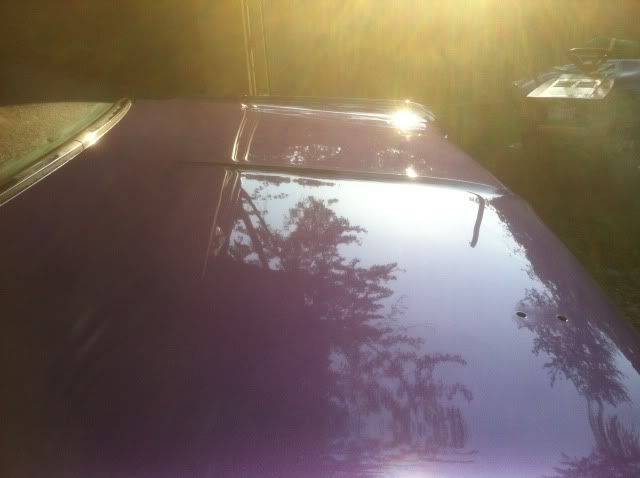
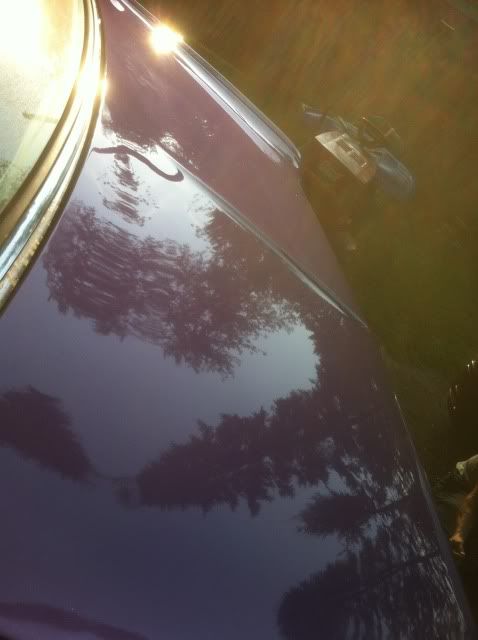
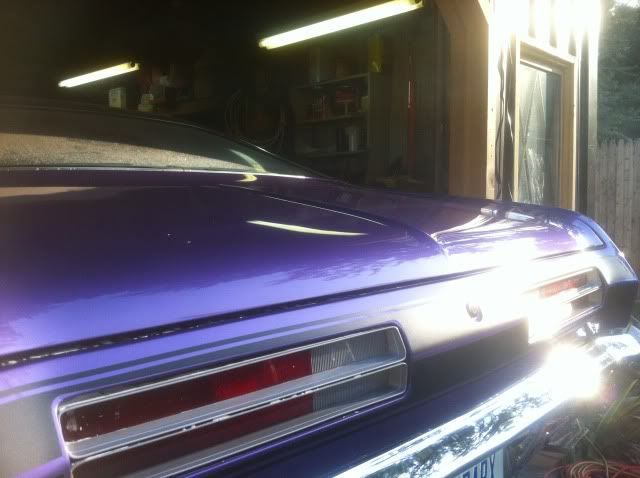
I finished painting the last of my interior parts that needed done, I installed my new stainless braided dual feed fuel line,pressure gauge,fuel pressure regulator,fuel line. I under coated all the wheel wells, kick down cable is all hooked up and working,wet sanded and buffed out the rest of the car (was not a fun or quick process lol).

now whats left to do is I need to bolt my scoops down,still need to mess with a couple things on the rear end,still need to button a few things on the exhaust up,still need to polish up under the hood a bit, I got new plugs and wires I need to put on it,oil change, clean up all my glass inside and out,vacuum it and detail everything,put the hood insulation on,bleed the brakes and few other odds and ends. its pretty close now though. mostly trvial stuff that needs done. the hardest stuff is done now.

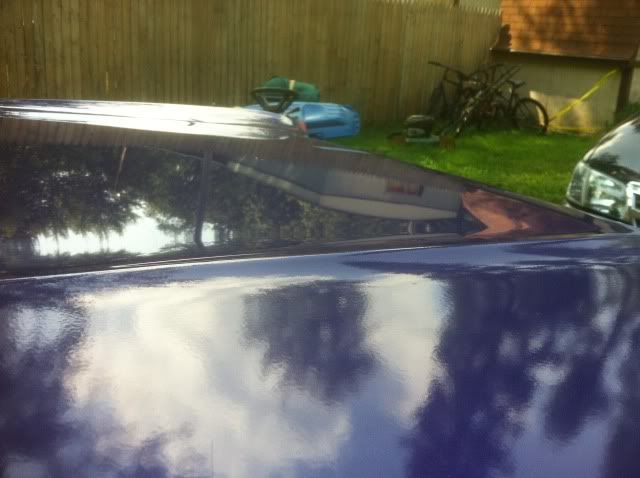
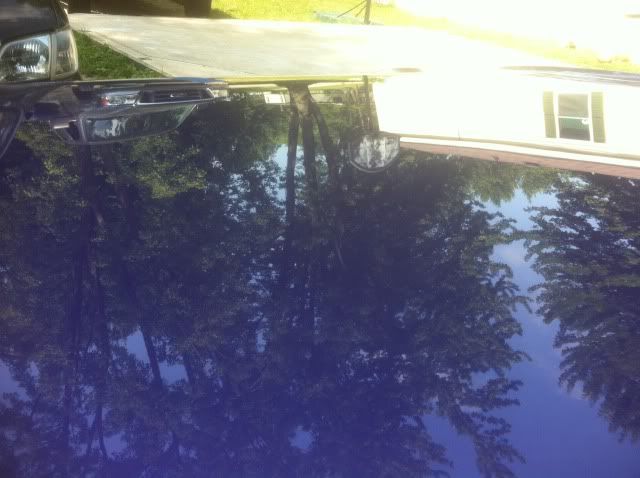
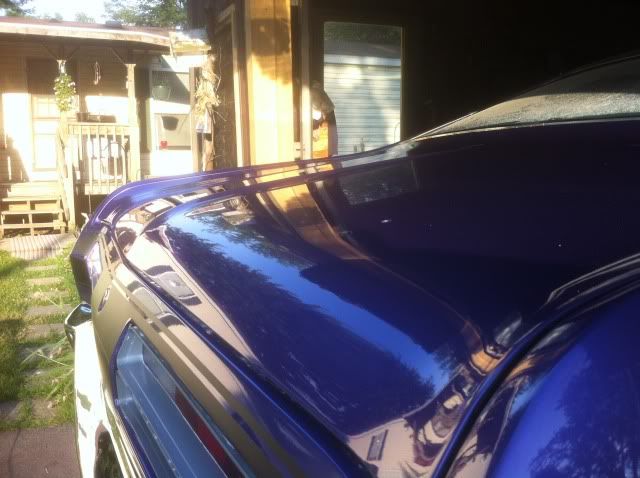
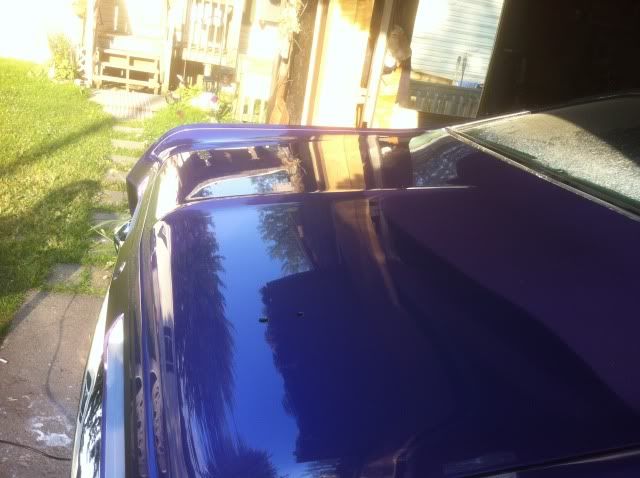
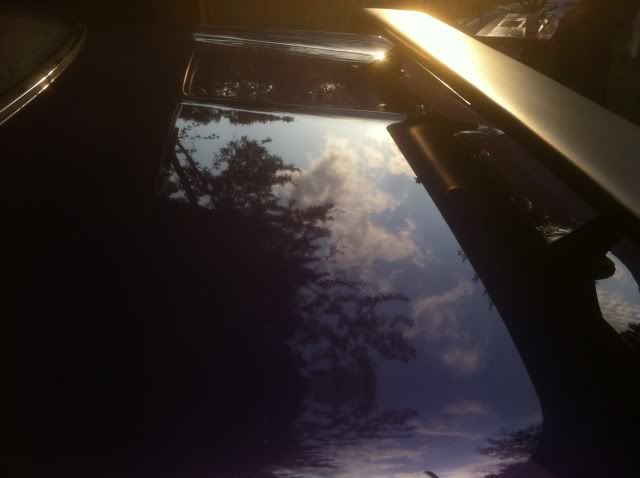
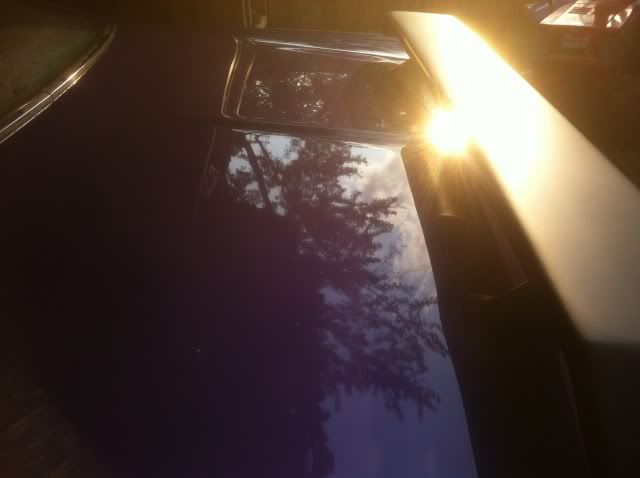
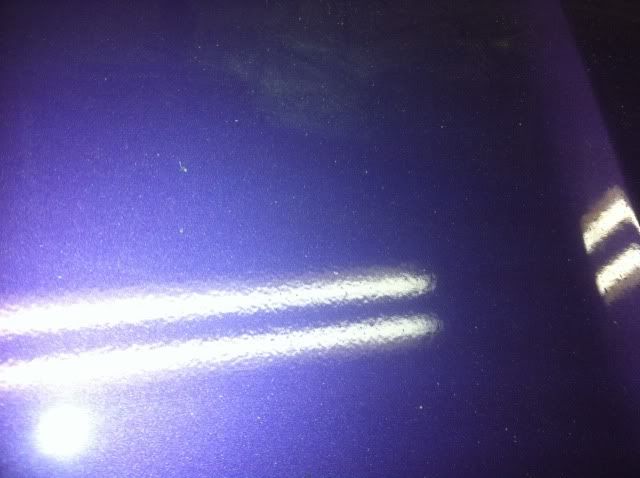
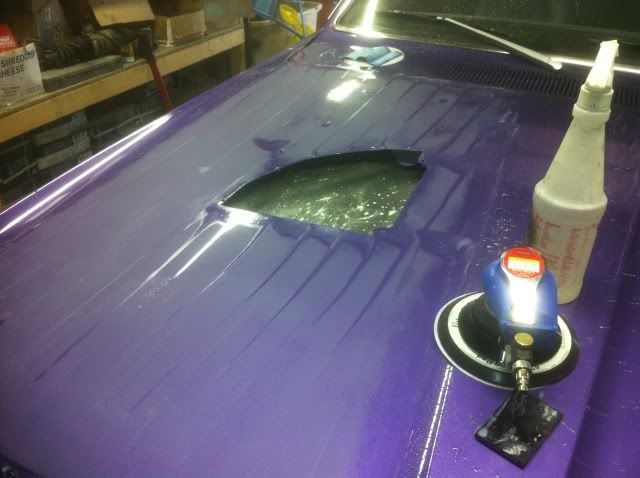
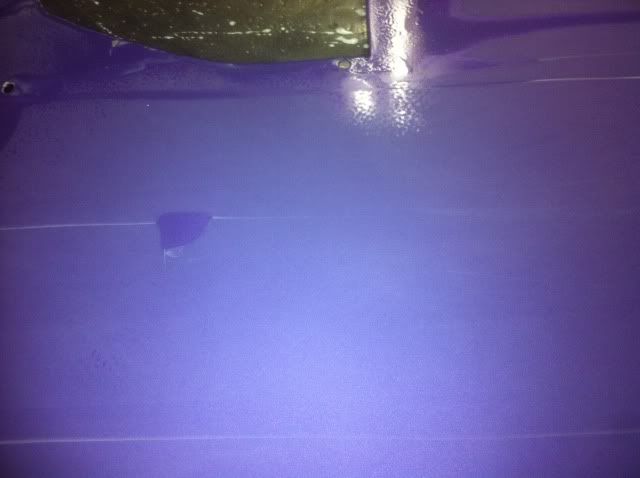
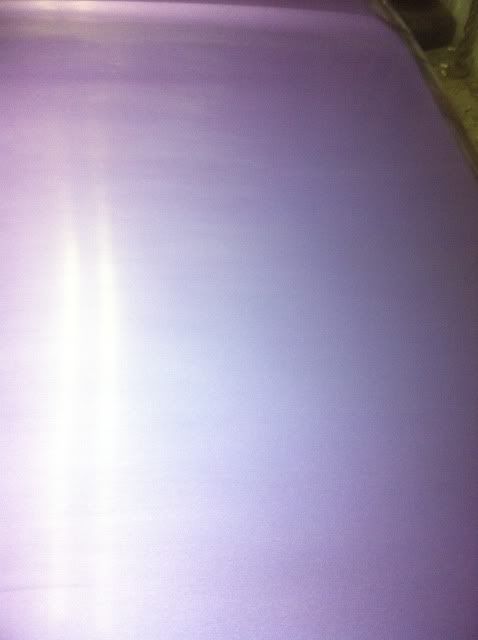
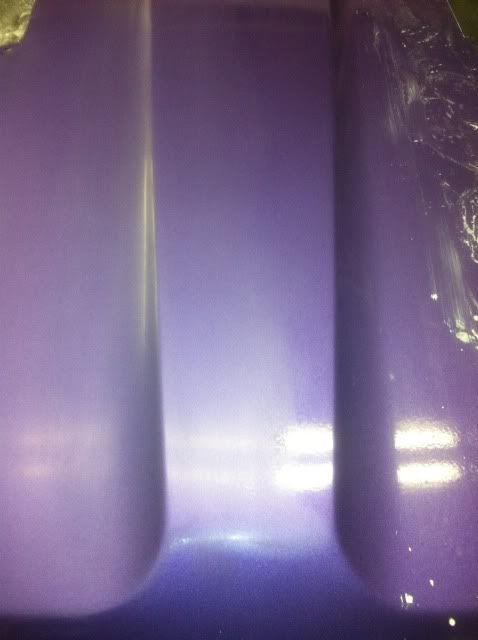
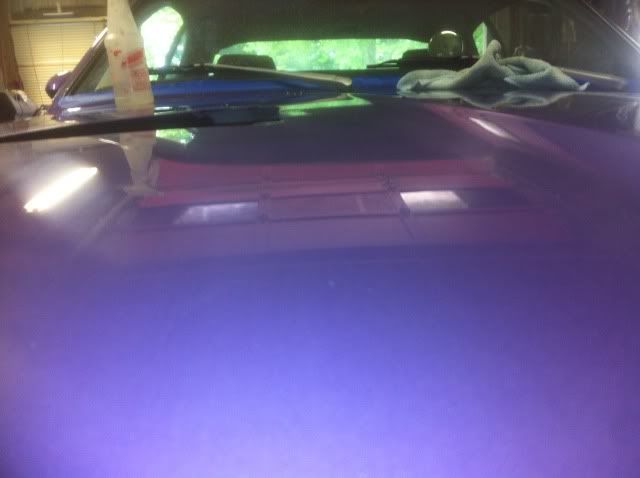
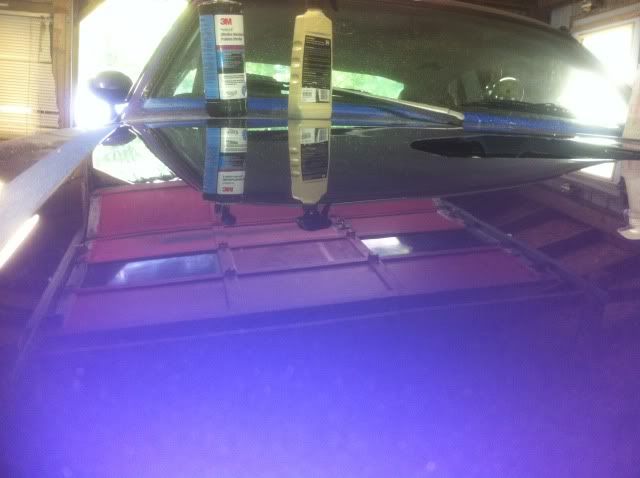
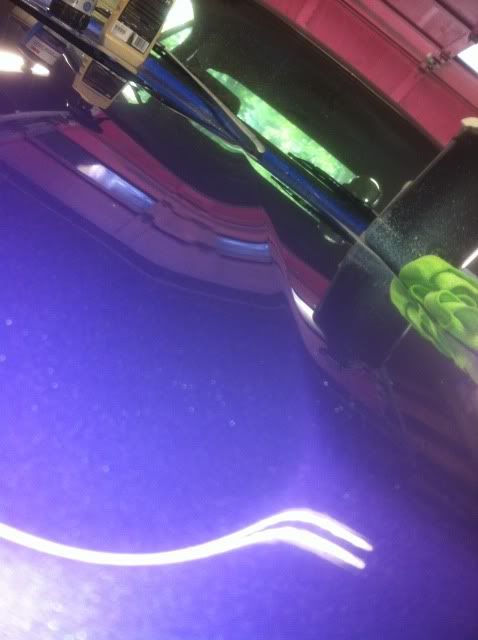
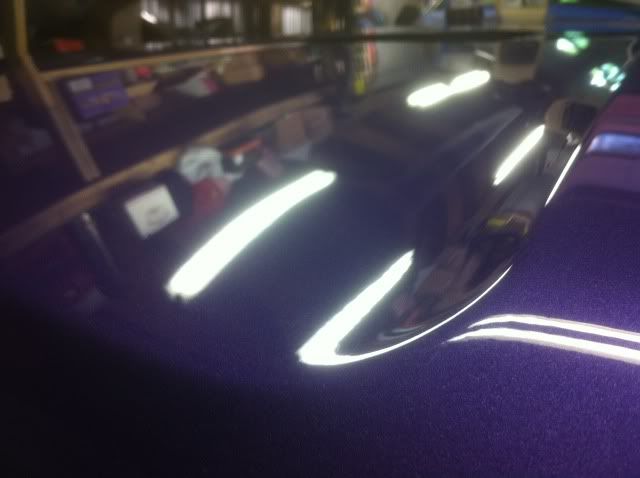
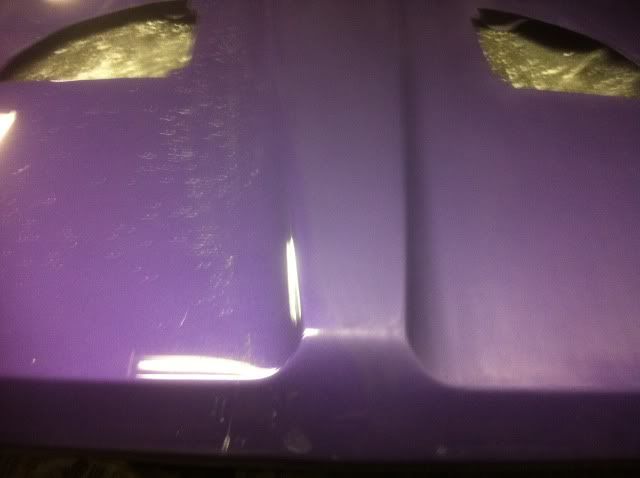
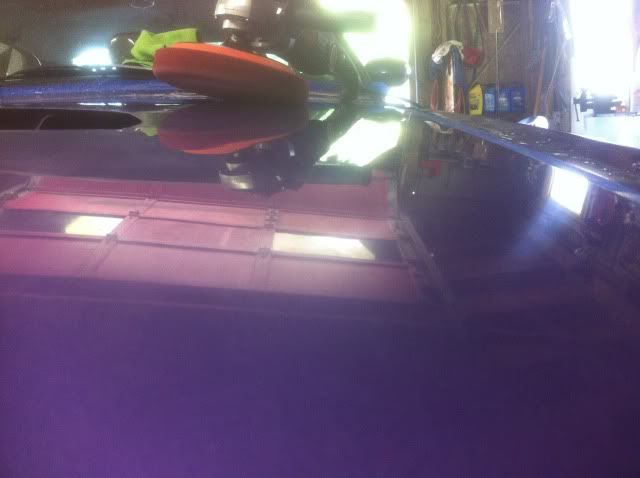
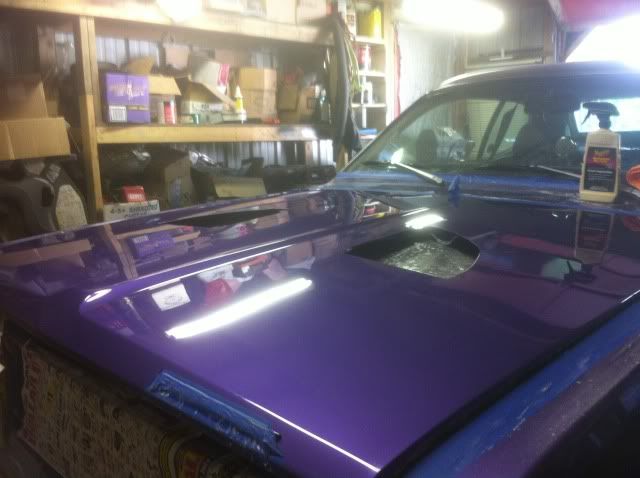
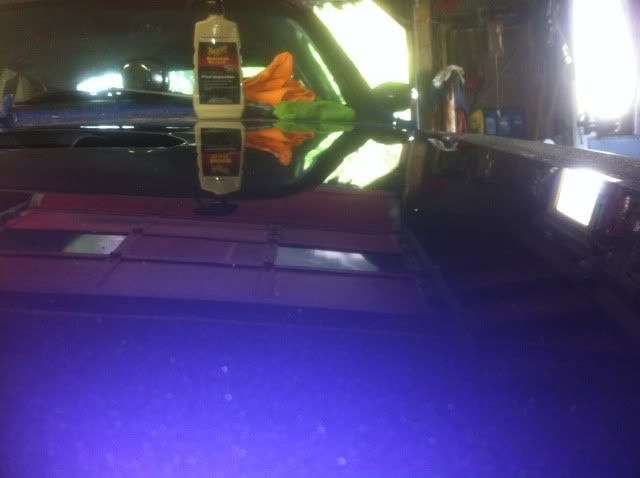
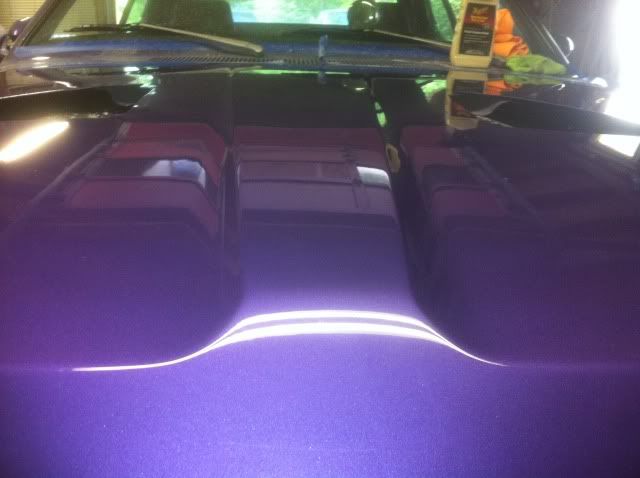
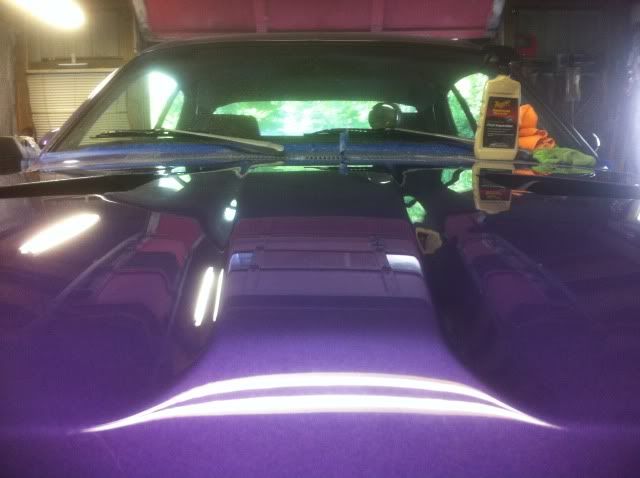
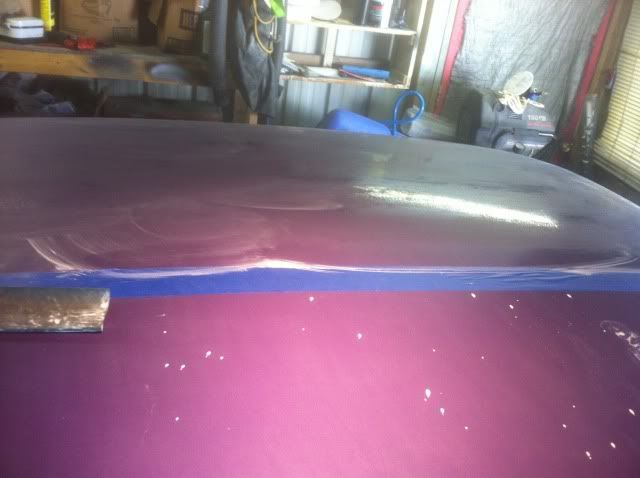
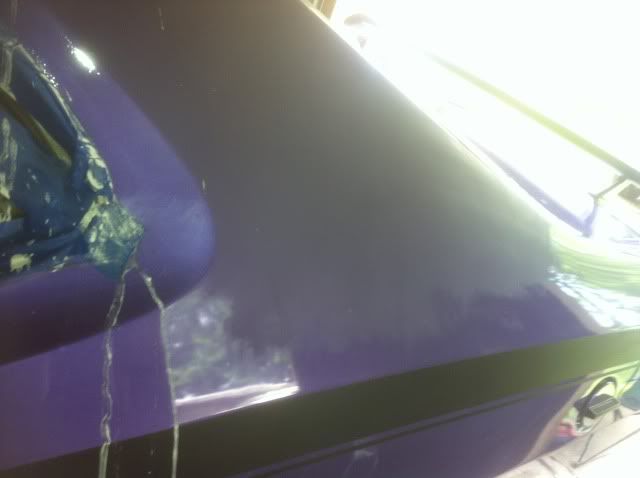
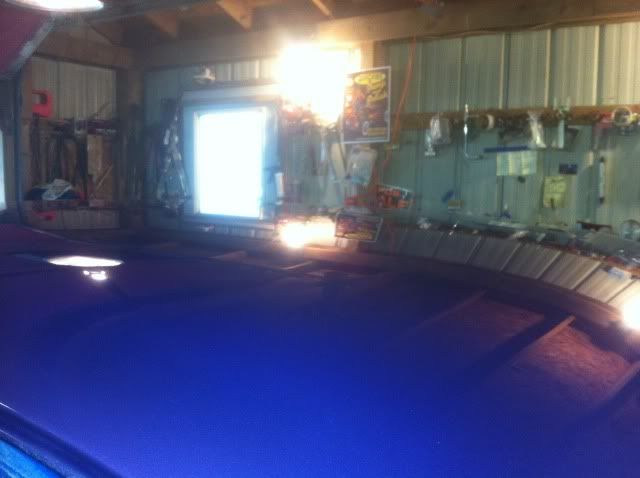
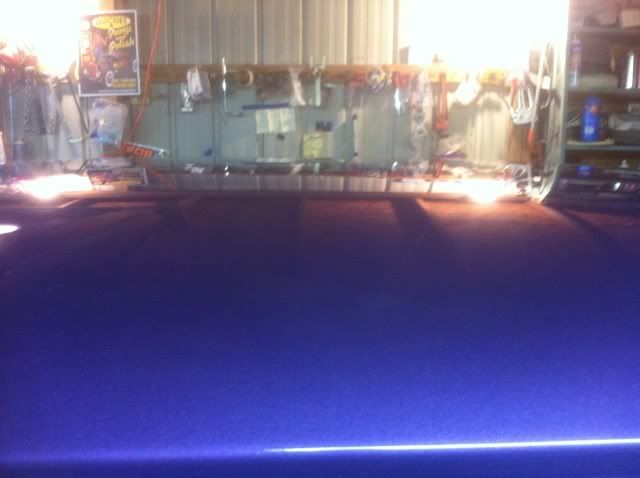
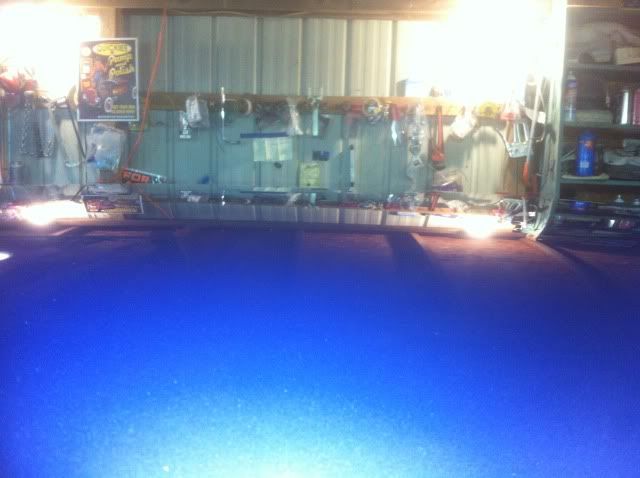
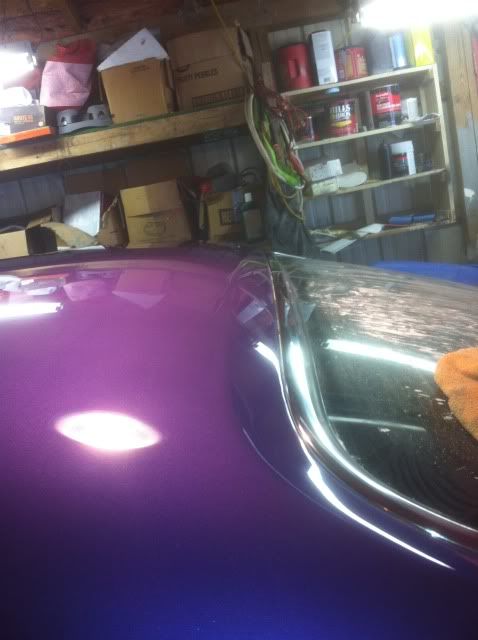
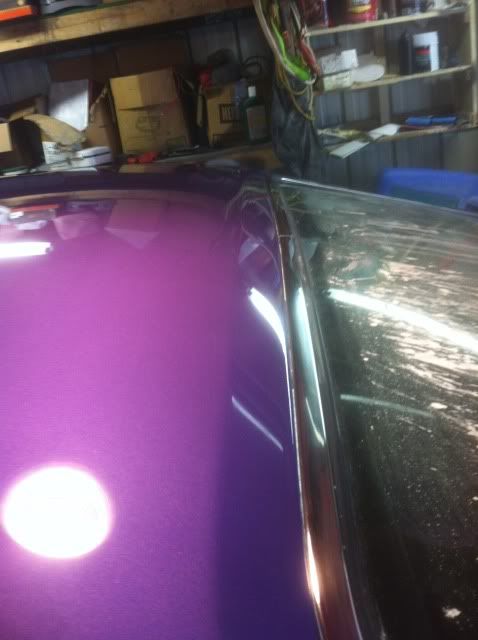
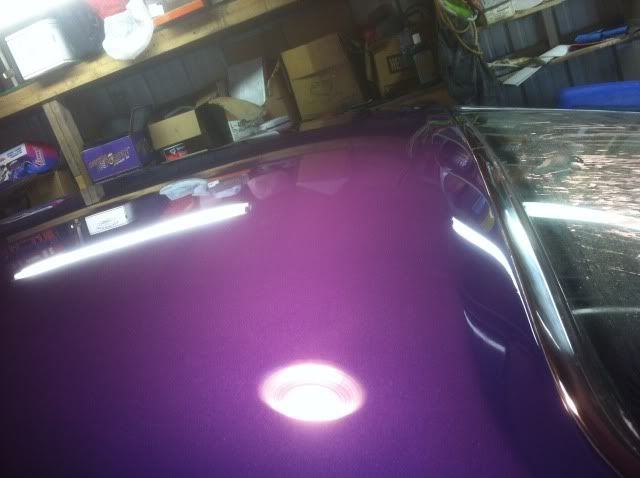
heres "some" pictures during wetsanding and buffing. ( ended up blocking with 1000 wet, 1500 wet, 3000 trizact wet on a palm d/a, then stage one buffing,stage 2 buffing then stage 3 buffing.....lots of work went into it lol.

Here is the deck lid half done so you can see side by side the difference from before and after


here is after I did the whole deck lid


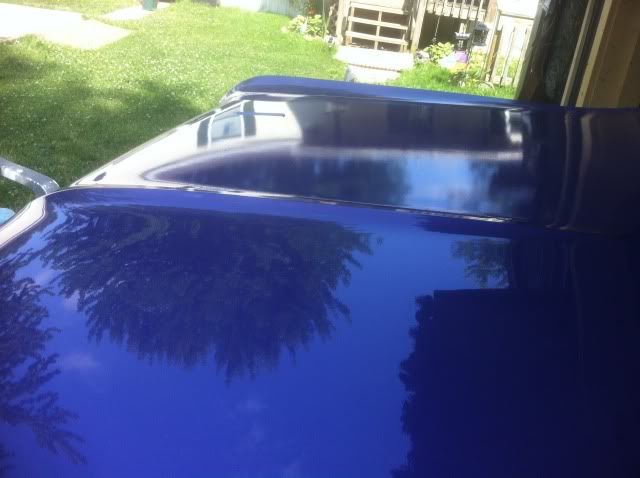
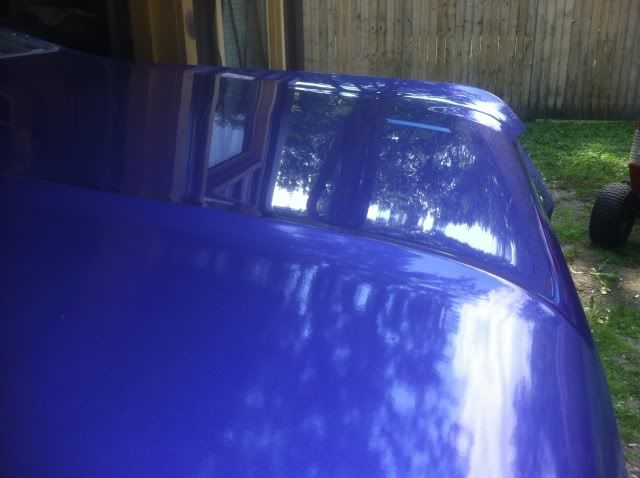
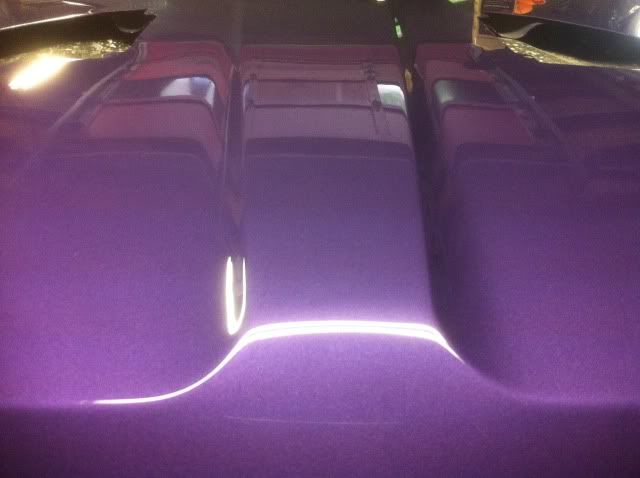
hood before during and after


before buffing....the 3000 gets it shiny and saves alot of elbow grease when its time to buff


Sorry guys, this is a big post and fabo is making me split it into multiple posts because of all the pictures.


moving onto the other half of the hood


before buffing and already shining up


after the first buffing pass


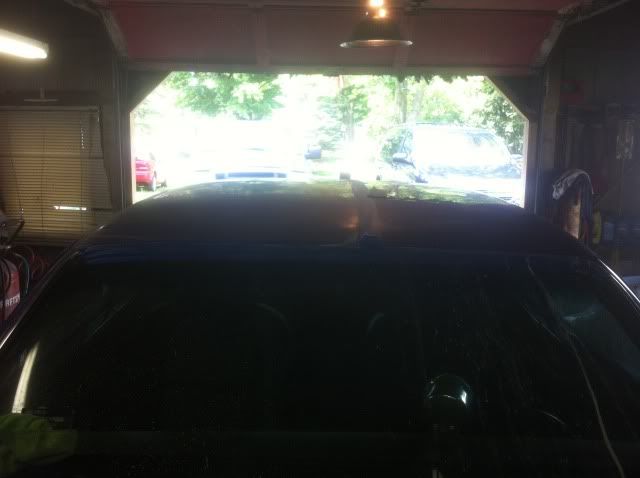
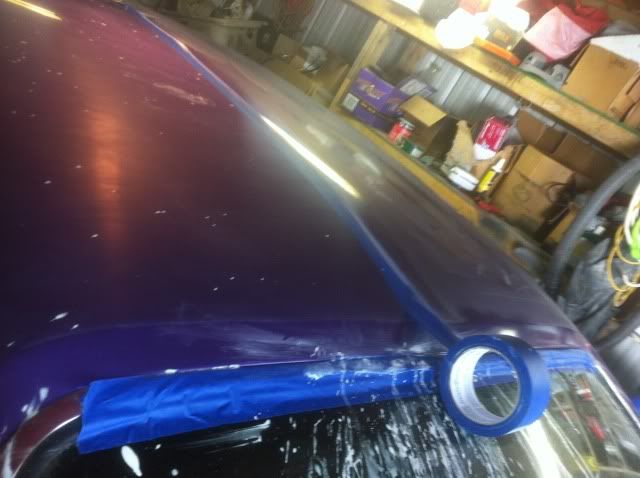
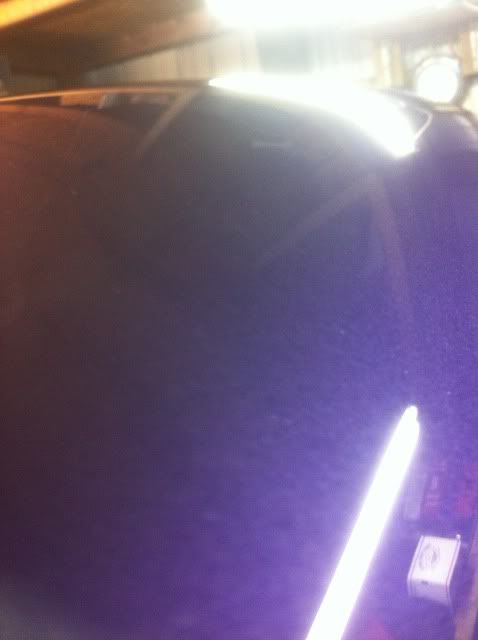
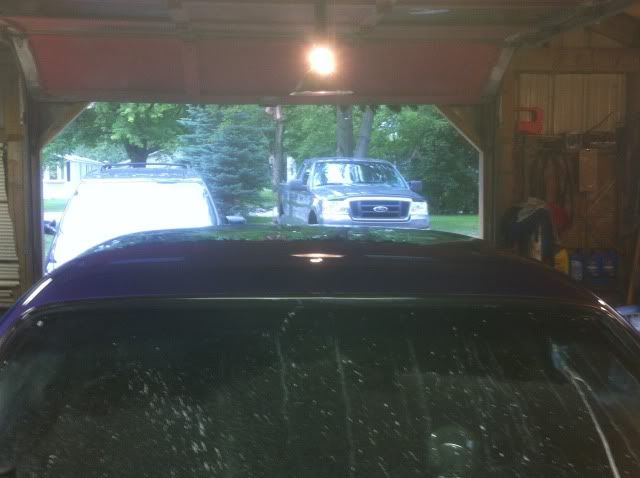
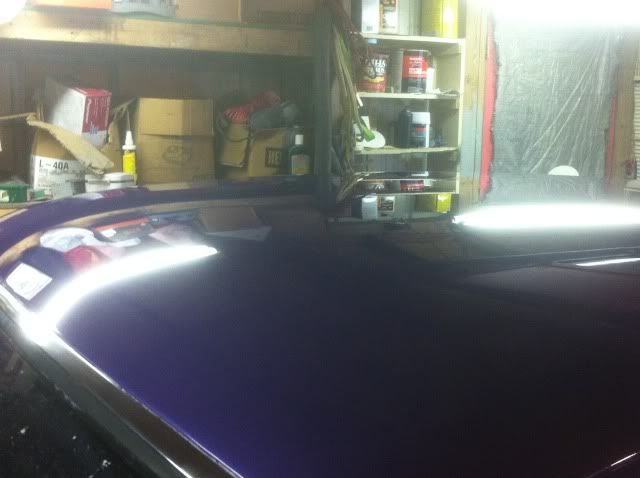
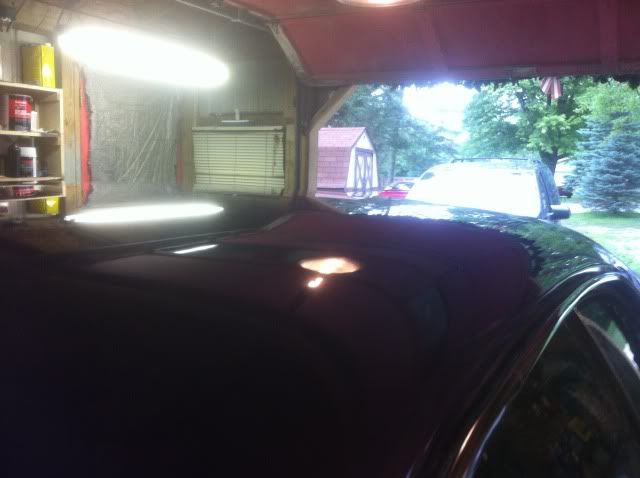
moving onto the rood (which might I add sucked haha)


came down the pillars and feathered in the sanding and buffing to transition into the sides that we had already sanded and buffed after the car was painted


and let the buffing commence


alot of stuff like parts of the cowl,the front pillars,some of the tops of the doors and around the rear pop out windows and around the rear window I had to hand rub because I couldnt get the buffer in to do the job.


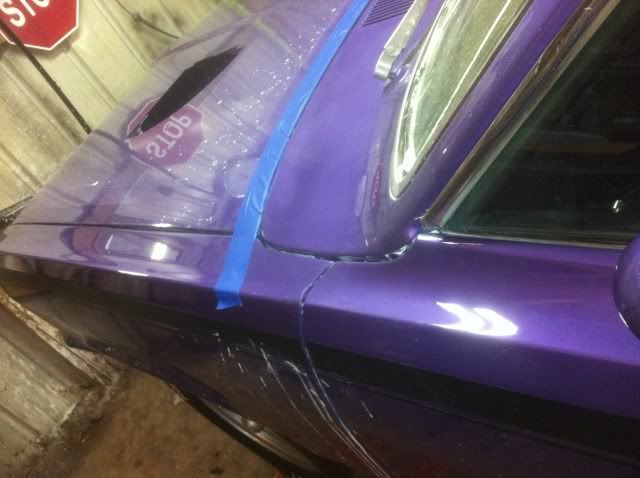
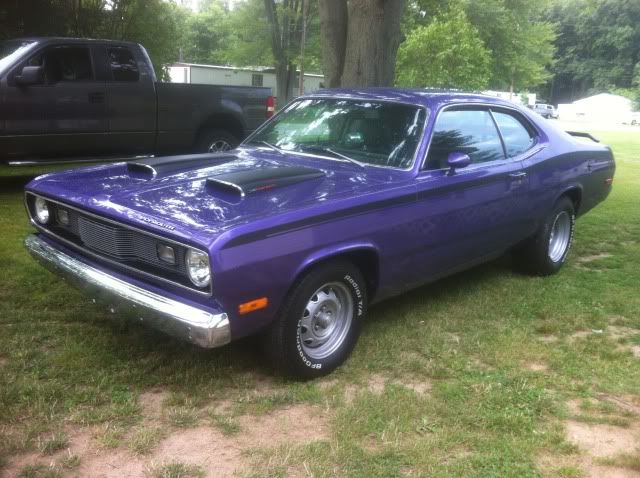
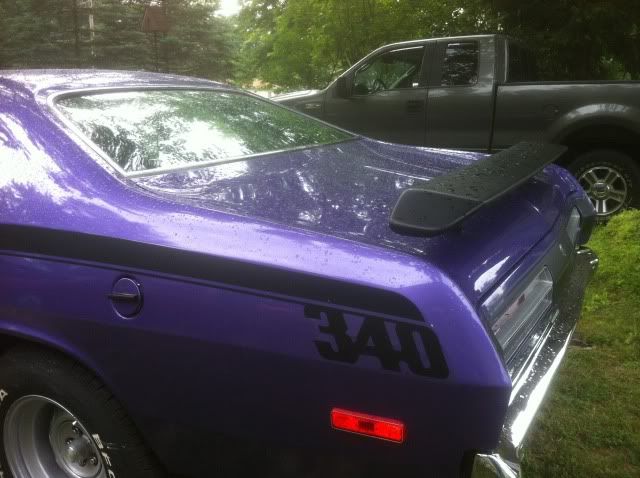
and last but not least. here are some pictures after I rinsed the mess off of the car (still have to give it a real wash and shine it up...this was just to get all the dried on clear coat and rubbing compound off the car.


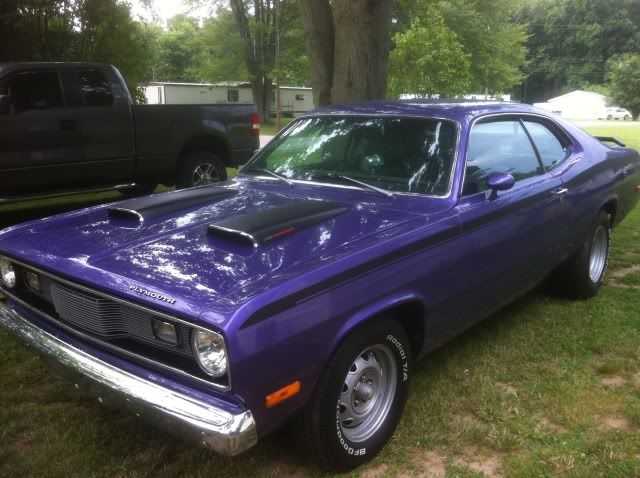
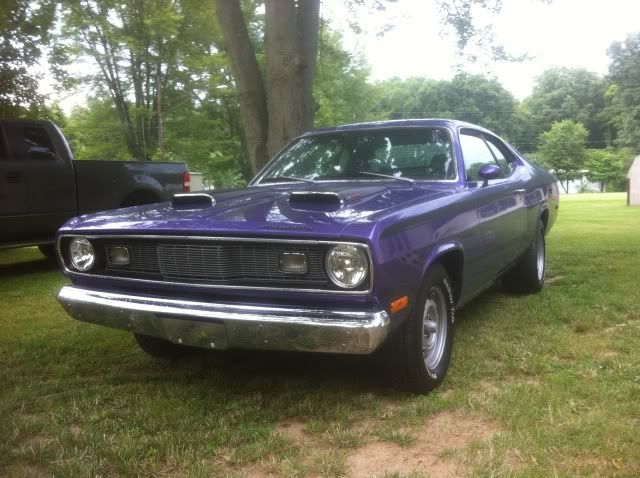
And my favorite picture I saved for last. nice profile of my truck and the duster.


sorry for all the pictures guys. like I said.....not that I havent been working on it....or that I havent been documenting the progress. Just havent had a whole lot of activity on the thread and figured if people havent taken the time to check in or post.....then my time would better be spent making larger updates fewer and farther between rather than try to post updates a few times a week.

hope you guys enjoy!
 
-
Back
Top