hemitheus
19? Plymouth Scampenstein
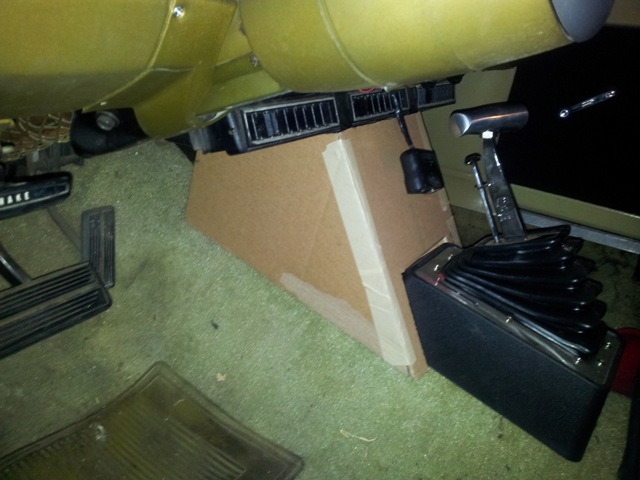
holy crap that console cudaspaz made... you werent kidding.
that if needs be, I can sand some off and make the fit really tight.
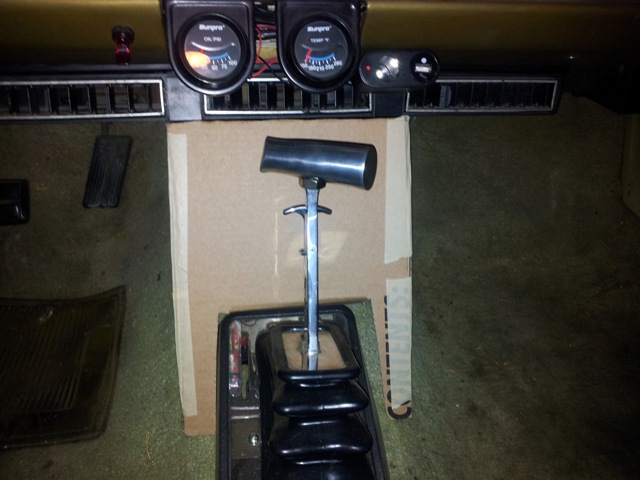
How do you like the shifter?


By 12pm, it was 110 degrees outside, and as I am working in a covered parking spot, not a garage
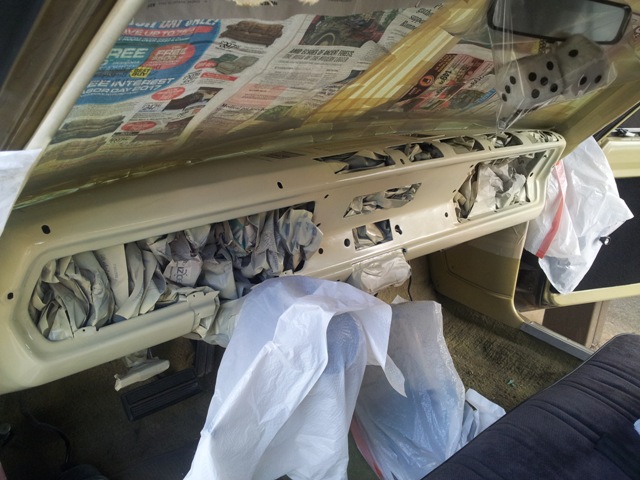
Remove the glove box and the dash cluster. there are 5 top nuts and 2 metal screws to remove. if you have ac, you dont have to remove that either. just be prepared to get some cuts on your hands. it took me about 3 hours to get it all apart, but with the the cluster and glove box out, you can remove all tye screws and nuts.Nice progress man! Any tips on removing the dash pad with the windshield in place? I might go at it later today.