72 duster resto

-
Getting the rear end closer as well as putting the longer studs in the other side of the front.

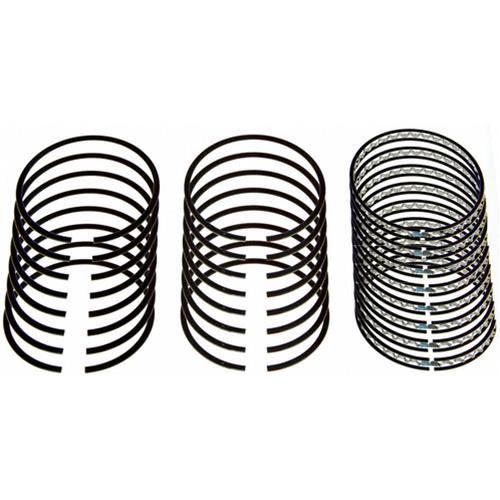
Need to order piston rings for these .020 KB 107s but not sure what I need

IMG_7414.jpeg


IMG_7411.jpeg


IMG_7410.jpeg
 
Last edited:

No idea if these types of rings work for my build but the size is correct at 4.020

In terms of materials I dont know the difference in applications when pairing with these KB107s. Id ask my machinist but my confidence in his word is still quite low
 
what ring does the piston mfgr. say to run?

what's the finish on the bore?

i know you've lost confidence in the machine shop, but i'd still go with their recommendation.

or, have a read and choose your own adventure:

 
Did some digging - turns out the KB 107s get sold with ringkit 4000AM8
Looks like KB brand got bought by United Engine and Machine
they make kit 4000AM8.020 and Summit carries it in stock.

Ordered!
 
Dropped off the pistons and rings and got to check the rough bore of the block while i was there. Cleaned up nice at .020!

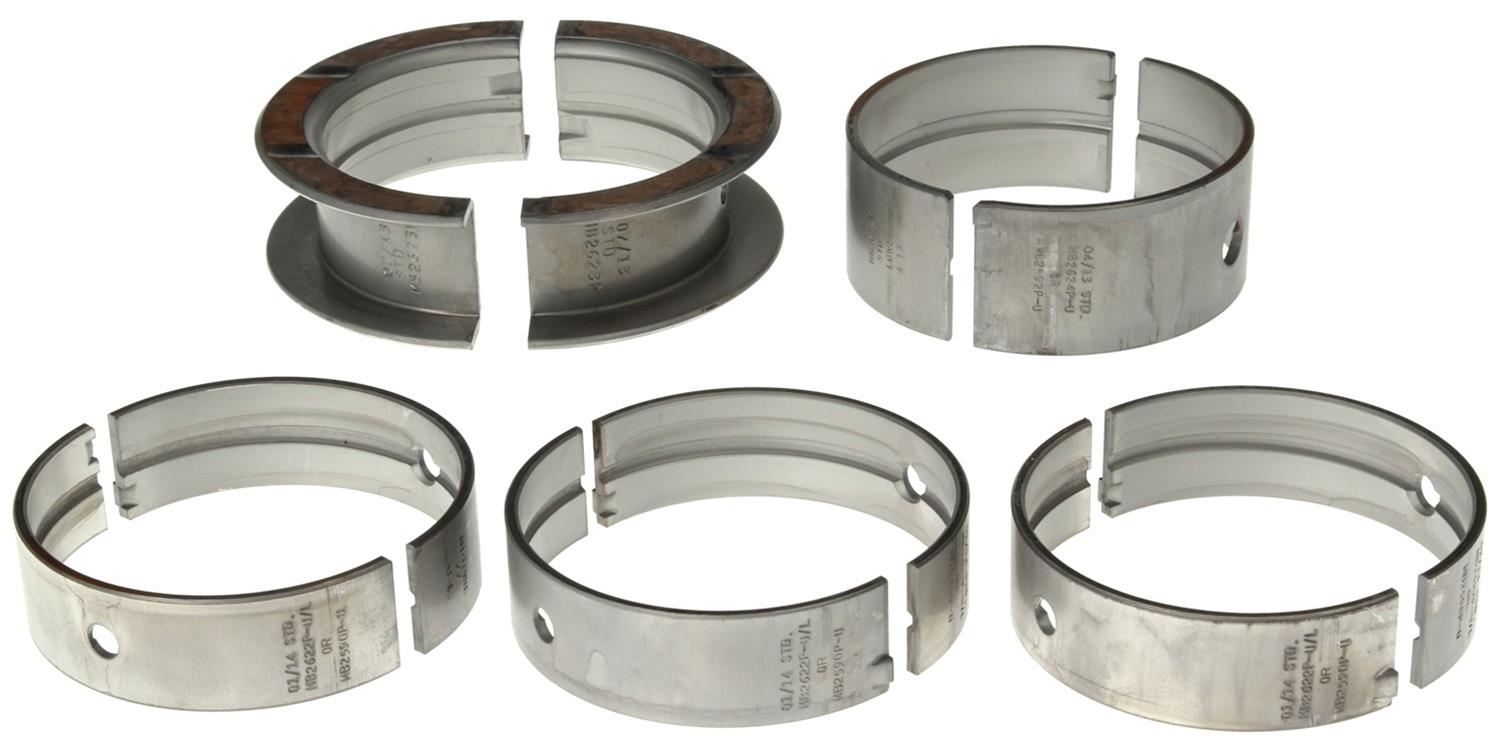
Also dropped off bearings for cam, rods and mains. He said next friday he “will be done”

IMG_7438.jpeg
 
New strut bushings installed
Finished swapping the 2” wheel studs to 3” (whew)
Cleaning up some parts
Pulled the rest of the slant exhaust out
Pulling the gas tank next to swap in the new one with new sending unit.

Happy early fathers day to the rest of you dads!


IMG_7446.jpeg


IMG_7448.jpeg


IMG_7447.jpeg


IMG_7449.jpeg


IMG_7450.jpeg


IMG_7451.jpeg
 
Pulled the axles out of the 8.8 today to get started assembling the mounting brackets for the calipers but got sent on an internet hunt for the right bolt/nut combo to attach things. I dont have the dust shields, but not too worried about those. There is a strong consideration of figuring out a hack to use the parking brake drum configuration that is on this 8.8 from the factory and rig it up to use the duster's parking brake, so need to find the right parts for that. Chatted with the machine shop owner today as I dropped off the cam for installation and he say's everything's on track to get my block back tomorrow, so we'll see! Will be good to have that back in the garage for inspection and next steps.

I'm hunting now for a good step by step guide on finishing the build with all the correct torque specs. The Chiltons and Hayes manuals are decent but would love to find something a little more specific to engine building so I can follow along and make sure things are as good as can be.

Also, checkin' out mopar joe's video on undercoating since I'll be under there to do the exhaust soon enough.

Rollin' out to the mopar alley show Saturday so hope to see you folks there!

Screenshot 2024-06-20 at 11.52.38 AM.png
 
download to get your hands on a factory service manual, it has all the critical information and torque specs. because your car is 72 and the motor is later (?) you may need more than one.

there are some inaccuracies in the FSM, most notably is the torque for rocker arm shafts is listed wrong at like 30 ft/lb when it's supposed to be around half that at something like 17 ft/lb.

don't memorize the torque settings or go by what you think you thought they were. stop, look at the book, read the process and follow the sequence.

having more than one book for reference material will help compare and contrast specific aspects.

or log in here and get 30 responses about how they did it back in dickety-doo when you had to carry your own tools to work in the snow up hill both ways and you had to memorize the torque specs because they were carved in tablets of stone so why don't you know them; other responses will run the gamut to photos of an engine with screen shots of unrelated content, links to mymopar for the FSM download, and maybe a recipe for pork verde.
 
or log in here and get 30 responses about how they did it back in dickety-doo when you had to carry your own tools to work in the snow up hill both ways and you had to memorize the torque specs because they were carved in tablets of stone so why don't you know them; other responses will run the gamut to photos of an engine with screen shots of unrelated content, links to mymopar for the FSM download, and maybe a recipe for pork verde.

Or a picture of whiskey bacon cheesecake.
 
Random question. Are 273 stock adjustable rockers decent for some aluminum heads? Found a deal for $40 for the pair. No pushrods but i need to assemble the heads on the block first to see what size pushrods I need. (I think)
 
sure, why not!

i mean, no! they're crap! but you should totally buy them and sell them to me for $50, which is an awesome ROI for TOI.

all kidding aside, for standard shaft mount LA heads, yeah sure.
 
Got my block back today from the machine shop. Grateful to have it back in the garage for reassembly finally.

It's been a solid 11 weeks from drop off.
Sharing the labor cost here as a reference point for anyone getting machine work in the Bay Area done.

Screenshot 2024-06-27 at 2.59.59 PM.png
Screenshot 2024-06-27 at 3.10.08 PM.png


Cylinders look nice - no more rust pitting

Screenshot 2024-06-27 at 3.10.03 PM.png


Rods reconditioned.

Screenshot 2024-06-27 at 3.10.08 PM.png


I'll share more photos of the crank once I get the syran wrap off it.

On to pre-assembly!
 
Got a couple hours in today.
Ran a tap in all the threaded holes of the block to clean them out.
Ran a die on all the bolts i'm reusing
Installed the rear main seals

Screenshot 2024-06-28 at 10.52.25 PM.png


Screenshot 2024-06-28 at 10.52.20 PM.png


Screenshot 2024-06-28 at 11.06.38 PM.png
 
the rear main seals should be 'staggered'. by that i mean one end should protrude slightly from the block and cap so the join is not the same as the cap/block join. it promotes a better seal.
 
Interesting idea
it's a divisive topic... (sorry, i couldn't resist)

there's some folks that swear there's no other way to do it; while others maintain that iffin' it ain't in the FSM it ain't the way to do it. one camp will proclaim that they've been doing it one way since jesus was a private and it never leaks whilst the other camp will swear on a pair of drawers supposedly worn by King Richard hisself that it will with 100% certainty absolutely positively leak if you do it that way and only their way is the way that ma mopar intended it to be done since the times of working on cars with two rocks and a bearskin and if was good enuff for their pappy's pappy's great uncle you can bet your patootie it's good enough for your hunk of junk.

choose which ever you like and roll. be prepared for the "i told you so shouldas" if it leaks no matter which tactic you chose.
 
Lol well Ill do my best to build two motors next time and try all the disparate advice. For now I’ll leave it be. I do understand the premise of the offset in theory.

Now hunting down a proper ring file and wishing id found a machinist to just build the full bottom end for me. Lol

So with a .020 overbore. Does that mean bore is 4.020

4.020 bore x .0065" gap factor = 0.026”

Brian at Imm engines suggested .028” for these KB107s

We will see how close I can get for the top ring. Currently gap is .017” and my largest feeler is .023

IMG_7634.jpeg


IMG_7635.png


IMG_7636.png
 
Last edited:
re the feelers, use a 12 and a 14 back to back to get the 26 you're after. also i remember reading here several times the kb pistons like a larger ring gap, something to do with breaking ring lands if they're too tight.
neil.
 
Pulled off my gas tank while waiting for engine parts and tools to arrive.

Inspected the tank and it was perfect inside. So, fired up a return order for my new tank and bought a new sending unit. The sock had come off the one in my tank which is probably why the gauge was reading wrong all the time. Can use that cash on the other random odds and ends.

While inwas under there I took a sander to some of the surface rust areas and then shot a coat of rust encapsulator.

Gonna have to cut the base of the spare tire sump out as its got rusted cracks through, but already knew that was an issue and have the metal replacement for it.

Crank bearings get here today so I can continue on the motor tonight.

IMG_7656.jpeg


IMG_7660.jpeg


IMG_7661.jpeg


IMG_7657.jpeg


IMG_7658.jpeg
 
I think the worst part of ANY project is cleaning parts.
 
i mean... .002~.0025 is pretty common street/strip clearance...

ninja edit: derp. i see that's both sides. yeah. no. she's a little wide. helps if i look at all the information... lol.
 
-
Back
Top