Shift Kit

-
Will it be clear it it's a single or 4 wrap band? Ok that makes more sense, glad I asked!

Yeah their real easy to tell apart. Here's a picture of both bands. The top one is the double wrap
 

Attachments

  • Double wrap 904 band.jpg
    50.4 KB · Views: 297
  • Single wrap band.jpg
    45.8 KB · Views: 306
Sounds good, I think all that's left is to get my hands dirty :cheers:
Thanks for all the help so far! I'm sure I'll be back haha
 
i love my b&m kit i beleive this is it on a stock trans with megashifter an po did tc so idk stall.shifts awesome not too hard not too wussy either i wish the aspen had this alrdy

http://www.summitracing.com/parts/bmm-10228/overview/

They work ok in most torqueflites but they are inconsistant. First one I installed overlapped bad and wore the trans. out in no time. That was back in the early 80's when I was just starting rebuilding them and didn't recognize the problem until it was too late.
 
Maybe this will help a little.
The blue arrow points to the servo retainer that has to be removed to get the servo out so that the changes can be made to it.

The green arrow points to the servo lever that needs to be flipped over so the servo can be removed.

The red arrow points to the location of the strut (flat peice of steel) that applies the band and must be removed before the lever can be flipped over.
 

Attachments

  • rearservo.jpg
    17.3 KB · Views: 294
Alright all the stuff came except the gasket, though I've got like 4 different ones now from the wix filter had 3 in it and transgo at 1 lol

Looking at the Transgo instructions my heads spinning, the instructions are pretty confusing but if I give myself some time I think I can figure it out. Only thing I'm concerned about is the grinding the stem of the TV valve correctly and going the right route.
What's the firmness on the two ways the kit gives. What do you recommend between the two and sizes?
 
Grinding the throttle valve stem is actually pretty easy. Just be careful you don't burn yourself as it'll get hot pretty quick. And if anything don't quite take as much off as it says. I've found it's better to be a little too long than too short cause if it's too short it may not want to kick down into passing gear good. As for the hole sizes I shoot for middle of the road of what they say. Only time I vary is if it's for a more race oriented trans I go larger or if the customer tells me they want a milder shift I go smaller. There's really not a huge difference in how it performs from smallest to largest anyway and since you can't make a hole smaller after you've drilled it be conservative.

If you don't have the reusable gasket before you put it together I'd use the cork gasket. Just make sure your pan is really flat. Lay it down on a bench and use a ball peen hammer to tap the holes back outward and run a flat file over the bottom of the case to make sure there aren't any burrs or high spots and clean it real good.
 
Maybe this will help a little.
The blue arrow points to the servo retainer that has to be removed to get the servo out so that the changes can be made to it.

The green arrow points to the servo lever that needs to be flipped over so the servo can be removed.

The red arrow points to the location of the strut (flat peice of steel) that applies the band and must be removed before the lever can be flipped over.

The adjuster on the outside of the case must be backed out to remove the strut (flat peice of steel).

Great job man. :thumbrig:Only thing is (and I bet 7d saw it) is the adjuster goes through the servo lever. You were thinking of the front adjuster when you said it goes through the case.
 
I'm going to mill it down instead, forgot I had access to one lol

Sounds good, I won't go too big at first. I'm bringing my other 904 with me for parts if I mess up some how and to reference off of as well for. Plus if I loose that check ball hopefully I won't on the other one haha
 
My vice doesn't have teeth so the surface is smooth so it doesn't mar anything luckily, as long as someone has f***** up the surface lol
 
Great job man. :thumbrig:Only thing is (and I bet 7d saw it) is the adjuster goes through the servo lever. You were thinking of the front adjuster when you said it goes through the case.

I was wondering if you were going to catch that.:prayer:
Later on after I posted that I realized what I had said.

Thanks for straightening it out.
 
Alright so I pulled the valve body out of my donnor trans that I thought was a 74, turns out it seems to be a 76, or atleast the VB is due to the 6 passages on it (so the TF-2 instructions say). I'm hoping to use this VB in my 72 trans so I can keep driving the car and pull the VB and replace it with this one in one fell swoop. I'm guessing it will.
I haven't lost any balls (yet lol) but some fell out into my sink and I have no idea where they go lol
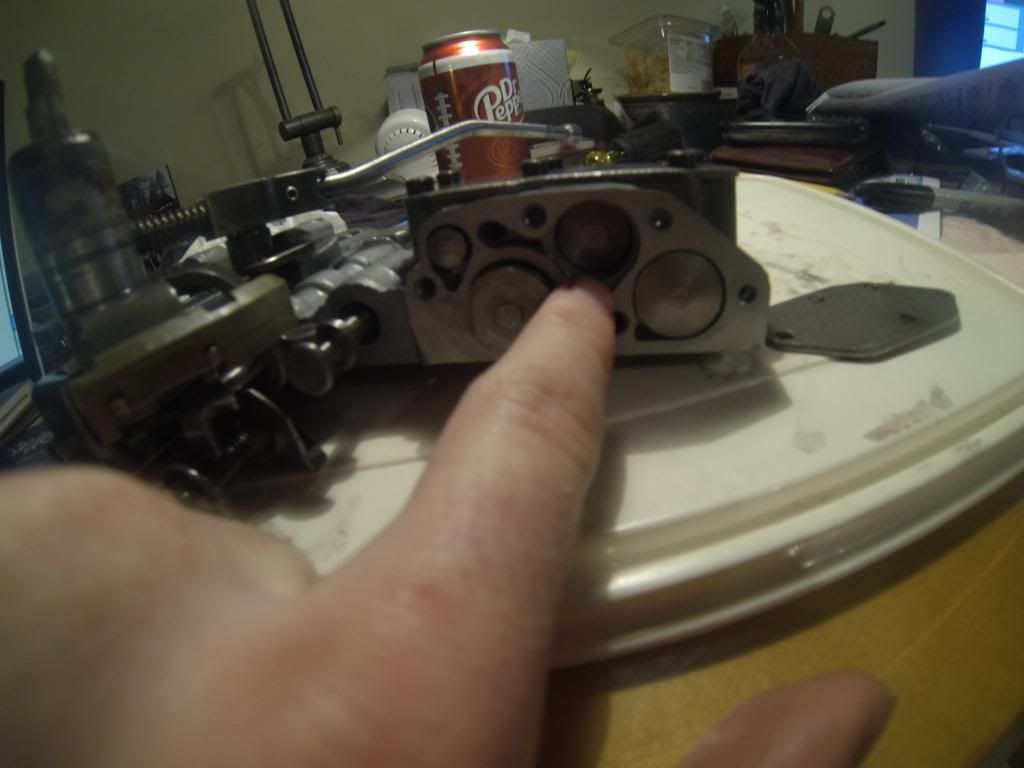
Also I opened a side port to clean out the fluid and some stuff fell out, think I got it in right but idk, here's a pic, springs are back where they go and the pistons are correctly put in but that gap seems weird.
GOPR0007_zpsbb2972ed.jpg


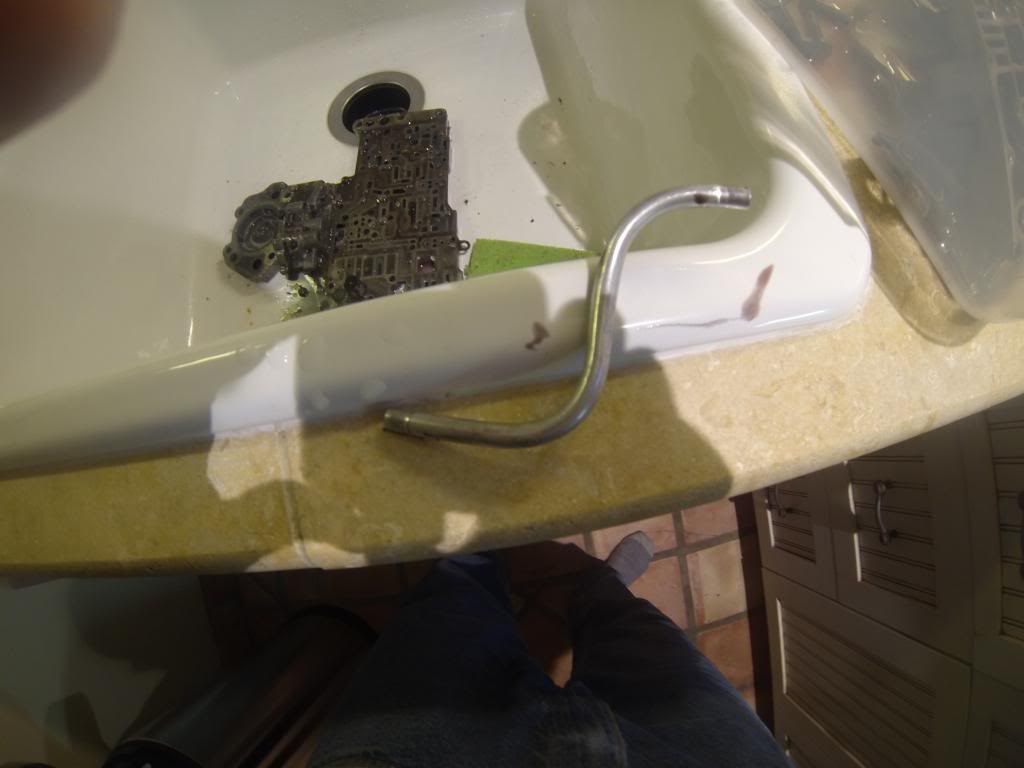
I also have no idea where this goes either, accidentally let it fall out without seeing where it went, some help would be great where this stuff goes back haha
GOPR0006_zps3766ac21.jpg

So far so good though!

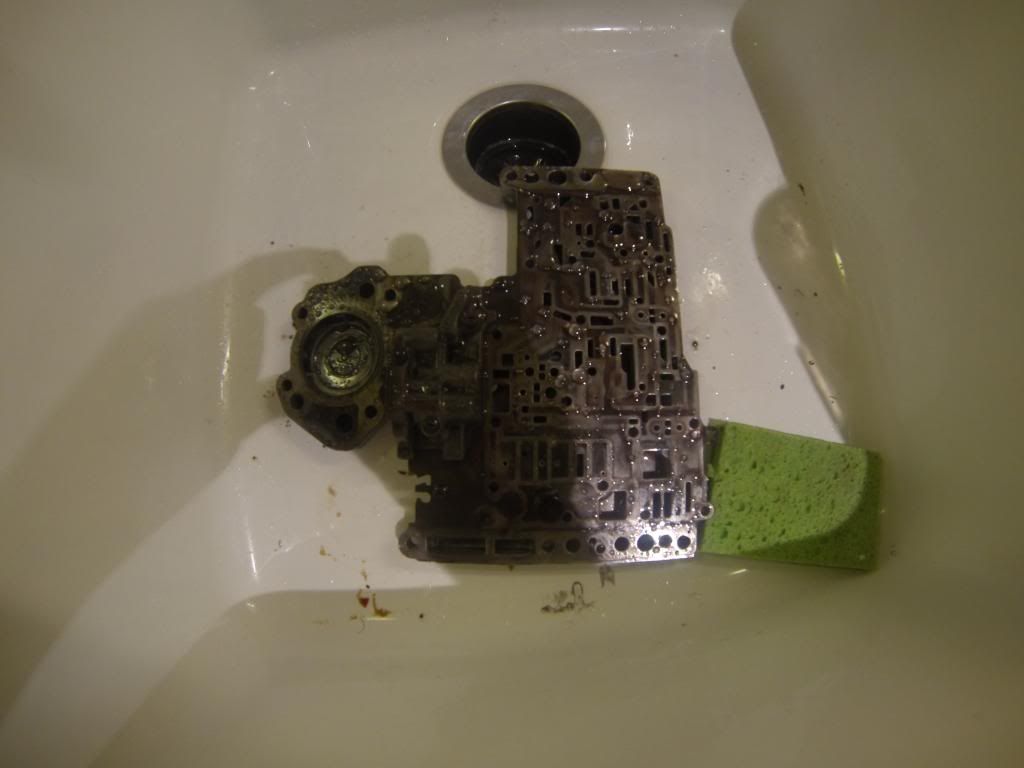
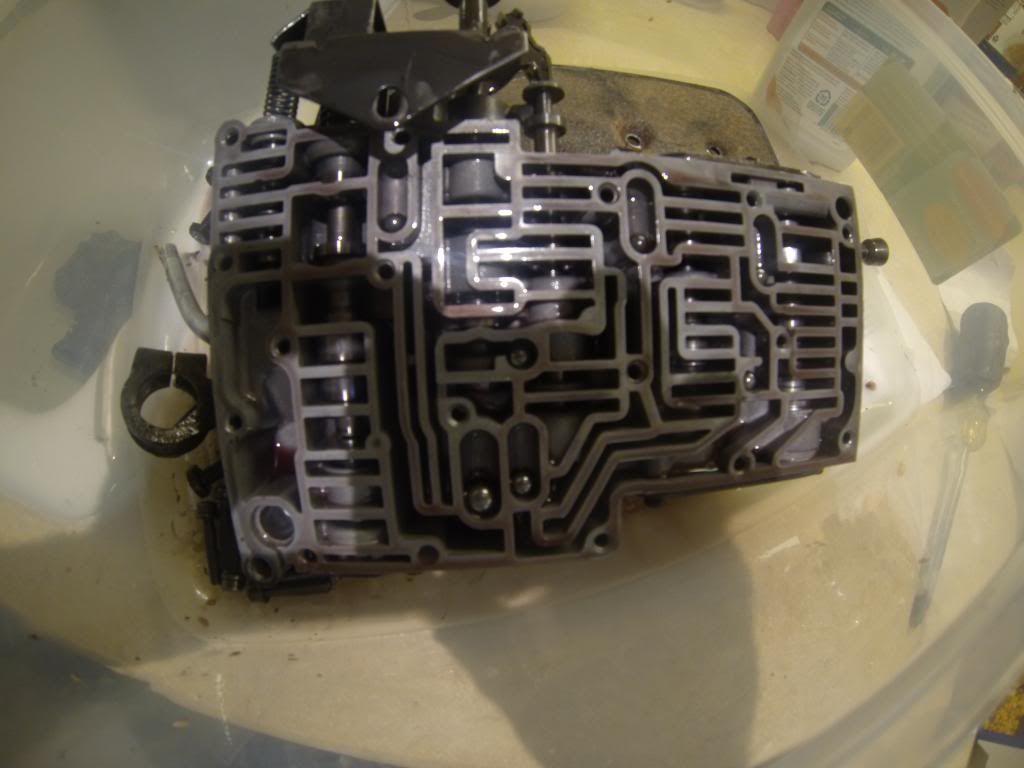
Here's a few pics

GOPR0005_zps04438649.jpg


GOPR0003_zpsed07743c.jpg
 
They work ok in most torqueflites but they are inconsistant. First one I installed overlapped bad and wore the trans. out in no time. That was back in the early 80's when I was just starting rebuilding them and didn't recognize the problem until it was too late.

Are you saying that the B&M kits are inconsistent? Are the Transgo ones better?
Or are the kits inconsistent because the installers use varying degrees of caution, or interpret the instructions differently.
In other words "Operator Error".

Is there a certain position to hold the VB so the check balls don't fall out? Are all of the check balls the same size?

ATB

BC
 
If I'm not mistaken, thats a lockup valve body.
(Due to the tube)
 
If I'm not mistaken, thats a lockup valve body.
(Due to the tube)

You are right sir. And No 7d you can't use it in a Non lockup trans.

The tube that fell out that your not sure where goes is the tell tale sign of a lockup trans. It's the transfer tube for the lockup section.
 
well then there goes all that work lol. At least I know what it all looks like and it's not that bad. So then it's off to pull the other VB, was hoping to be able to drive it and swap it but oh well haha. Is it just the top part that's different or is the whole thing different?
 
Are you saying that the B&M kits are inconsistent? Are the Transgo ones better?
Or are the kits inconsistent because the installers use varying degrees of caution, or interpret the instructions differently.
In other words "Operator Error".

Is there a certain position to hold the VB so the check balls don't fall out? Are all of the check balls the same size?

ATB

BC

Yes, IMO the B&M shift improver kits are inconsistant. And it's not due to installers choosing options because thtere are none in the B&M kit. It's been a long time since I used one but if I remember right they only send a different transfer plate and a couple other parts. The problem is Ma Mopar calibrated transmissions so differently from one application to another. The Trans-go kits come with different springs and you drill your stock plate. I know it doesn't sound like it'd be a big diff. but IMO it is a much better match to each particular trans. If you hold the VB with the screws pointing up just like they are when you take them out all but 1 check ball generally stays in place. If you have the Trans-go instructions it's not a big deal anyway because they give you a picture of where they all go. No their not all the same, but again the instructions tell you what sizes go where.
 
-
Back
Top